Configuration Manager
Used to set up the Infoportal. After running EaInfoportT3.exe for the first time, the console tells us that it is listening on a localhost with a certain port.. "Now listening on: http://localhost:64297" After entering the URL into the web browser, the “Configuration Manager” will load. The first run of the manager is used to create the appsettings.json file, which saves certain parameters for the operation of Infoport.
- Configuration Manager
- Show Password
- Licence Key
- Infoport Database Connection
- URL
- Serilog
- Active Directory - LDAP Section
- OpenID
- Environment
- Infoport in the Background
- SynchronizeADUserJob
- SynchronizeSparxUserJob
- Startup Jobs
- Scheduler Jobs
- Regenerate Repository Tree Job
- Regenerate Image
- Regenerate Existing Image Job
- Regenerate Missing Image Job
- Clean Dcom Job
- Cleaning Disk Cache Job
- Setting an email notification server
- Notification Hour Job
- Notification Day Job
- Notification Week Job
- Database Maintenance
- X Frame
- Trust Server Certificate
Configuration Manager
After filling in the form, press the button  and if everything is filled in correctly, it will appear in each section
  .
.
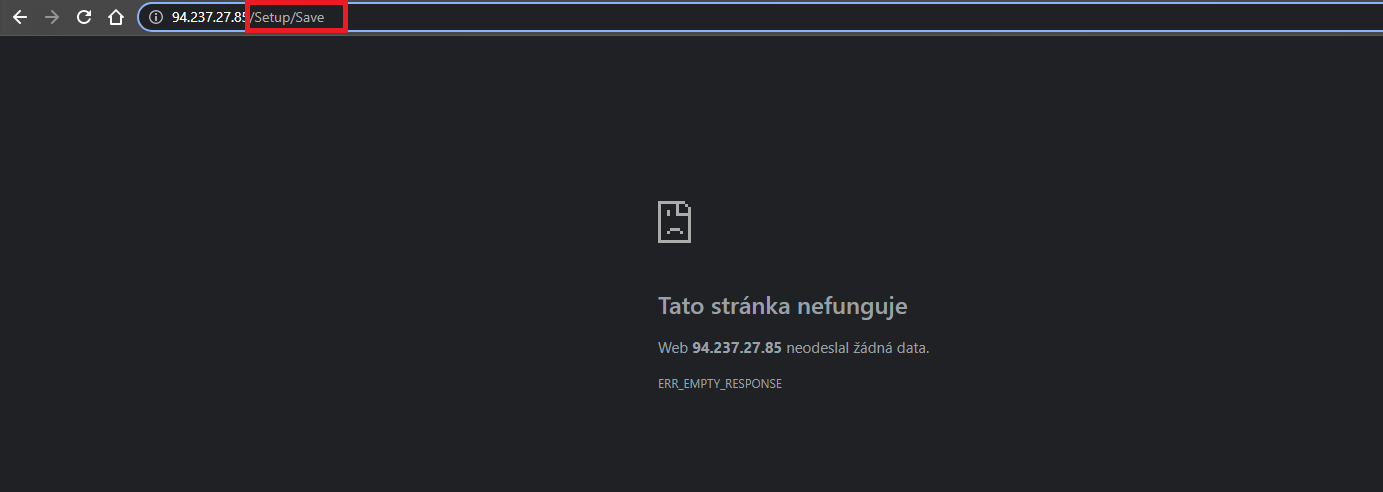
Then press the button  and wait until the entire Configuration Manager is set up and saved.
This page pops up, where we just delete /Setup/Save in the Url address and hit Enter.
- Show Password
- Licence
- Infoport Database Connection
- URL
- Serilog
- Active Directory
- OpenID
- Environment
- Infoport na pozadí
- Trust Server Certificate
Show Password
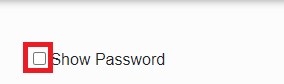
After checking the checkbox, all passwords in the configuration manager will be displayed.
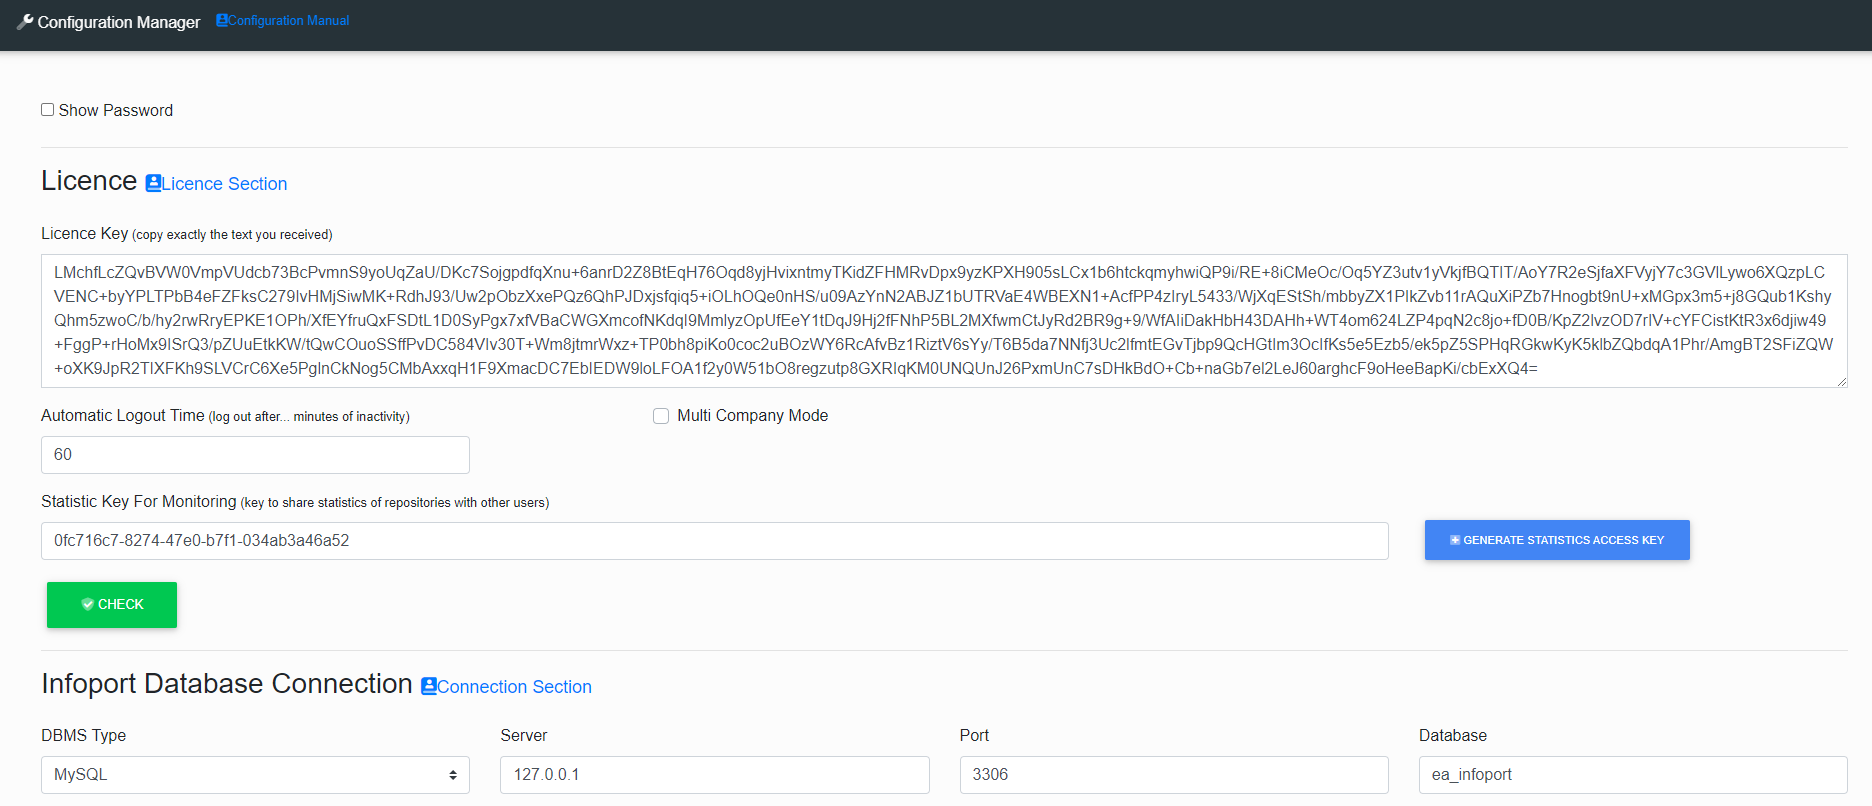
Licence Key
The licence key will be sent to you by Dataprojekt s.r.o.
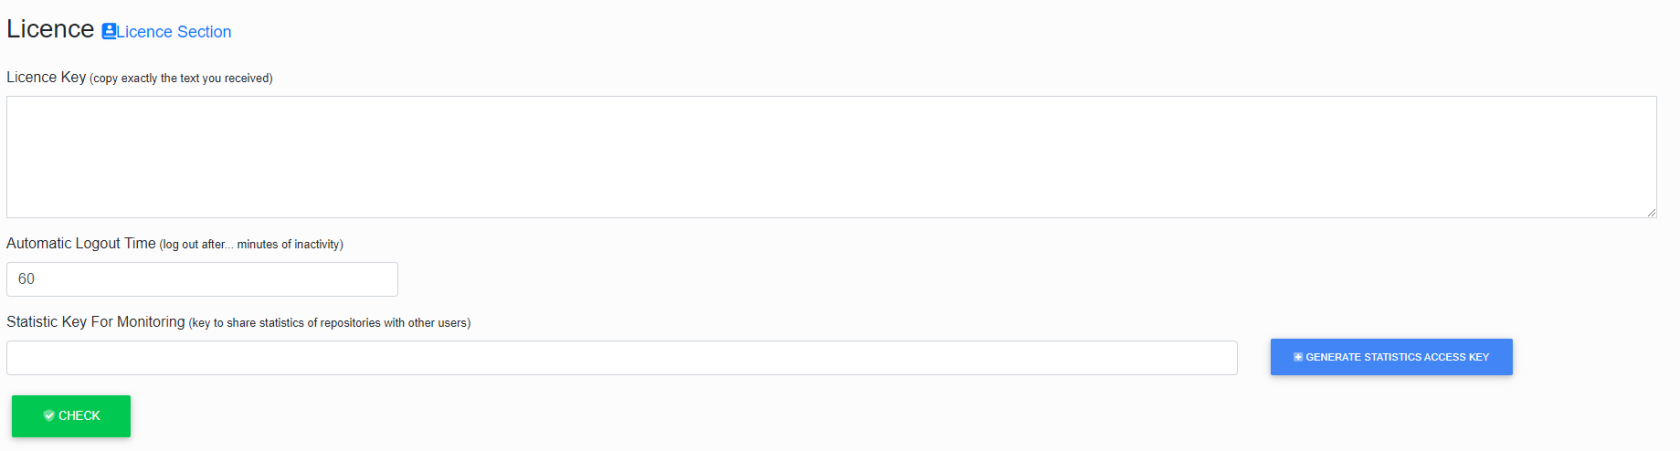
In the first section, you insert the licence key and set the expiration time of the user's login.
Automatic Logout Time is a security feature that is used to automatically log out when inactive for a long tim.

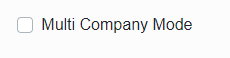
Multi Company Mode
If Multi Company is activated (checkbox checked) then only Login Email will be visible, both when creating a new user and when editing an existing user.
You will also see the Login Email on the login screen.
Statistic Key For Monitoring is a key for sharing statistics with other users.
Clicking on the Generate Statistics Access Key button will generate a key.

Infoport Database Connection
The first section in the configuration contains the Infoport database settings. (Database schema in which the program has all settings stored).
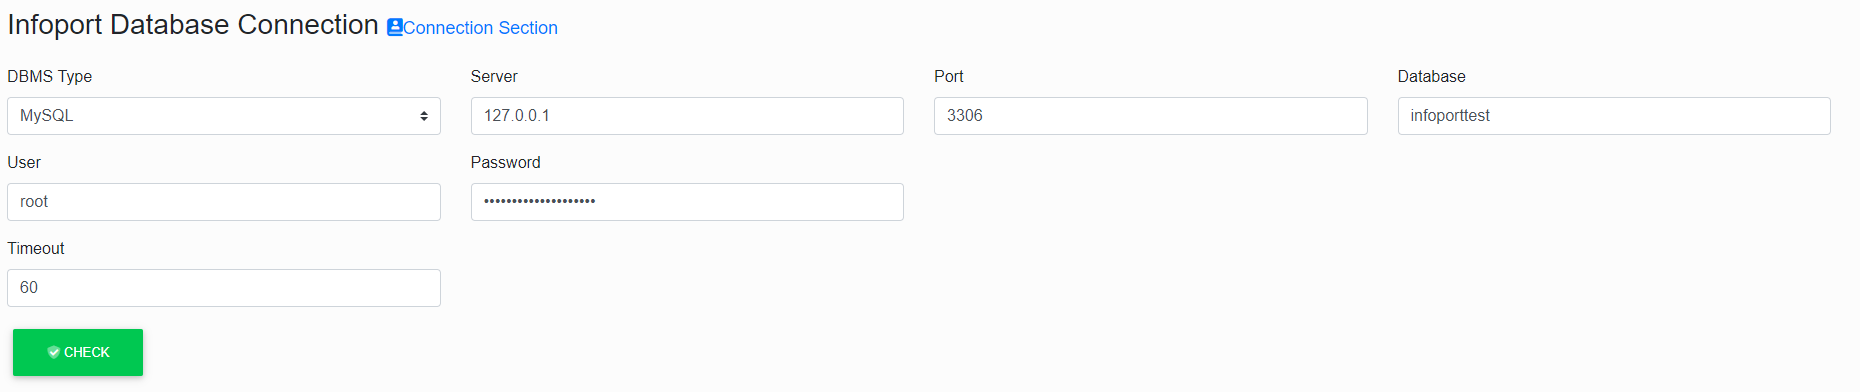
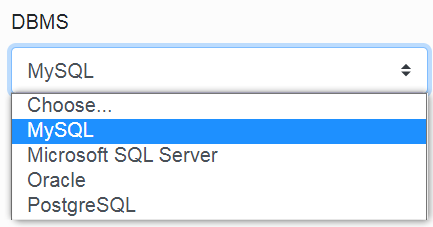
In the first item, we choose the type of database. There is a choice of three types.
- MySQL with default port 3306
- Microsoft SQL Server with default port 1433
- Oracle with default port 152
- PostgreSQL with default port 5432
After selecting the type, the value of the Port item will be filled in automatically.
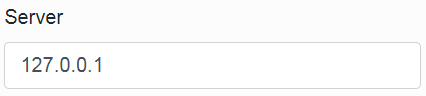
The second item is setting the IP address of the database server. (If Infoport runs on the same machine with the database, just fill in the local IP address).
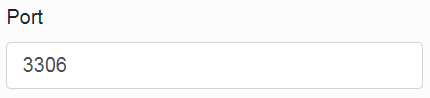
The third item is the database server port setting. By default, the pre-filled data according to the database type can be changed.
The fourth item is only relevant for MySQL and Microsoft SQL Server.
Fill in the name of the schema in which Infoport will create its tables. (If the schema is not created on the database server, Infoport will create it itself, provided the user has sufficient permissions in the database).
The other two items are user and password. You need to fill a user who has DML and DDL rights into our chosen database.

The Timeout item is used to set the maximum length of a query within the database. It has an effect mainly on queries during the search.
URL
In the second section, we will determine to which URL Infoport will listen.
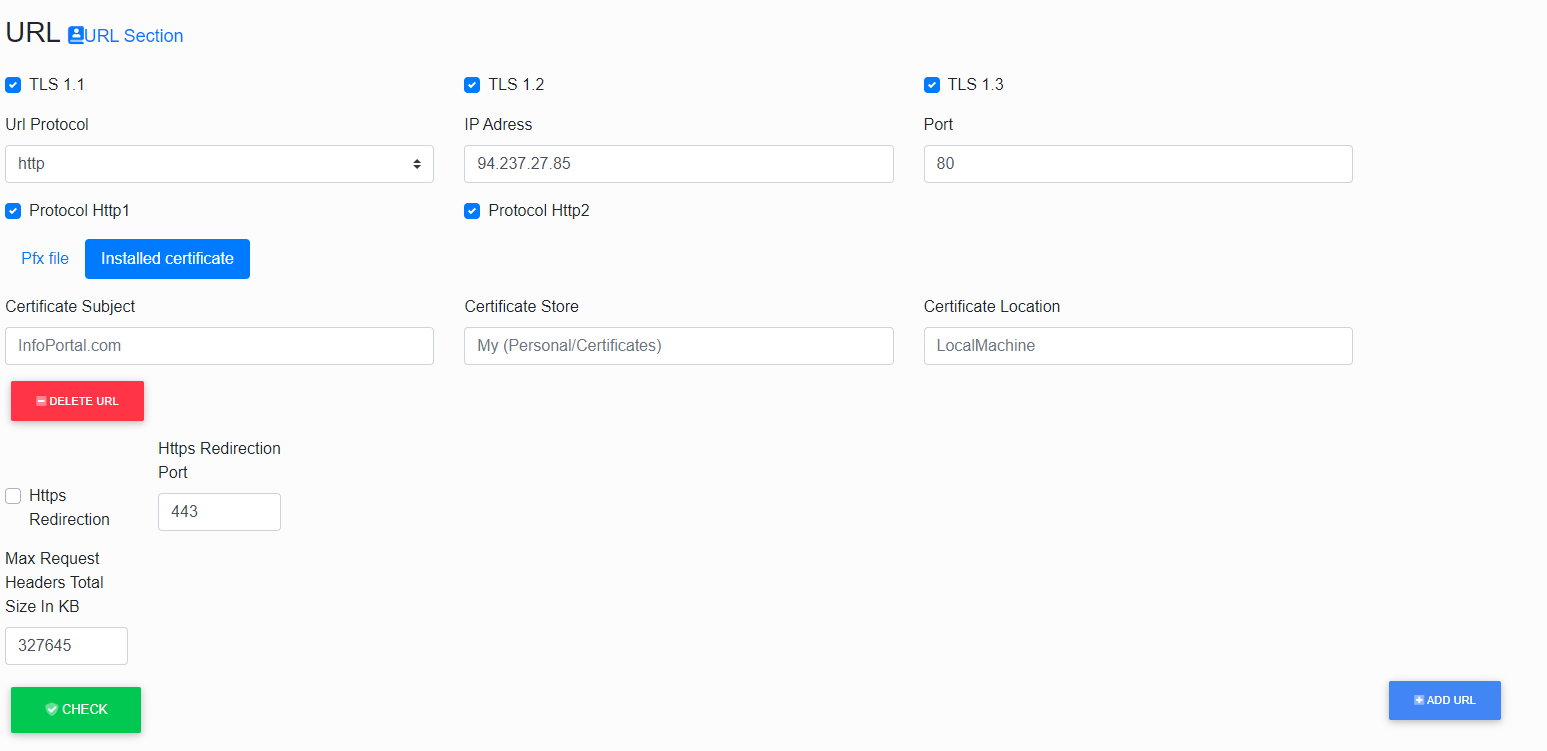
TLS
If you are using secure communication, it is possible to choose the TLS version(s) that you consider secure enough.
For example, version 1.1 is not supported on Windows operating systems after 2021 and should not be used.

The URL consists of three parts.
The first one specifies the protocol (http or https); the second one is the IP address, and the third one is the port.
If we want to use https (see below), the certificate must be issued to the same IP address as specified here.

Protocol Http1 a Http 2
These are the protocols that are set by default.
The user only needs to configure the Http1 protocol, which supports the operation of Windows Authentication.

Pfx File
Other items to fill in are the path and password to the certificate to the URL entered above.

Installed certificate


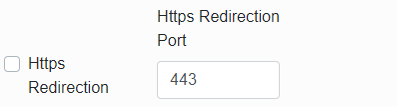
Https Redirection
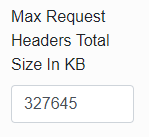
Max Request Headers Total Size In KB
This parameter allows you to set the maximum allowed request size.
Some requests may contain large amounts of data and Infoport cannot process them. (For example, an OpenID login where all the groups the user is in are sent).
If you want another URL to which the portal will listen, press the ![]() button and new items will be created to fill in.
button and new items will be created to fill in.
To delete a URL, press the button  .
.
Serilog
The next section allows us to set the Infoport logging.

The first item is a check box that says whether user activities should be logged. (List of visited URLs).

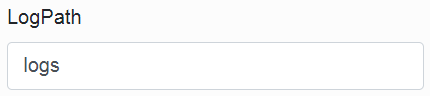
In the second item, we choose the relative path for saving logs.
In the third item, we select the type of logging.
(Each type is described in the table. We recommend Information logging.)
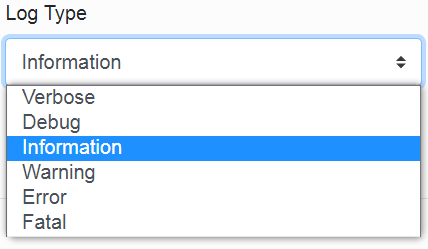
Table for logging types.
|
Level (from the most detailed to the least detailed) |
Description |
|
Verbose |
For information that's typically valuable only for debugging. These messages may contain sensitive application data and so shouldn't be enabled in a production environment. Disabled by default. |
|
Debug |
For information that may be useful in development and debugging. Example: Entering method Configure with flag set to true. Enable Debug level logs in production only when troubleshooting, due to the high volume of logs. |
|
Information |
For tracking the general flow of the app. These logs typically have some long-term value. Example:Request received for path/api/todo |
|
Warning |
For abnormal or unexpected events in the app flow. These may include errors or other conditions that don´t cause the app to stop but might need to be investigadet. Handled exceptions are a common place to use the Warning log level. Example: FileNotFoundException for file quotes.txt. |
|
Error |
For errors and exceptions that cannot be handled. These messages indicate a failure in the current aktivity or operation (such as the current http request), not an app-wide failure. Example log message: Cannot insert record due to duplicate key violation. |
|
Fatal |
For failures that require immediate attention. Examples: data loss scenarios, out of disk space. |
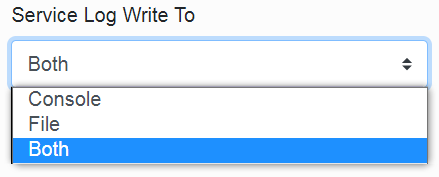
In the fourth item, we select where we want the logs to be written. We have three options: Console, File or Both.
In the fifth item, we choose how often the log file should be closed.
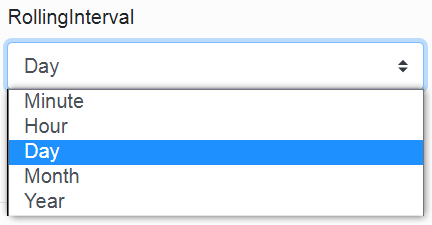
Here we can see the chosen day. This means that a new log file is created for the portal every day. Logs from previous days remain on disk.

Audit for login/logout
The "/Account/Login" and "/Account/Logout" events are logged, both successful (StatusCode == 302) and unsuccessful ones.
Audit for Enterprise Architect Database modifications
Logs changes that users make to repository data. Adding, editing and deleting Packages, Element, Diagram, Attribute, Operation, etc.
Audit for HTTP status codes
Audit for Infoport permissions
Both approved and denied accesses are logged. These are always calculated for the requested Package and separately for personal and group permissions.
Warning: there may be a large number of these entries in the log.
In addition, changes to user and group permissions made by administrators are also logged. From these logs, it is possible to see who has assigned or removed what permissions when.
Audit for Access Keys
Creation or deletion of an access key is logged so that it can be determined who ever created the key, which is then used for direct access (where no explicit user logging is required)
After filling in, just press the  button and the manager will tell you if everything is OK.
Active Directory - LDAP Section
In this section, we set up Active Directory using the LDAP protocol.
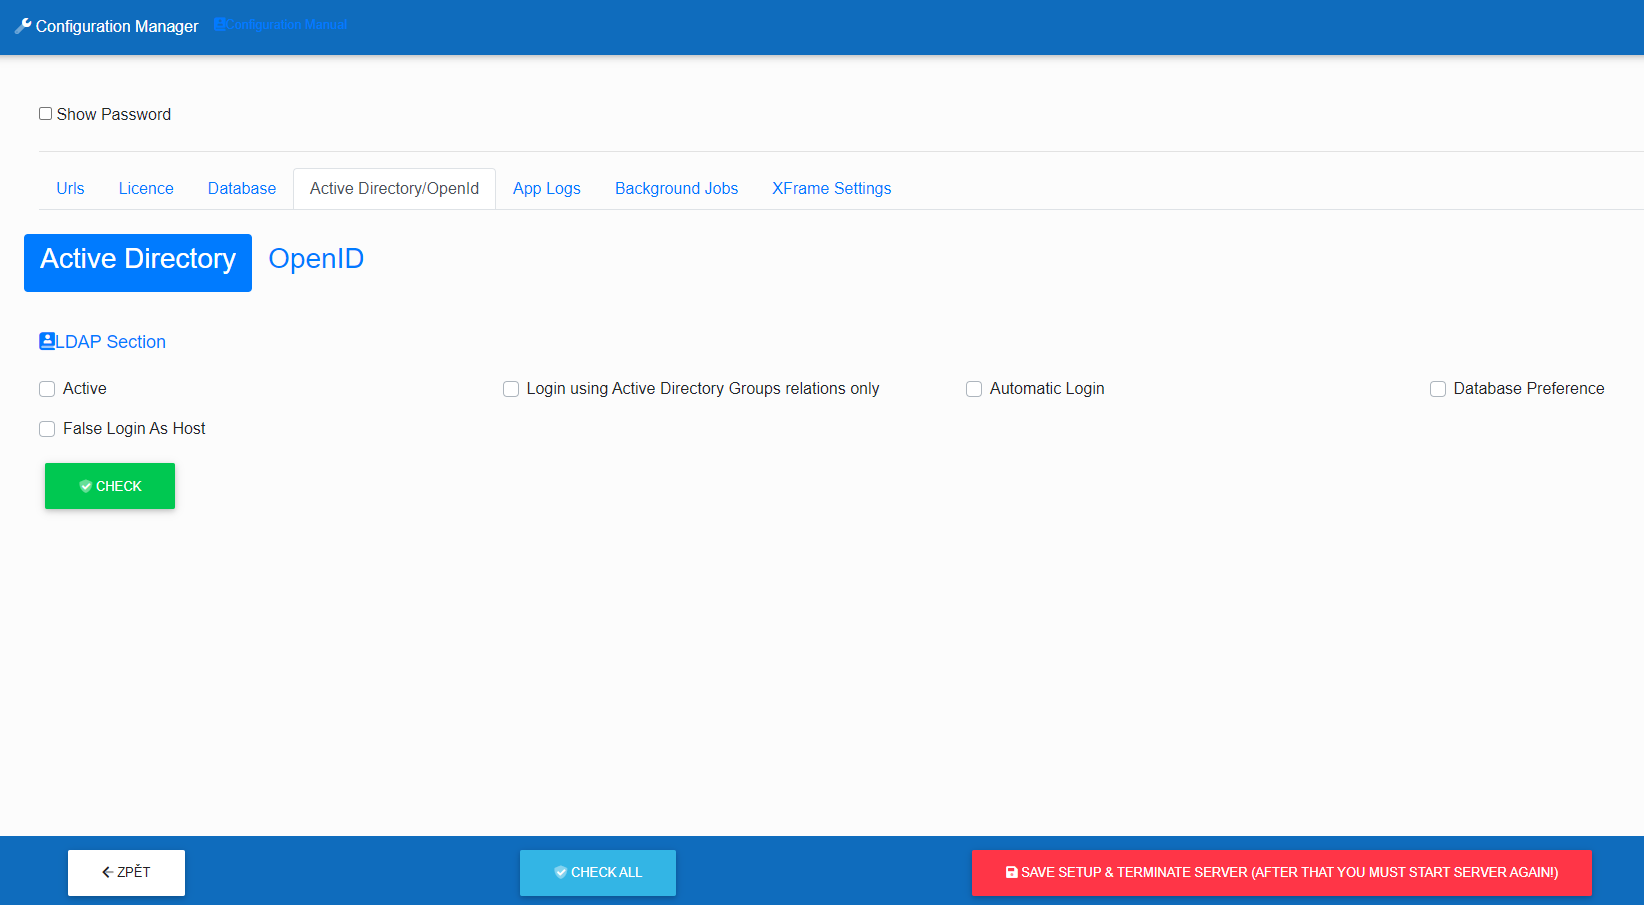
- "Active" tells us if we want Infoport to work with AD.
- "Login using Active Directory Groups relations only" it is possible to set a ban on the login of a user who does not have an Active Direcotry group assigned.
- "Automatic Login" determines if users will automatically log into AD if they enter the Infoport URL in the browser.
- "Database Preference" tells us that when logging in, it goes to the database to the users first and then to AD
- "False Login As Host" allows us to choose if we want a user who is not in AD to be able to log in as a portal guest.
OpenID
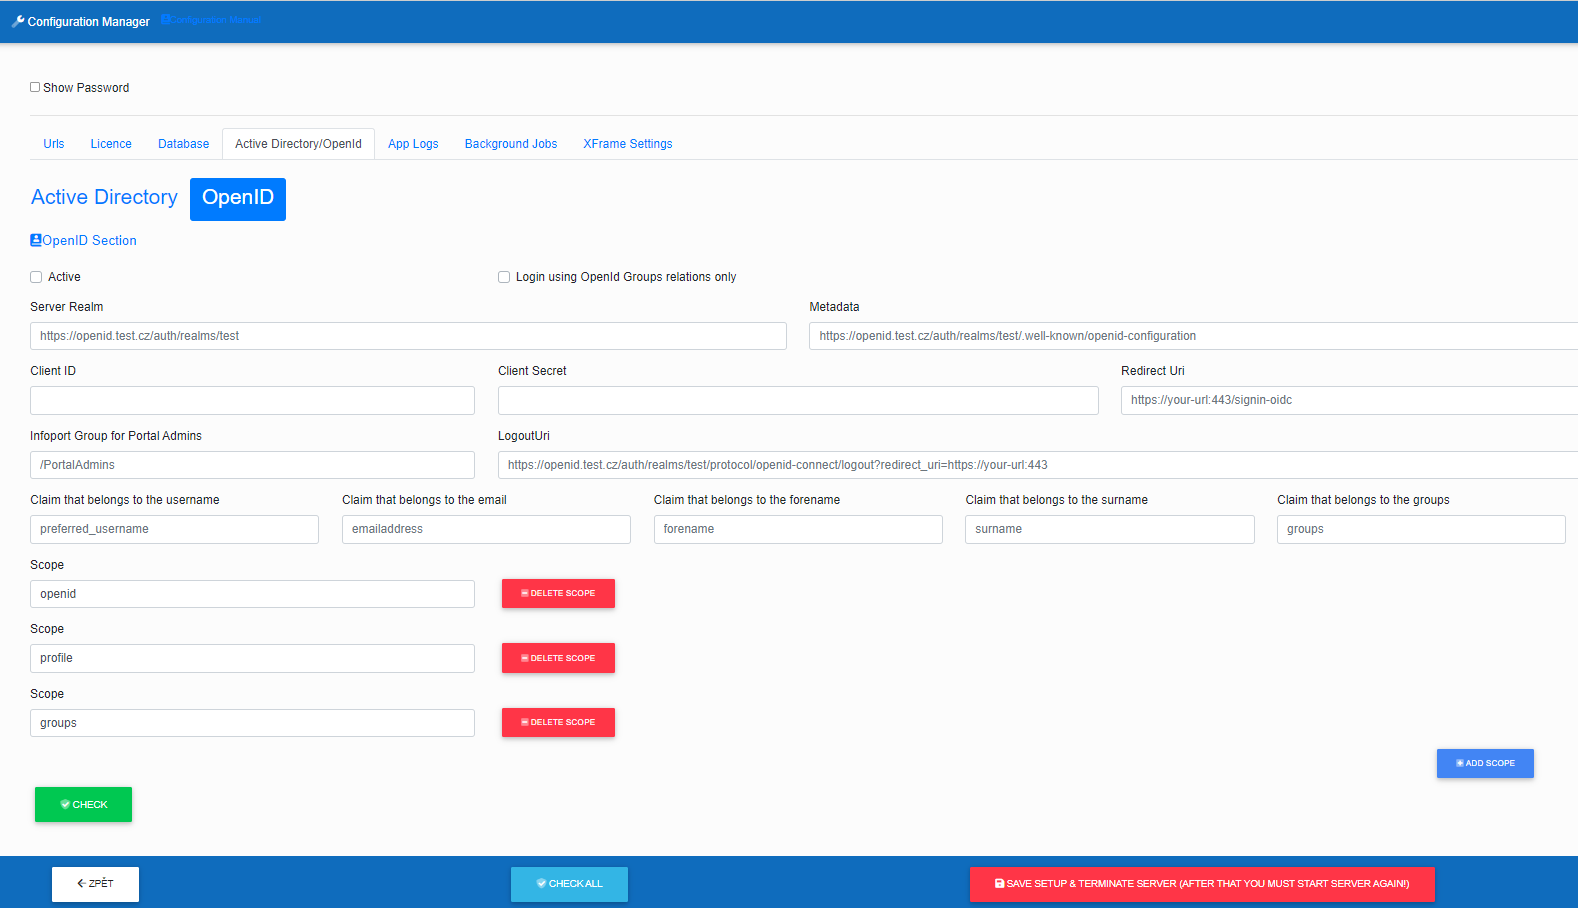
- "Active" tells us if we want Infoport to work with OpenID.
- "Login using OpenId Groups relations only" it is possible to set a ban on the login of a user who does not have an OpenID group assigned.
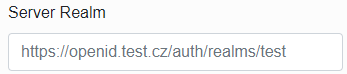
Server Realm – fill in the link to the open id server
Metadata – fill in the link to the open id server metadata

ClientID – fill in the reference to the Client identifier

Client Secret – insert client secret

Redirect Uri – enter the url that will be called after logging out of the infoport

Infoport Group for Portals Admins – enter the name of the group where you want the Infoport portal administrator users to be

LogoutUri – enter a url that logs out of open id

Claim that belongs to the username – specify a claim by which the infoport will pull the infoport username from the response
Claim that belongs to the email – specify a claim by which the infoport will pull the email from the response
Claim that belongs to the forename – specify a claim by which the infoport will pull the user's first name from the response
Claim that belongs to the surname – specify a claim by which the infoport will pull the user's last name from the response
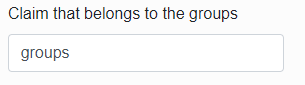
Claim that belongs to the groups – specify a claim according to which the infoport will pull the groups to which the user belongs from the response
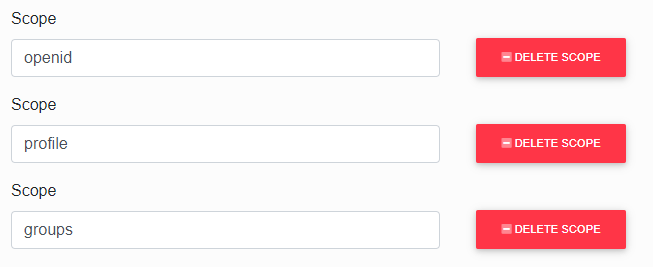
Add Open ID Scopes,to return all necessary attributes
Další související informace s OpenID:
https://doc.eainfoport.cz/books/uzivatelsky-manual/page/mapovani-skupiny-na-openid
https://doc.eainfoport.cz/books/otazky-odpovedi/page/chybejici-opravneni-repository-behem-prihlaseni-pres-ad-nebo-openid
Environment
The first item is a check box that determines whether we want to save published images to the database.
In the next three items, we choose the relative path in which the published images, cached images and temporary files will be saved.

Infoport in the Background
Infoport in the Background
Infoport performs various background functions.
Some can be set by a user, others run according to default settings.
A user can find configurable functions in the “appsettings.json” file.
The functions mainly work with repositories.
In the Configuration Manager, a user selects some background functions.
After it has been started, the function starts working in the background and gradually loads the tree for a user (the function is named InitialLoadCacheDeep in the Background section).

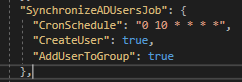
SynchronizeADUserJob
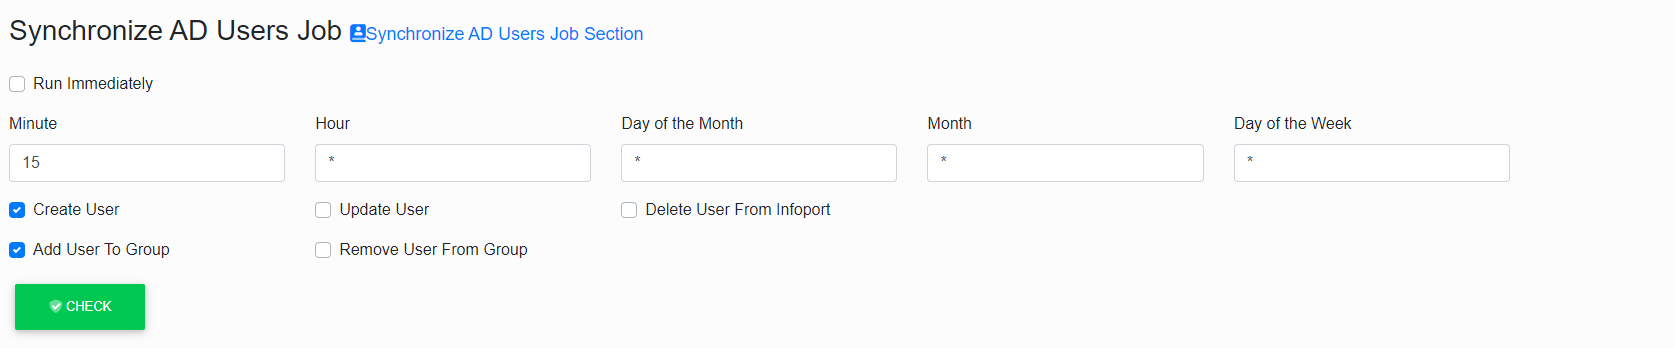
Synchronization with Infoport users is for users from AD.
The function is called SynchronizeADUserJob.
Again, it has a cron item to run synchronization on a regular basis.
CreateUser a AddUserToGroup
CreateUser is a flag if we want users from AD to be created in Infoport.
AddUserToGroup is a flag if we want users to be added to group.
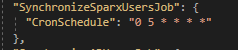
SynchronizeSparxUserJob

We will now discuss the function for synchronizing Sparx users with Infoport users.
The function is called SynchronizeSparxUserJob.
It contains a single item for setting (cron settings).
According to the specified settings, users are synchronized regularly.
Startup Jobs
Are processes that are activated only once at the application’s launch and perform actions that need to be performed before users start using the application.
Prefetch Repository Cache Job
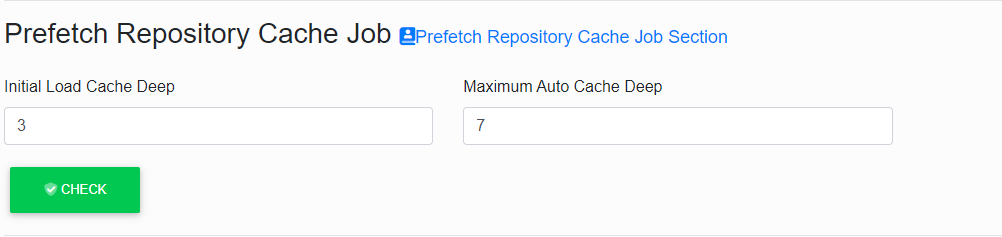
Each time the application is launched, a basic part of the repository tree is loaded from the database into the memory cache.
The reason is the acceleration of user’s work while strolling through the tree.
The amount of loaded levels depends on the parameters „Initial Load Cache Deep“ and „Maximum Auto Cache Deep“.
The first one „Initial Load Cache Deep” indicates how many levels have been loaded before the application starts to „obey” and is available for the users.
Here it is suitable to choose 3 to 5 levels.
- The value 3 if the repository is ordered more to the width and there is a larger amount {>>50} of models or packages.
- The value 5 for the packages ordered more into the depth.
If the value of the other parameter „Maximum Auto Cache Deep” is set larger than the first one (7 to 13 is recommended), the data loading into the cache goes on even after the application is available for the users.
It goes on this way gradually up to the depth of the tree that is given by this parameter.
If a random user strolls through the tree deeper than it is set in the parameter for the maximum automatic download (“Maximum Auto Cache Deep”), the cache grows larger with the displayed data.
Other users thus get a significantly accelerated display.
These cached data then (if arranged so) influence how some other jobs (“Regenerate Repository Tree”, “Regenerate Existing Image”, “Regenerate Missing Image”) can work.
Scheduler Jobs
Are processes that are activated regularly and serve to keep the application in good condition. These include refreshing data in a memory and disk cache, various data synchronisations, and deleting unnecessary data and system processes.
Common settings for all scheduled Jobs
The basic parameter for each job is information about the frequency with which it will run.
It is possible to set it to run every minute, or maybe just once a month.
The syntax known as CRON is used for this and there are always five items in the configurator (Minute, Hour, Day of the Month, Month and Day of the week).


Regenerate Repository Tree Job

This job is designed for the periodical update of the repository tree, independently of the users.
When launched, it strolls gradually through the currently cached tree and compares it to the state in the database.
If it does not detect any differences, it leaves the tree branches untouched.
But if it detects any change at some level of immersion (added / taken out / changed artefact), it takes all the deeper immersed artefacts out of the cache and restores them from the database.
This restoration progresses into the depth of immersion given by the parameter „Maximum Cache Deep” from the section „Prefetch Repository Cache”.
The suitable timing is a moment in which the users work minimally with the programme, i.e. during night hours and after (possible) automatic synchronisations of the models on the database level with some external software.
Regenerate Image
The chart images are generated commonly in two ways.
The user may either display a detail of the chart or the jobs in the background „Regenerate Existing Image" and „Regenerate Missing Image".
After it has been generated, the image is saved into the disc cache, and upon a requirement from (any) user, it is displayed from the disc again.
However, the images also get outdated when they are modified or changed as metadata by someone.
If a user displays the image of the chart that has been modified recently, the system will recognise it.
It displays the original outdated image from the disc cache, and it starts to regenerate the chart.
But it takes some time (higher value of seconds typically), and it delays the user.
Therefore, there are two jobs that try to prevent it. They search for the outdated or still non-generated charts, and they regenerate them.
Regenerate Existing Image Job
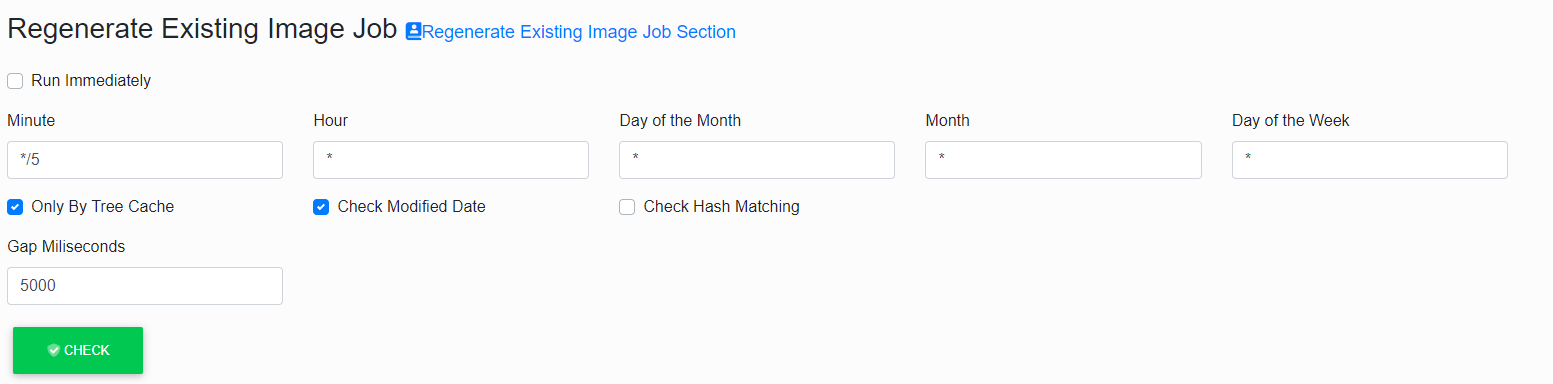
This job has to regenerate the formerly created chart images.
It recognises whether the chart has been modified since it was last created, and it possibly lets it be created and saved into the disc cache again.
The word „Existing” in the name of this job means that the work of this job relates exclusively to the charts that already have “some” image in the disc cache. (The non-existing images are handled by „Regenerate Missing Image”.)
The switch „Only By Tree Cache” decides whether the regeneration focuses only on the images from the disc that belong to the charts that are loaded into the memory cache of the tree (see „Prefetch Repository Cache”). If this switch is not ticked, the job ensures the timeliness of all images saved in the disc cache, regardless of the current state of the tree.

The switch „Check Modified Date” and „Check Hash Matching” serves for specifying the method of what programme it will use to detect whether an image is outdated.
The first one „Check Modified Date” means that the time stamp of the file is checked in comparison with the time stamp in the database.
This is very fast, but the reliability is somewhere around 90%.
It is given by the fact that not all modifications in the chart update this time stamp. (This is directly the property of the Enterprise Architect programme.)

The other switch „Check Hash Matching” decides that, for the control, the calculation of the so-called hash of all metadata that influence the visual aspect of the image will be used.
This method is 100% responsible but it is time-consuming.

Both switches may be „combined”.
If we tick neither of the switches, we tell the programme not to control anything and to regenerate directly all the charts.
The last option is to tick the both switches, due to this, the programme first controls the date of the modification and then the hash.
The recommended settings are to have only „Check Modified Date” ticked, taking into account that the probability of non-regenerating the outdated chart does not mean such a serious complication.
In case the user displays an (outdated) chart image, the hash is controlled at any instance, and the programme reacts to the untimeliness by its regeneration and displaying the refreshed image follows.
The last parameter of this job is „Gap Milliseconds”.
It is an interval between the generation acts of individual chart images.
These are not typically generated one after another, but a time gap is kept here.
Its purpose is to also enable processing the user’s requirement for generating an image without undue delay.
The default value of this parameter is 5000 (i.e. 5s), but if we know that during the period of regeneration the users will stay inactive, this parameter can be significantly reduced or set to 0.
Regenerate Missing Image Job
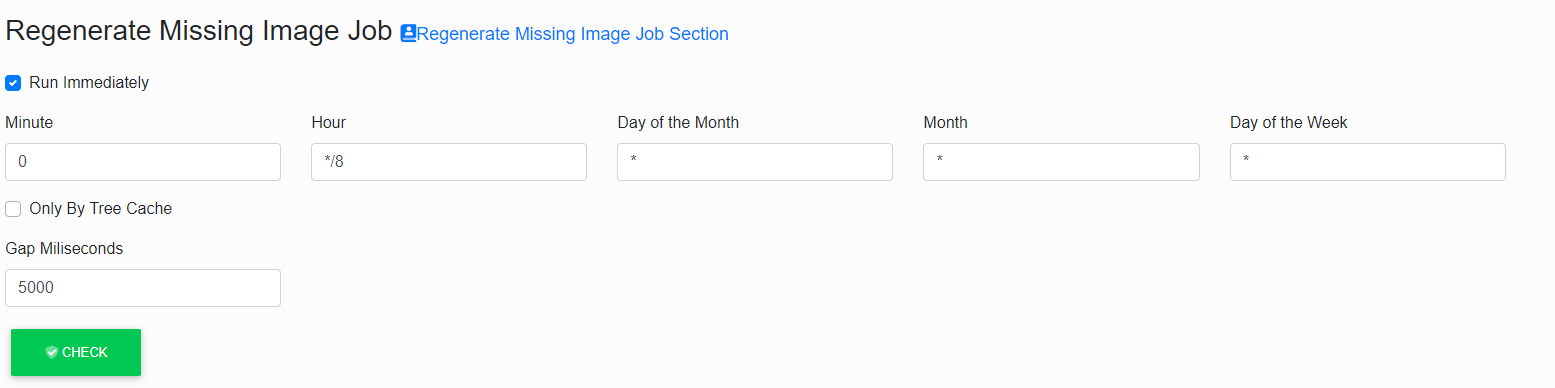
This job has to add generation of the not-yet-created chart images and save them to the disc cache.
It does not work with the already created and in-cache-saved images in any way, not even if they were outdated. (For this purpose, there is „Regenerate Existing Image”.)
The switch „Only By Tree Cache” decides whether the generation focuses only on the charts loaded in the memory cache of the tree (see „Prefetch Repository Cache”).
If this switch is not ticked, the job ensures generating of all chart images that are included in the complete tree.
The last parameter of this job is „Gap Milliseconds”.
It is an interval between the generation acts of individual chart images.
These are not typically generated one after another, but a time gap is kept here.
Its purpose is to also enable processing the user’s requirement for generating an image without undue delay.
The default value of this parameter is 5000 (i.e. 5s), but if we know that during the period of regeneration the users will stay inactive, this parameter can be significantly reduced or set to 0.
Clean Dcom Job
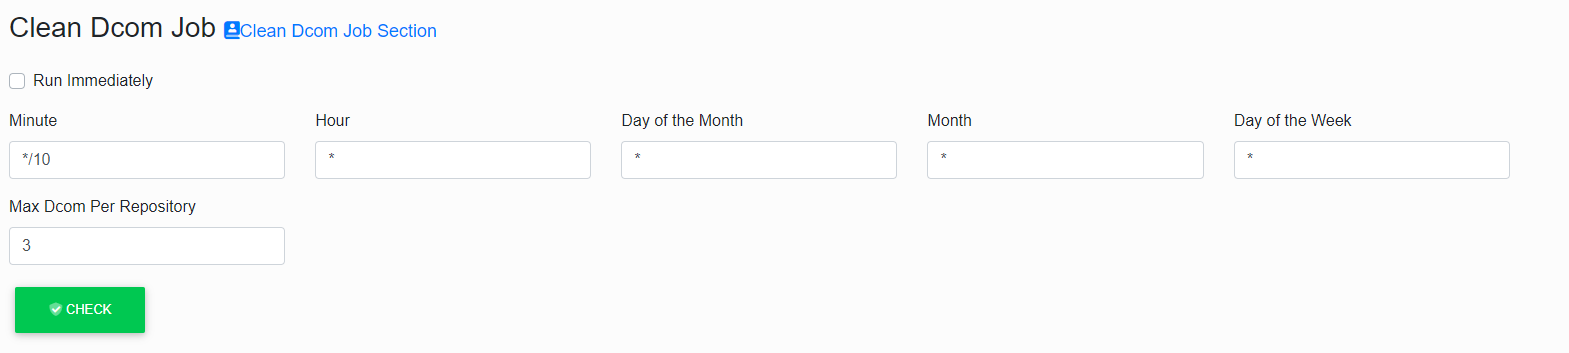
This Job is used to remove redundant (typically non-functional) DCOMs from the operating system’s memory.
DCOM is an intermediary in communication between EAInfoport and Enterprise Architect.
DCOM is most often used to generate diagram images but also for some active operations (such as creating and deleting an artefact).
At least one DCOM is required to connect to each repository.
Sometimes an error occurs in DCOM, and it is then ineligible for further communication.
If this happens, a new instance of DCOM is created immediately in the memory (and transparently for the user) and it will start to be used.
However, the original instance remains in memory at that moment. It is only removed by this cleaning job.
The “Max Dcom Per Repository” parameter specifies the maximum number of tolerated DCOMs in the memory per repository.
This means that the program multiplies this parameter by the number of connected repositories and checks whether the total number of running DCOMs is less than this number.
The “Max Dcom Per Repository” does not distinguish which DCOM “belongs” to which repository.
If the limit is exceeded, all instances of DCOM are deleted from memory and the program then re-creates them when needed.
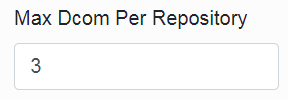
If you run multiple EaInfoport installations on one server (which is possible on different ports), the “Max Dcom Per Repository” parameter must be set with the knowledge that each installation (if this job is active) will count the number of repositories accordingly.
Cleaning Disk Cache Job
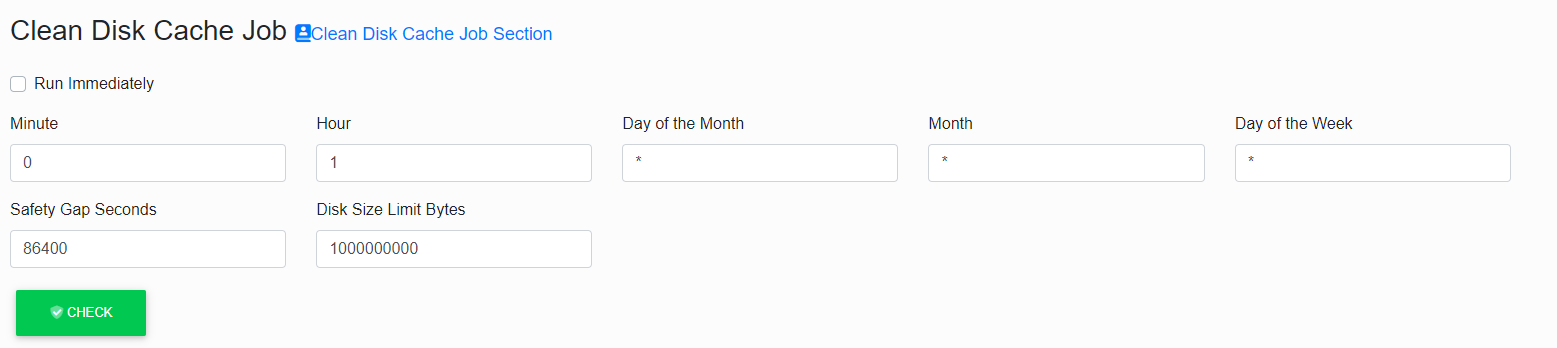
This job is used to clean the disk cache.
Disk cache is a directory on a disk where diagram images are stored so that they can be viewed quickly by users.
Some image files created a long time ago may no longer matter. They take up disk space unnecessarily and can be removed.
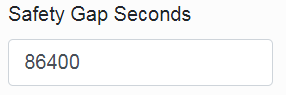
The first of two “Safety Gap Seconds” parameters protects the youngest (latest) files from being deleted.
For example, the default value of 86400 (which is 60*60*24 s) says that files created in the last 24 hours will not be cleaned (deleted), even if their total disk size exceeds the limit (given by the second parameter).
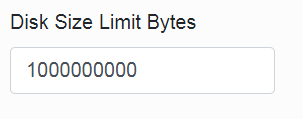
The second “Disk Size Limit Bytes” parameter says what is the maximum total size of files on the disk after cleaning.
The job sorts the image files according to the time they are created and gradually deletes them from the oldest ones until the rest take up less disk space than this limit.
However, if even too “young” files (according to the first parameter) should be deleted, the deletion will end, and the files will take up more space on the disk.
Between runs of this job, it is not monitored (nor regulated) that the files on the disk do not take up much space.
It is advisable to set the size of the “Disk Size Limit Bytes” parameter so that the image files generated by the “Regenerate Missing Image” just fit into the disk limit. If the size limit is lower than the size of images, there is a constant cyclic (i.e. unnecessary) generation and deletion of the same images.
If a diagram image is already stored on the disk, then its regeneration (of course, if its model has not been extended) no longer requires additional disk space.
Setting an email notification server
We have created three notification services to alert users of changes to the diagram
The administrator must set up an email server to be able to send notification emails to users.
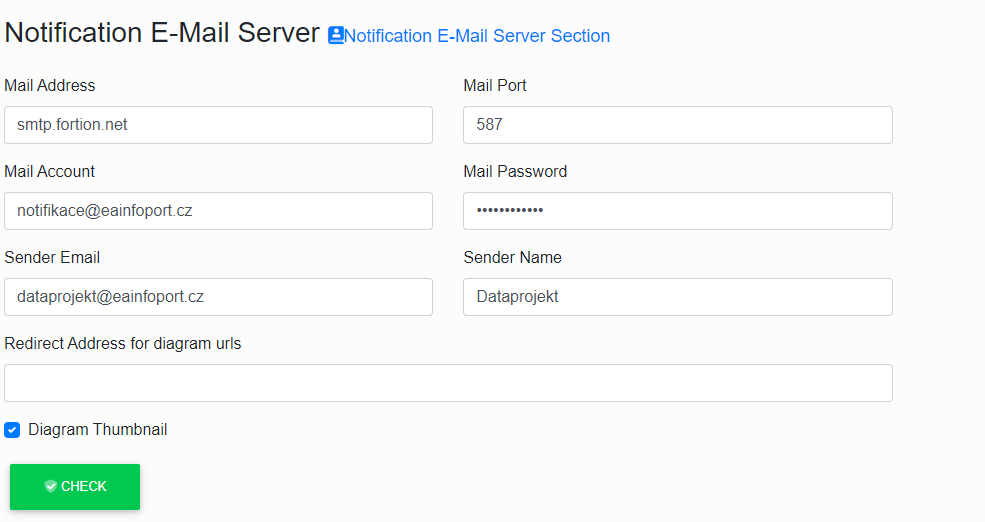
Mail Adress this sets for entering the email server.

Mail Port this sets for entering the email port.

Mail Account this sets for entering the username that has access to the email server.

Mail Password this sets for entering a password for the user.

Sender Email this sets an email that will be shown to users who receive an email notification of a change to the EA diagram.

Sender Name this sets the name that will be displayed to users who receive email notifications of EA diagram changes.

Redirect Address this is a field where the user enters the url of the Infoport so that the user can refer to the portal via a link in the email.

Diagram Thumbnail is a checkbox to determine if we want to send users smaller diagram images in emails.
Notification Hour Job
The basic parameter for each job is information about the frequency with which it will run.
It is possible to set it to run every minute, or maybe just once a month.
The syntax known as CRON is used for this and there are always five items in the configurator (Minute, Hour, Day of the Month, Month and Day of the week).
For each job it is also possible to set whether it should be run immediately after the application (server) start by checking the "Run Immediately" item.

This job has the task of sending the user an email notification about a change on the diagram.
If it does not detect any change on the diagram, it does not send the notification.
If it detects a change on the diagram, the job sends an email notification on the diagram with the change made.
The user can see an "information bar" icon on the diagram which, when clicked, informs what type of notification is set.
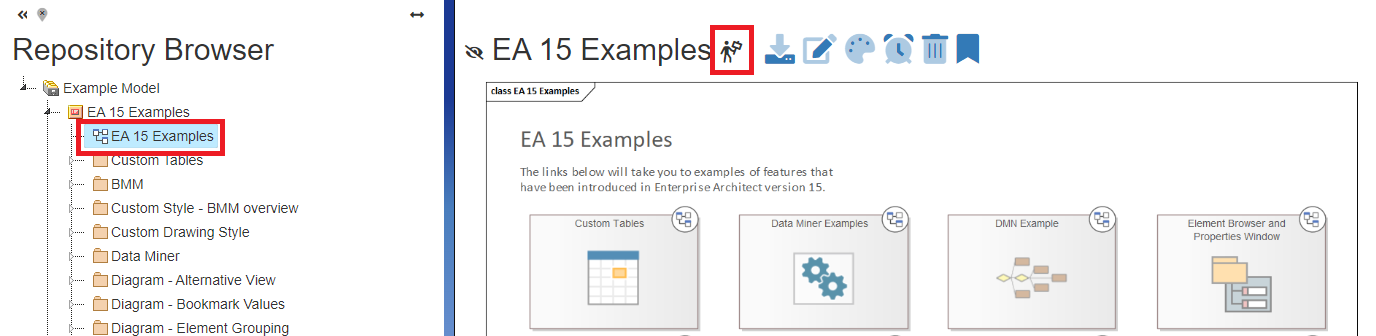
To set up an hourly notification, the user must click on the icon  and when the icon changes the sending of the diagram is set.
Notification Day Job
The basic parameter for each job is information about the frequency with which it will run.
It is possible to set it to run every minute, or maybe just once a month.
The syntax known as CRON is used for this and there are always five items in the configurator (Minute, Hour, Day of the Month, Month and Day of the week).
For each job it is also possible to set whether it should be run immediately after the application (server) start by checking the "Run Immediately" item.
This job has the task of sending the user an email notification about a change on the diagram.
If it does not detect any change on the diagram, it does not send the notification.
If it detects a change on the diagram, the job sends an email notification on the diagram with the change made.
The user can see an "information bar" icon on the diagram which, when clicked, informs what type of notification is set.
To set up an daily notification, the user must click on the icon  and when the icon changes the sending of the diagram is set.
Notification Week Job
The basic parameter for each job is information about the frequency with which it will run.
It is possible to set it to run every minute, or maybe just once a month.
The syntax known as CRON is used for this and there are always five items in the configurator (Minute, Hour, Day of the Month, Month and Day of the week).
For each job it is also possible to set whether it should be run immediately after the application (server) start by checking the "Run Immediately" item.

This job has the task of sending the user an email notification about a change on the diagram.
If it does not detect any change on the diagram, it does not send the notification.
If it detects a change on the diagram, the job sends an email notification on the diagram with the change made.
The user can see an "information bar" icon on the diagram which, when clicked, informs what type of notification is set.
To set up an weekly notification, the user must click on the icon  and when the icon changes the sending of the diagram is set.
Database Maintenance
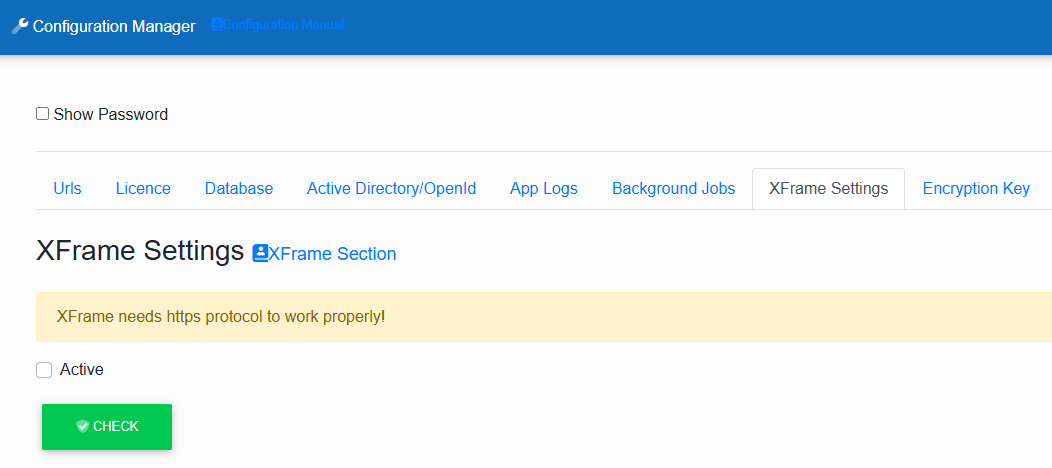
X Frame
The portal administrator now has a new option in the configuration. If you want to enable the XFrame feature you must have Https protocol enabled and we recommend to enable this feature only in the internal network. The feature allows you to embed the entire portal via html iframe into other applications.
Trust Server Certificate
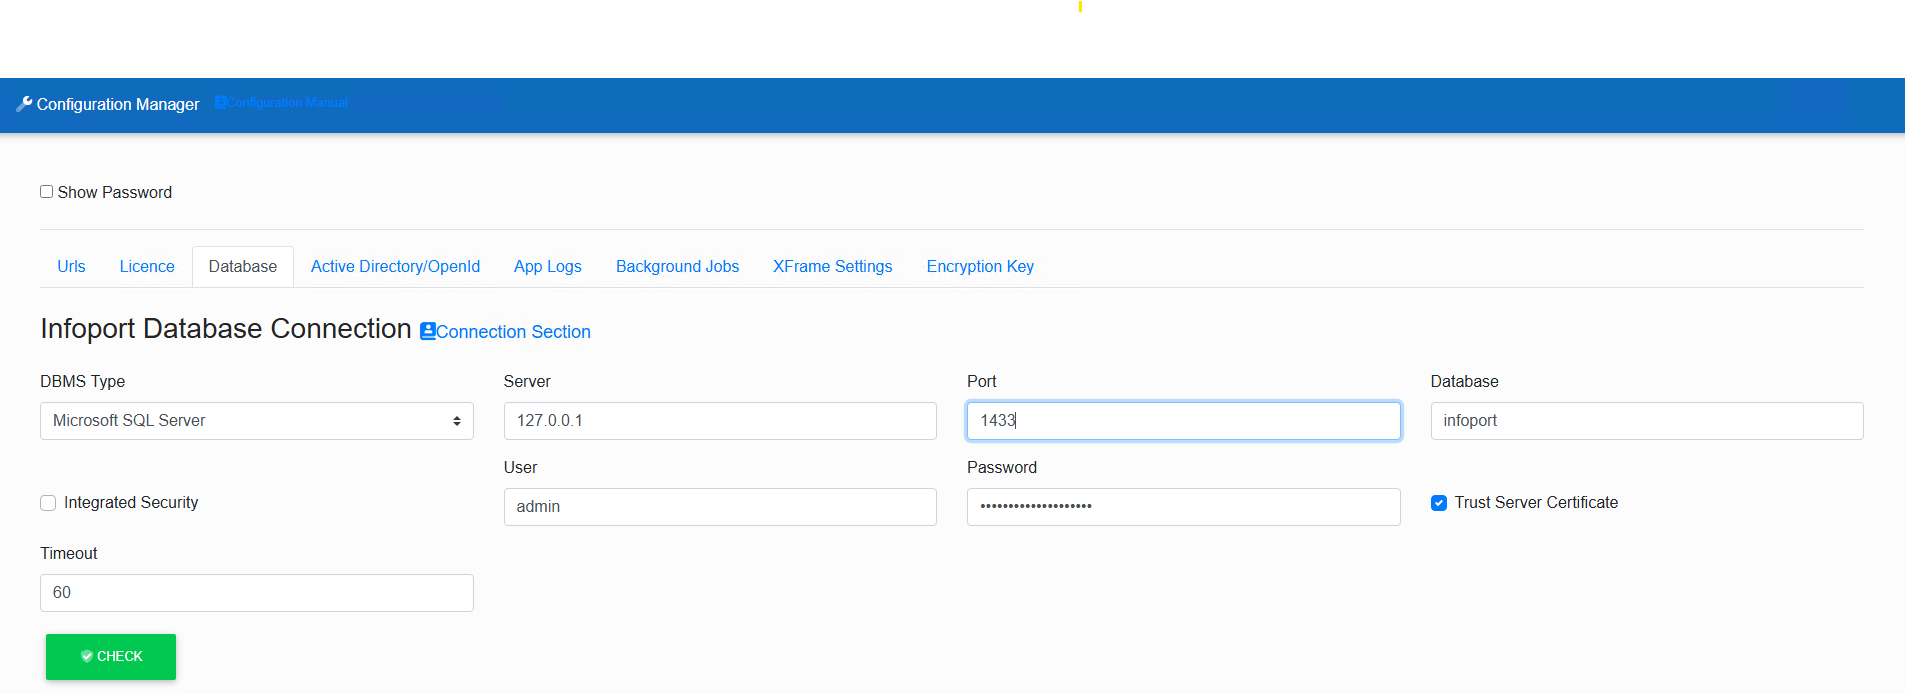
For EaInfoport version 8.8.0 and higher for the MSSQL database it is necessary to have a verified certificate.
In case of test versions, the requirement for this certificate can be disabled by setting:
Configuration Manager>Databases>Trust Server Certificate
If the configuration is not possible (Infoport will not start) then this can be set manually in appsetting.json by adding the parameter "TrustServerCertificate=True;" to the Connection string.
The setting must also be added to >Manage Repository>edit> EA Database Connection (this is not ODBC!) to all existing repositories.
If necessary, contact the helpdesk .