Portal Management
Portal administration can only be viewed by a logged-in user with Portal Administrator privileges.
- Portal Management
- User Management
- Creating a new user in the portal
- Edit users in the portal
- Removing a user from the portal
- Permissions to a user in the portal
- Assigning permissions to a user in the portal
- Removing permissions from a user in the portal
- List of Repositories and Repository permissions
- Assignment Repository and Repository permissions to a user in the portal
- Removing Repositories and Repository permissions from a user in the portal
- List of Deleted Users
- Permissions Management
- Assigning Portal Permissions to a user
- Remove Portal Permissions from a user
- Repositories Management
- Active Directory Management
- Configuration Manager
- Statistics
- Overview of notification subscriptions
- Login of a user who does not have an OpenID group assigned
- Login of a user who does not have an Active Directory group assigned
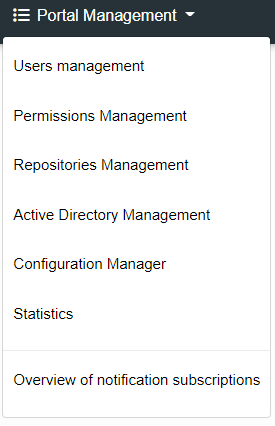
Portal Management
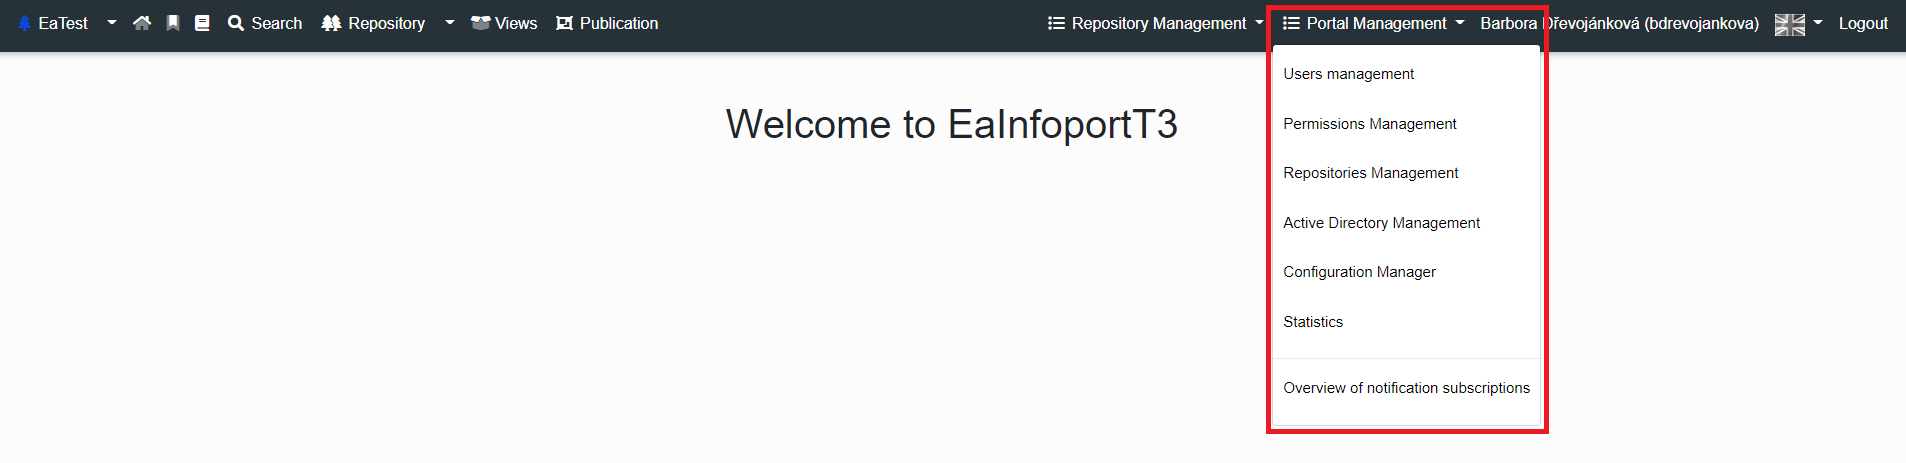
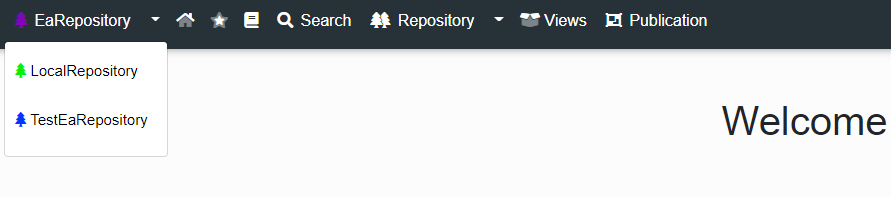
On the right side of the Infoport header we can see a Dropdown menu called Portal Administration (Only logged in user with Portal Administrator permission).
User Management
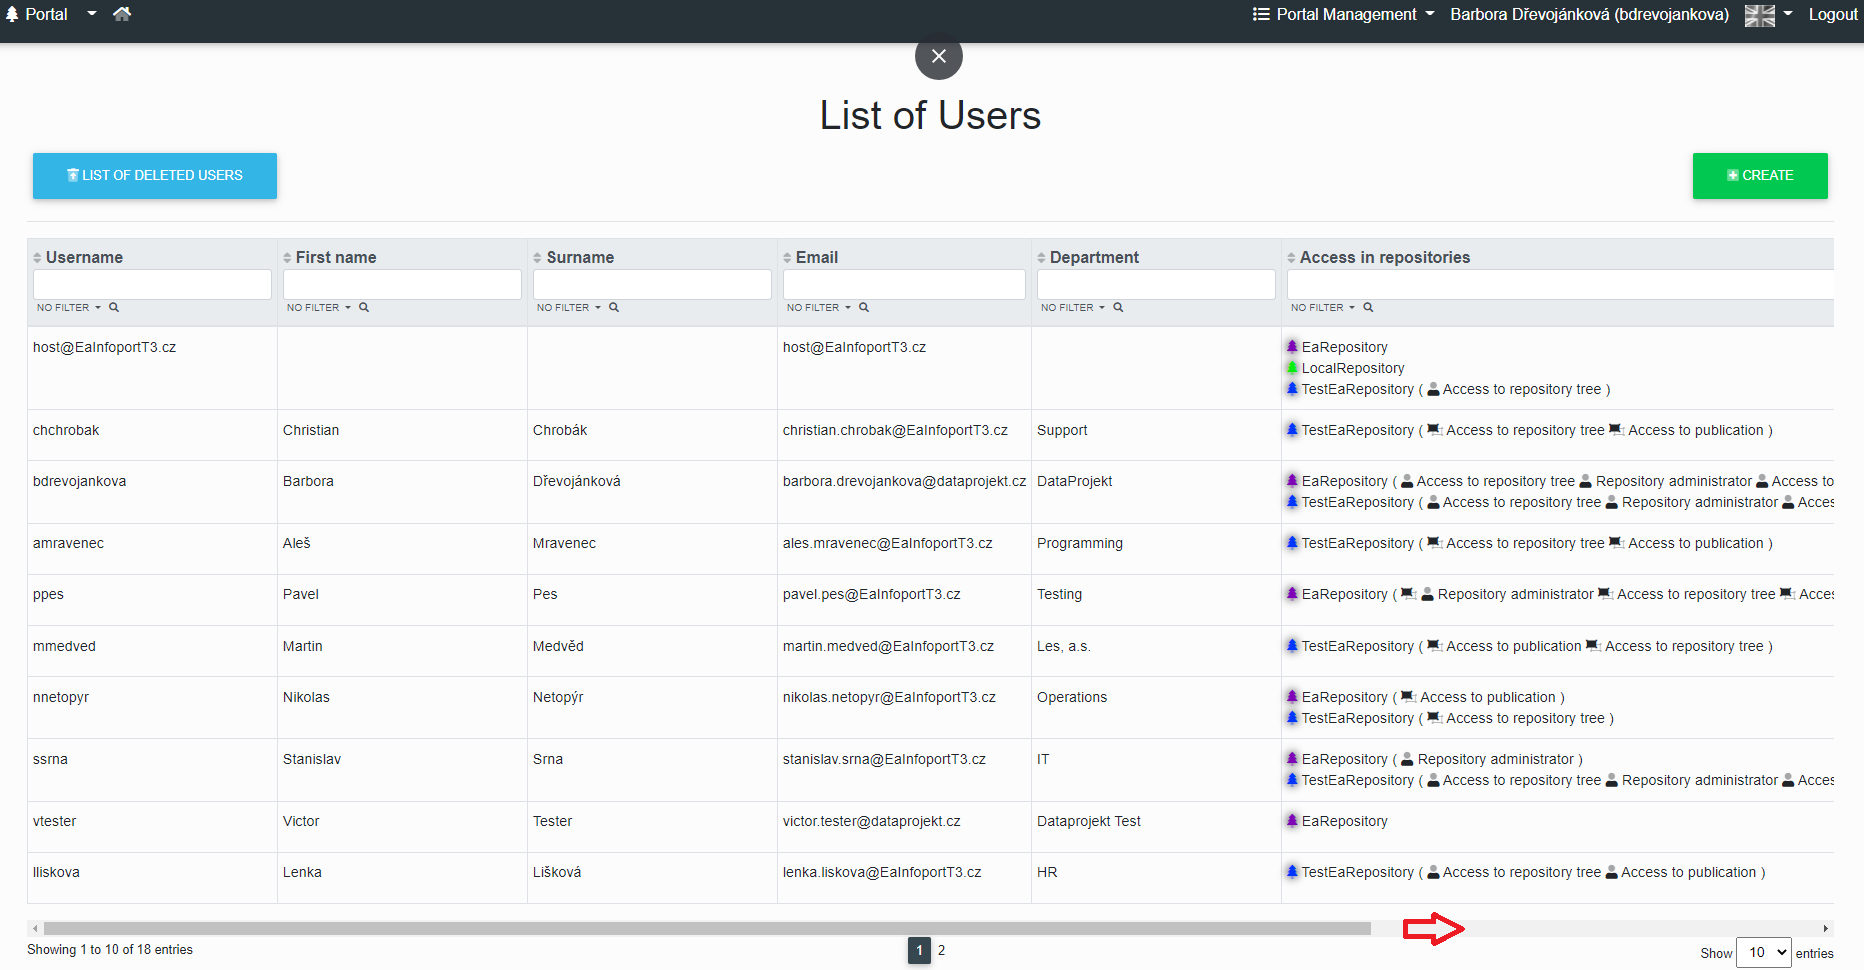
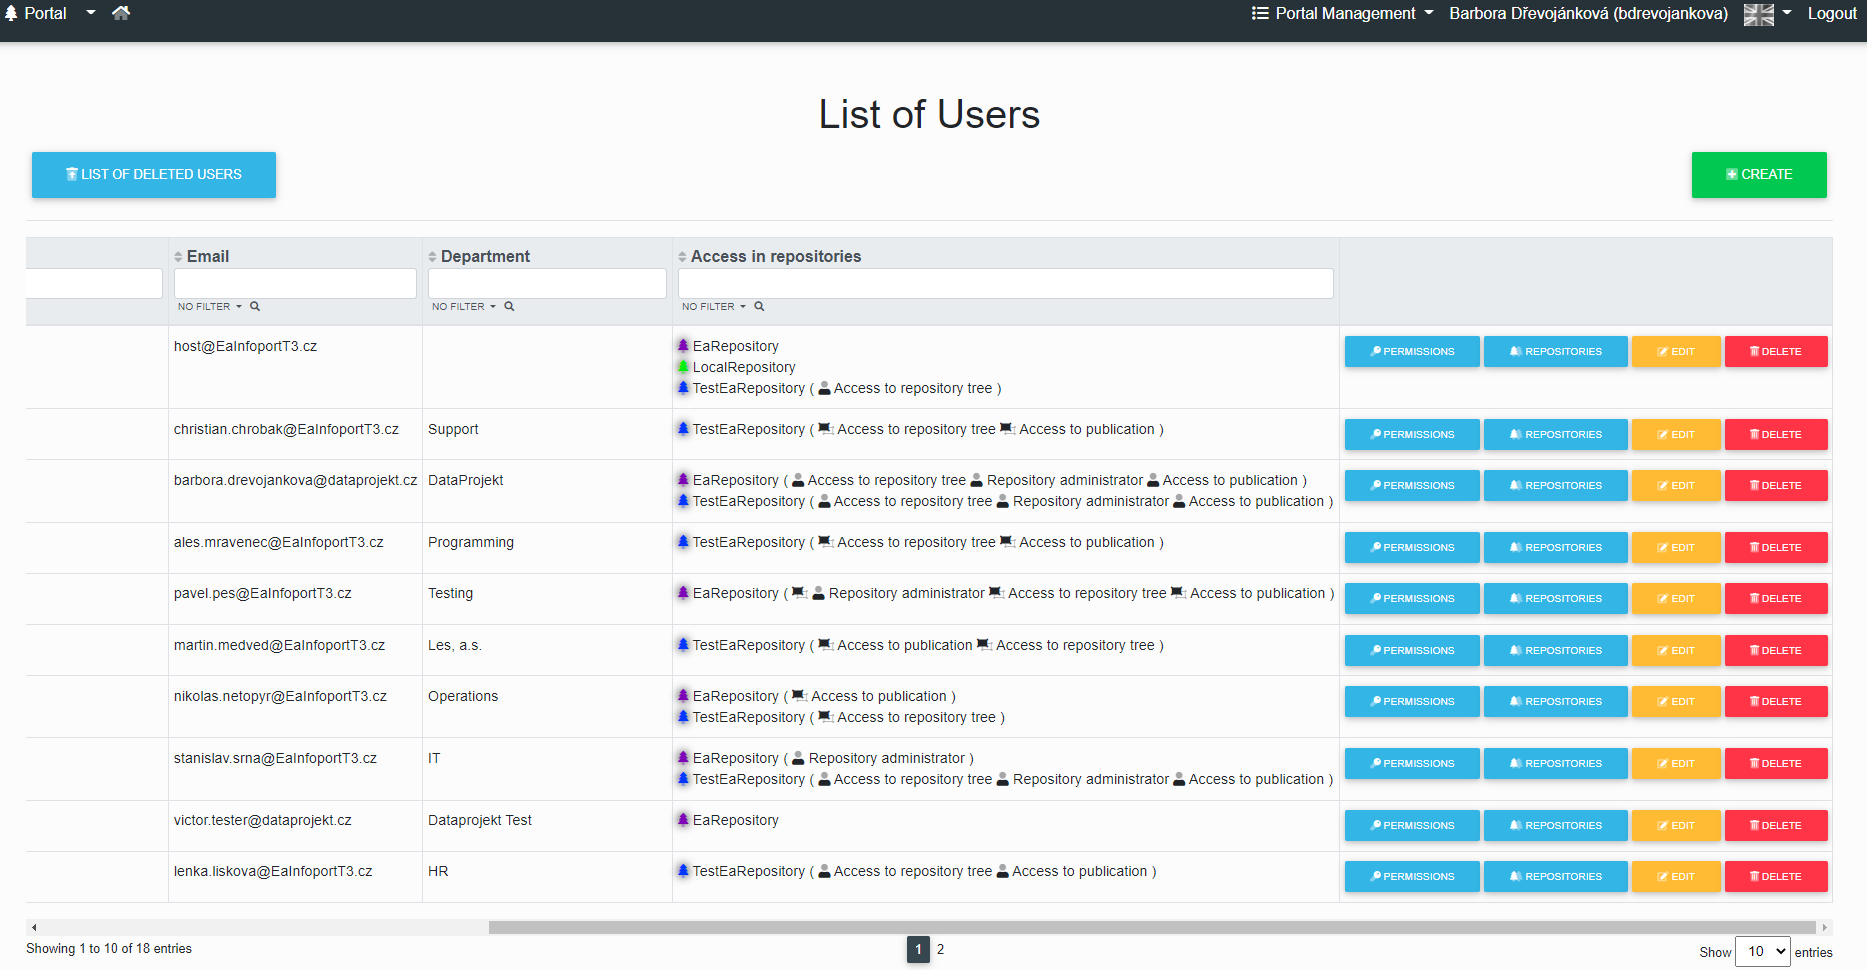
A user with portal administrator rights can view the list of users of the entire portal, where he can change the user's password, set basic permissions to the portal (to the repository, the publishing module or set him as an administrator).
Infoport has its own user repository that is independent of the Enterprise Architect repository. In practice, this means that portal users (unlike in previous versions) do not need to have an account in the EA repository at the same time. However, the account can be linked in the portal and in EA for proper display of edit locks and so on. The user list is filterable, searchable and optimized for a large number (thousands) of users.
Users are recorded at the level of the entire portal, not at the level of individual repositories. This is so that if a user has access to multiple repositories, they can quickly switch between them.
Users are then assigned access to individual repositories. It also ensures that the administrators of each repository do not see a list of all users - so that, for example, the repository administrator of one vendor does not see the users of another vendor.
- Creating a new user in the portal
- Edit a user in the portal
- Remove a user in the portal
- Permissions to a user in the portal
- List of repositories and repository permissions
- List of deleted users
Creating a new user in the portal
To create a new user, the portal administrator clicks the "Create" button in the User List.

The following dialog is displayed to the portal administrator.
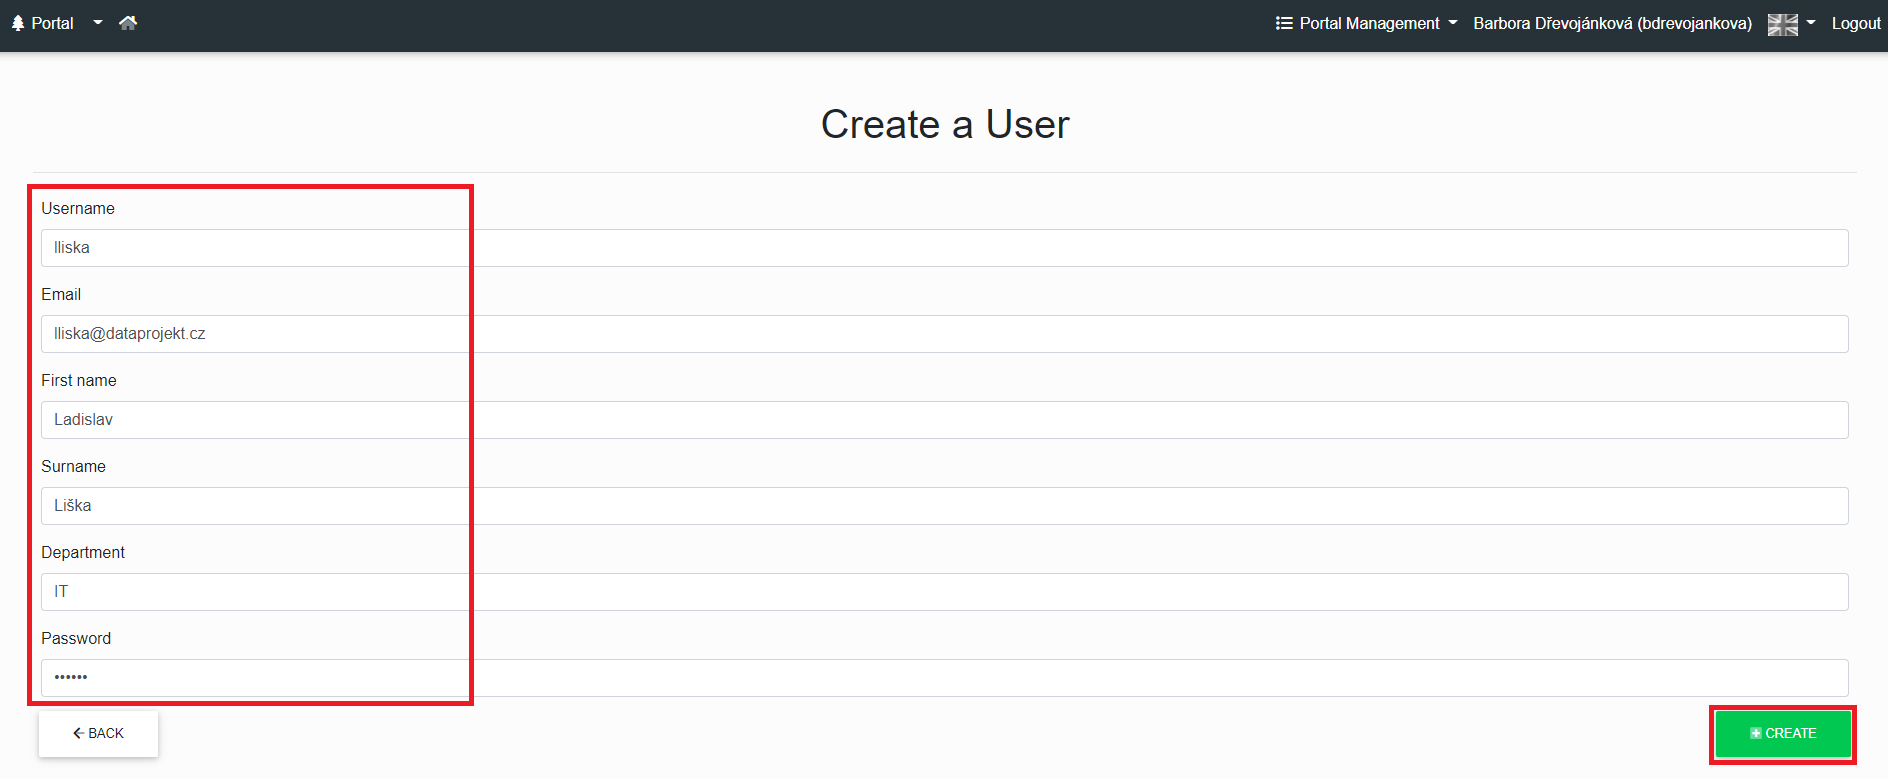
After filling in the details, the portal administrator clicks on the "Create" button , then the administrator will see the message "Successfully created".
After clicking on the "Back" button, the administrator is redirected to the table with users, where he can use the filter to find the currently created user.
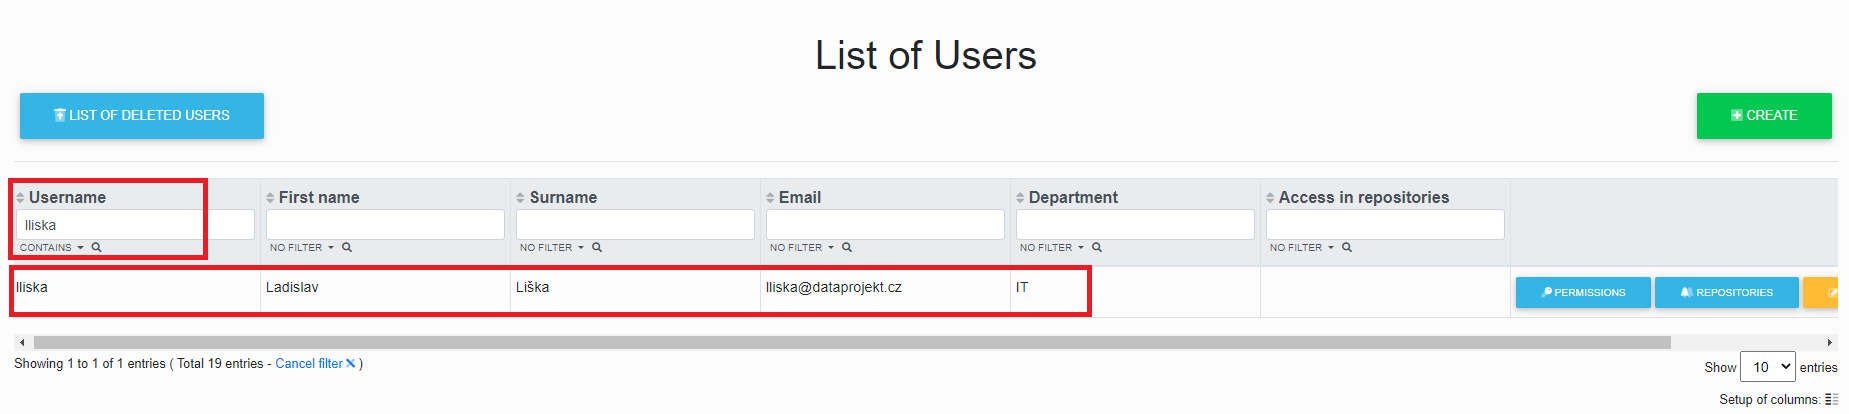
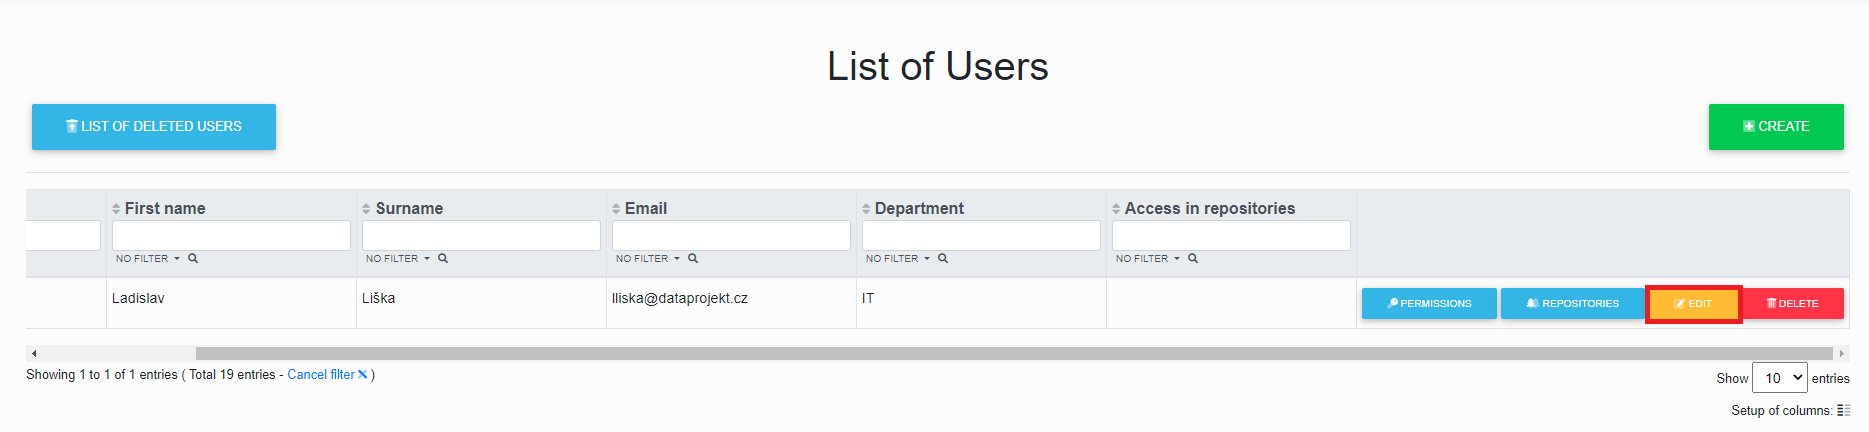
Edit users in the portal
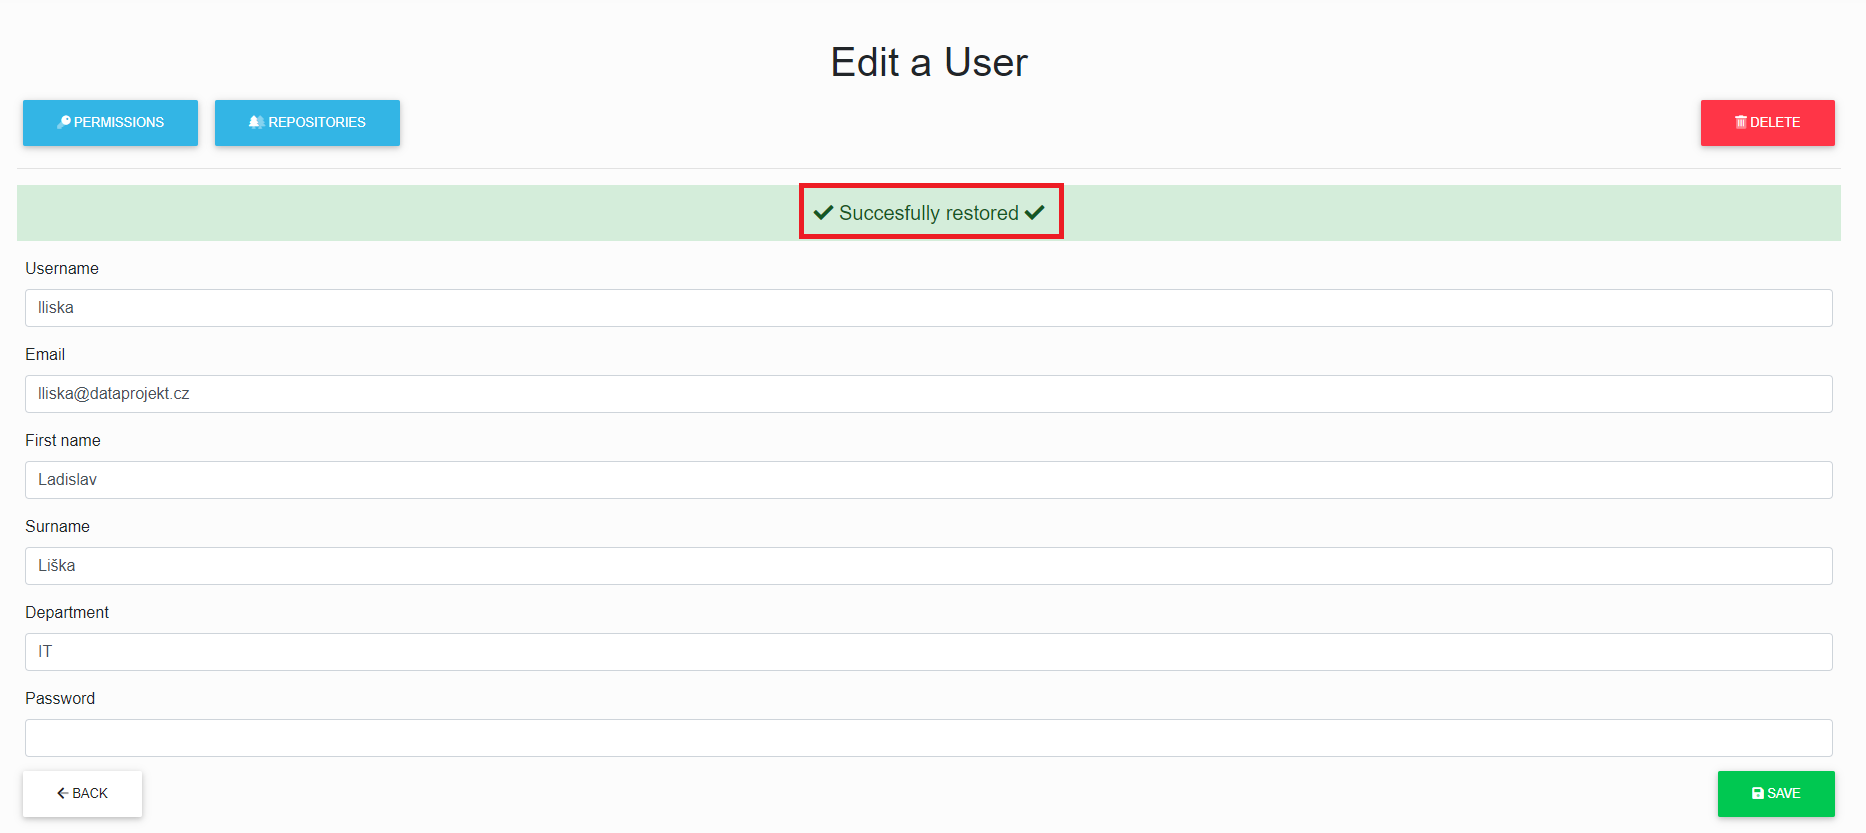
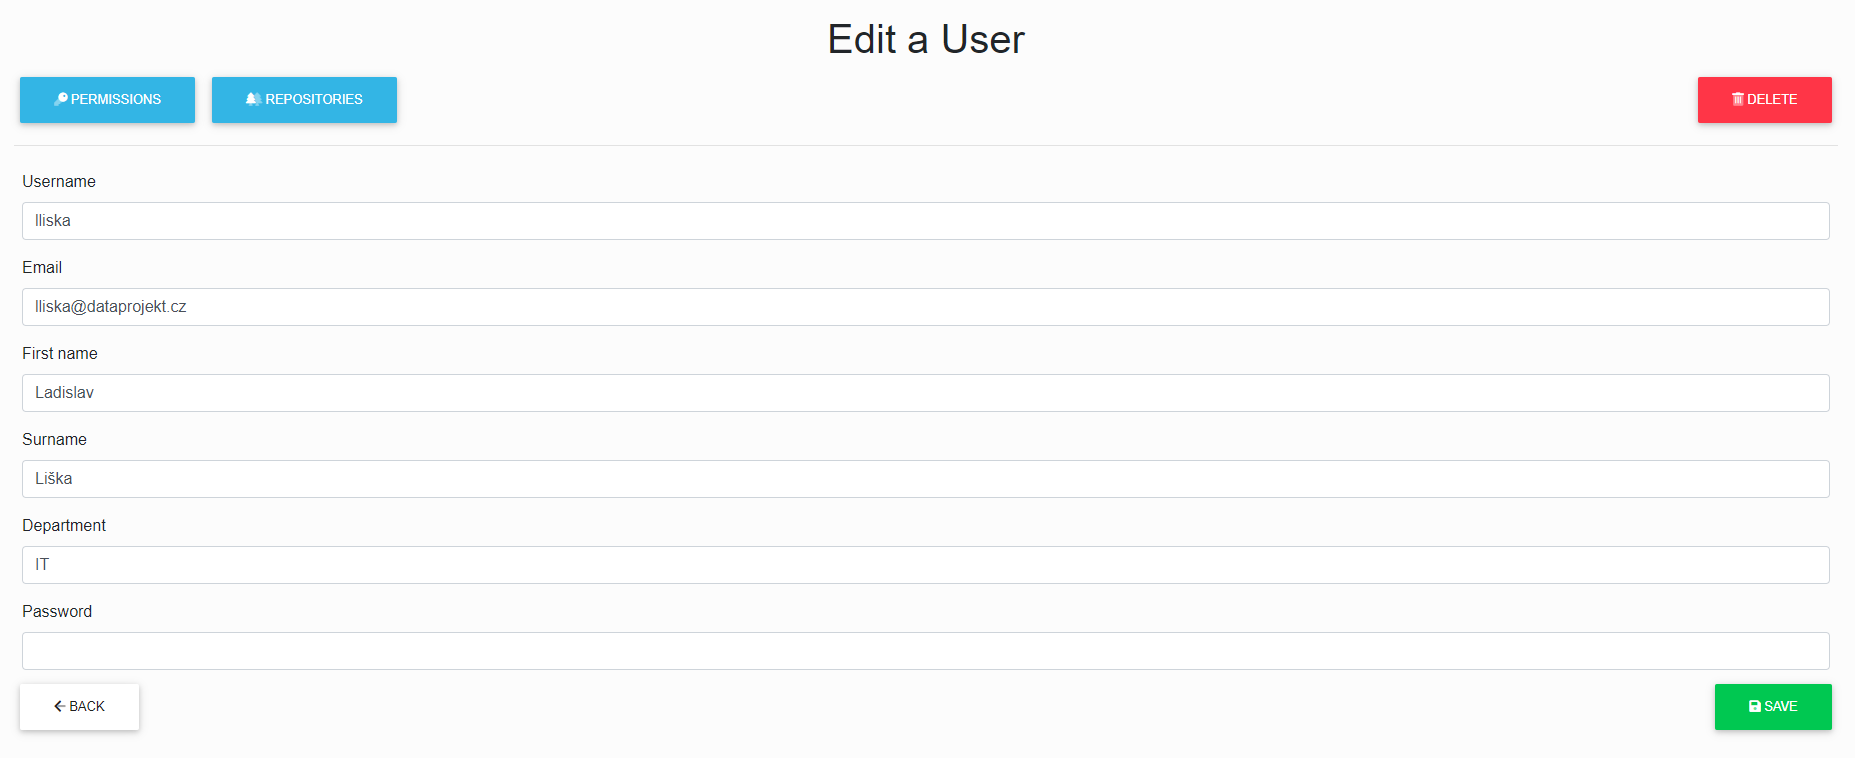
To edit a user in the portal, the administrator clicks the "Edit" button.
The administrator will see the following dialog, where he can edit the "login, email, first name, last name, department and password" of the user, he can delete the user and he can also assign and change permissions and repositories to the user.
Removing a user from the portal
To remove/delete a user, the portal administrator clicks on the "Delete" button in the User List.

After deletion, the administrator will see the message "Successfully deleted".
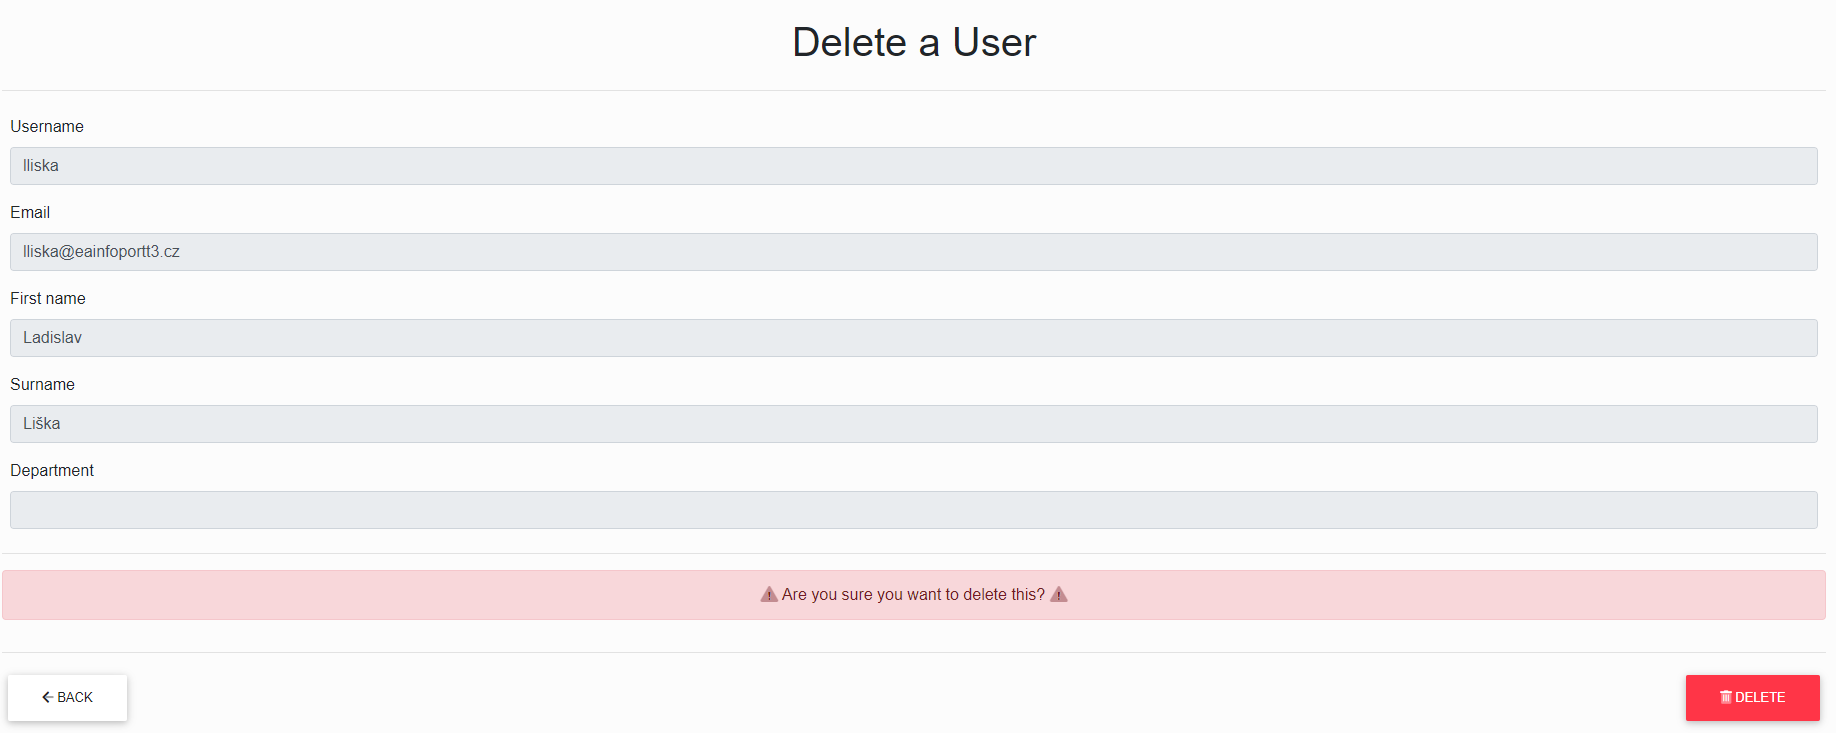
The user will still exist in Infoport and to restore the user, just create a user with the same name and email or go to the list of deleted users.

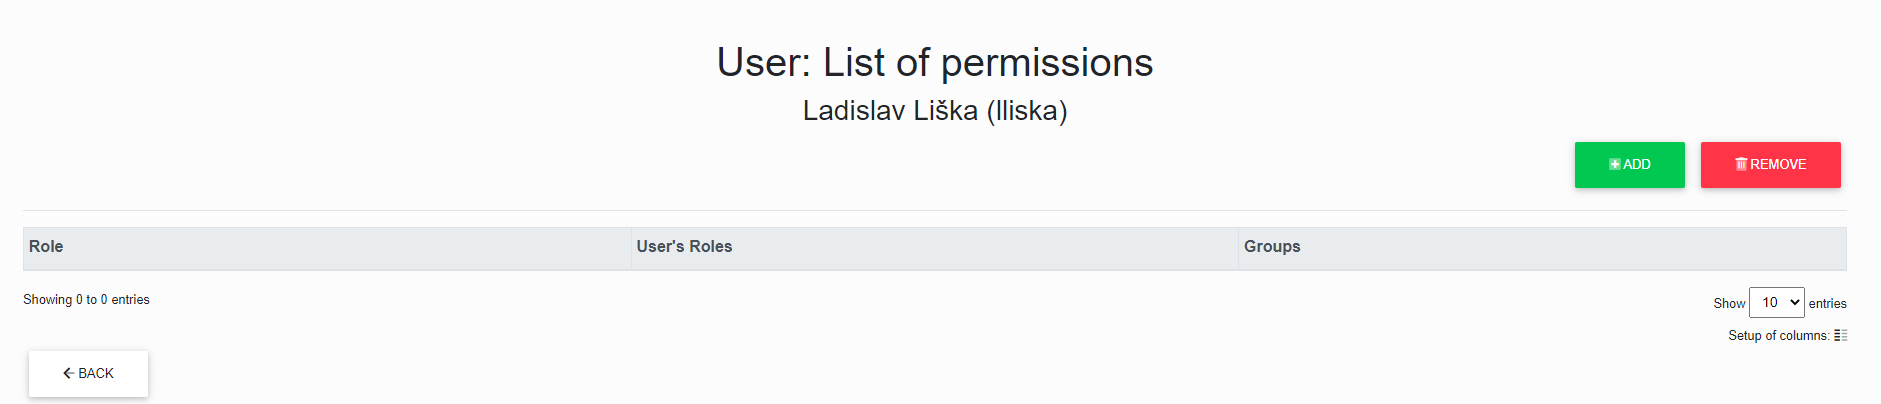
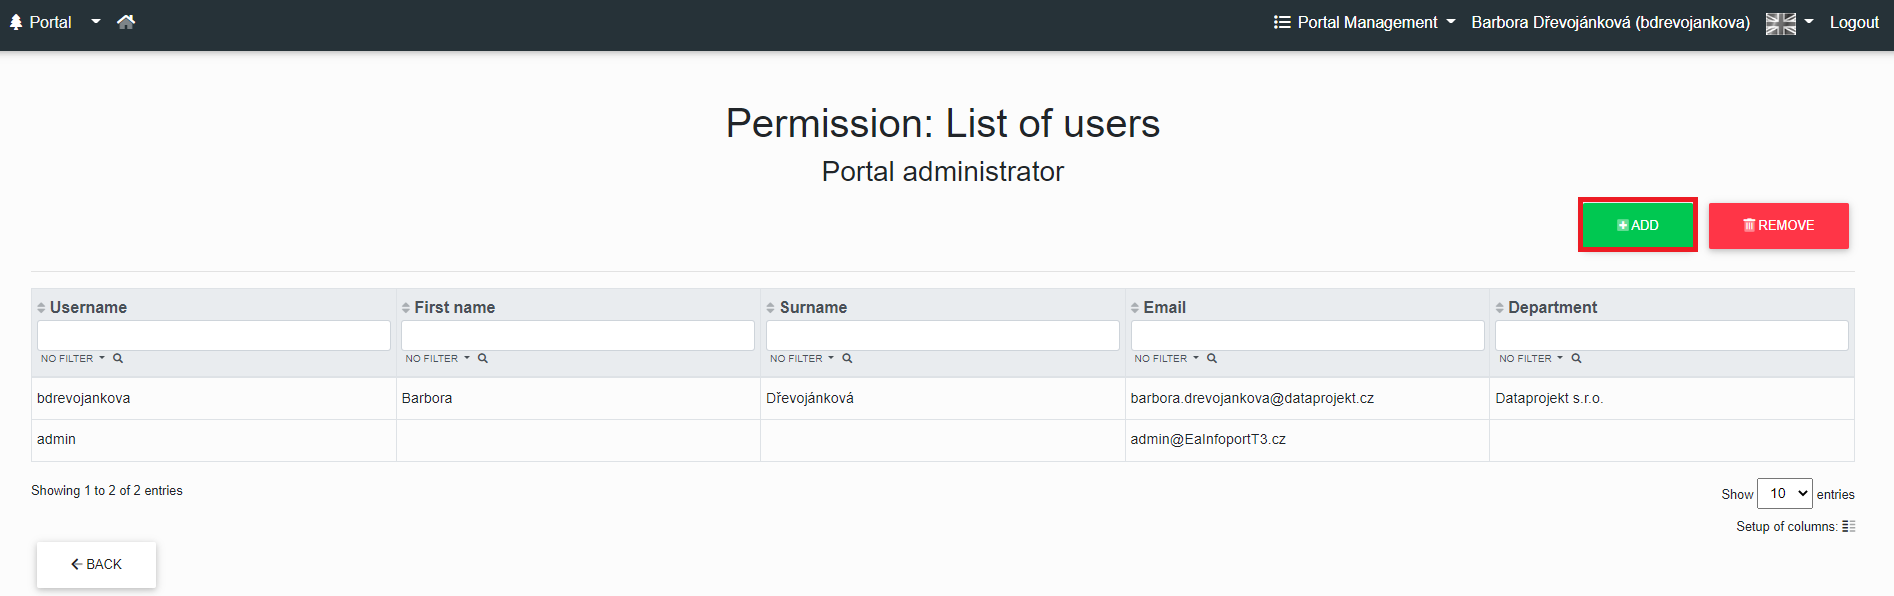
Permissions to a user in the portal
The portal administrator can assign the user "Portal Administrator"; to assign this permission, the administrator clicks the "Permissions" button.

The portal administrator will see the following dialog with "Add" buttons to add permissions and "Remove" buttons to remove permissions.
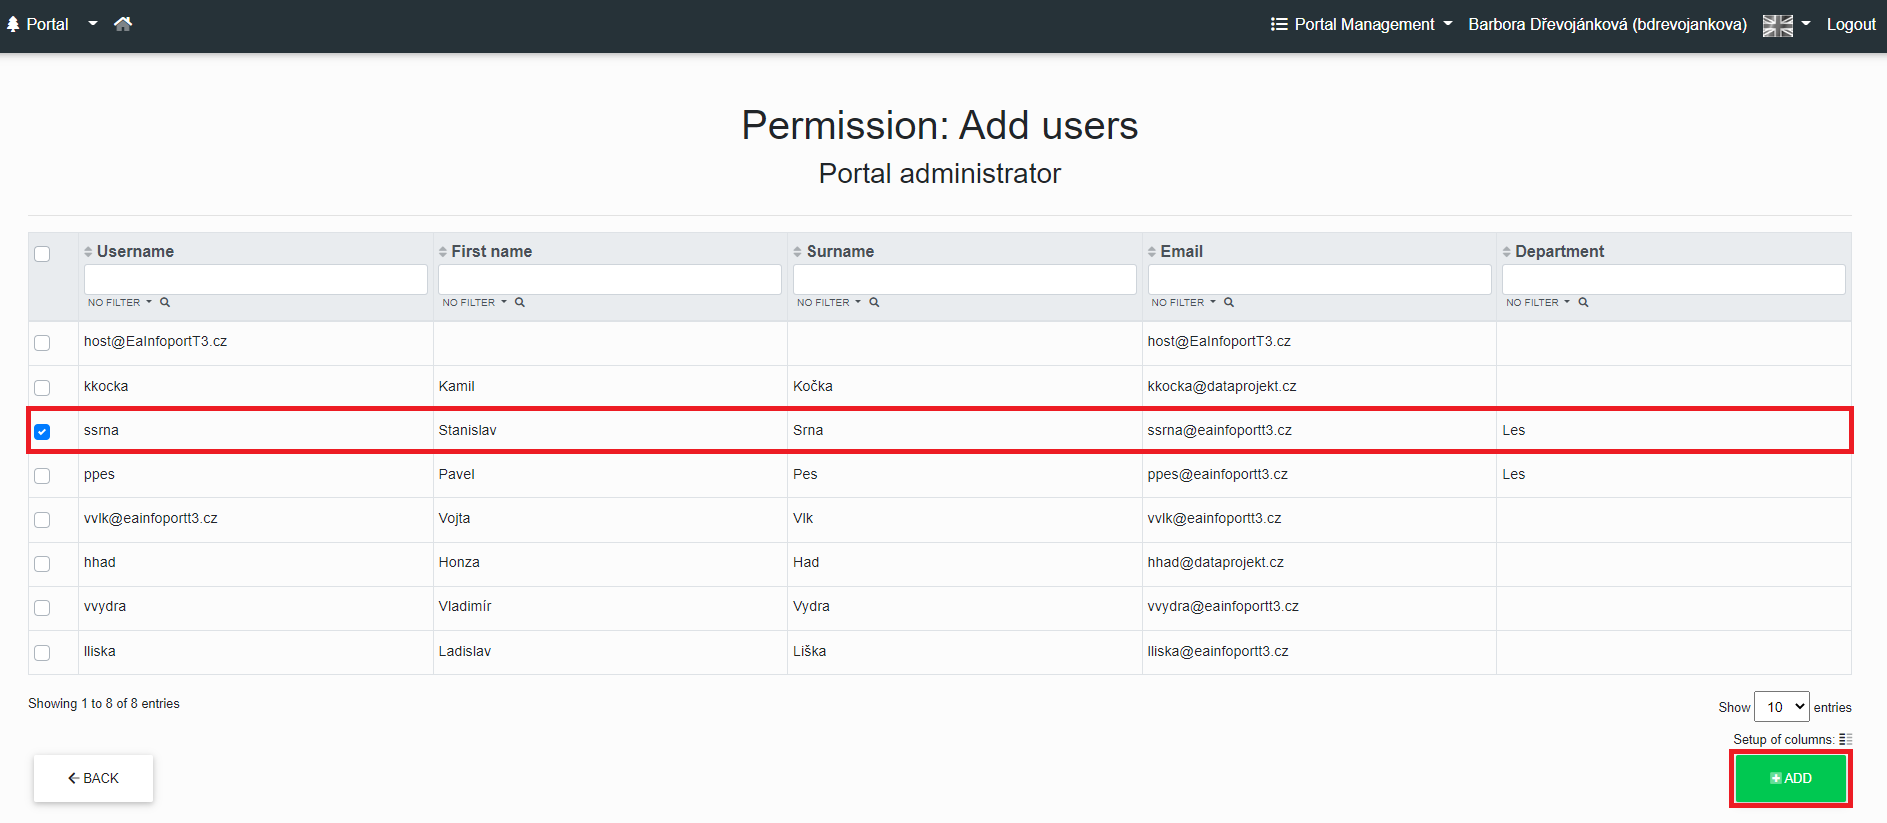
Assigning permissions to a user in the portal
The portal administrator can assign a "Portal Administrator" to a user.
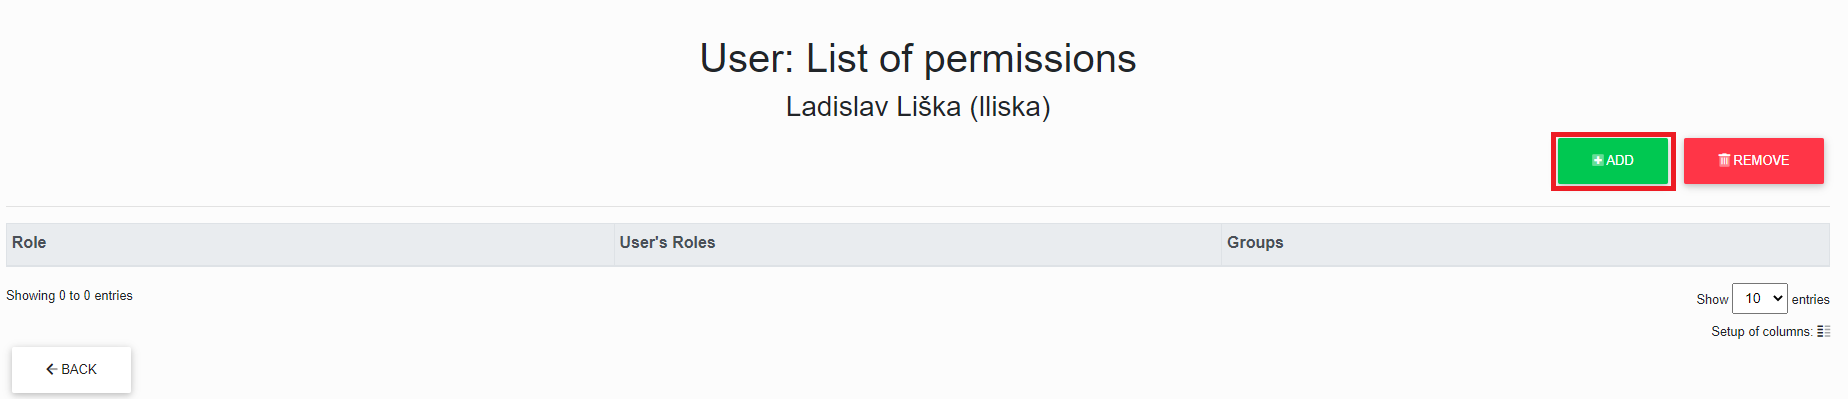
After clicking the "Add" button, the administrator is redirected to the table of the user to whom he wants to add the "Portal Administrator" right.

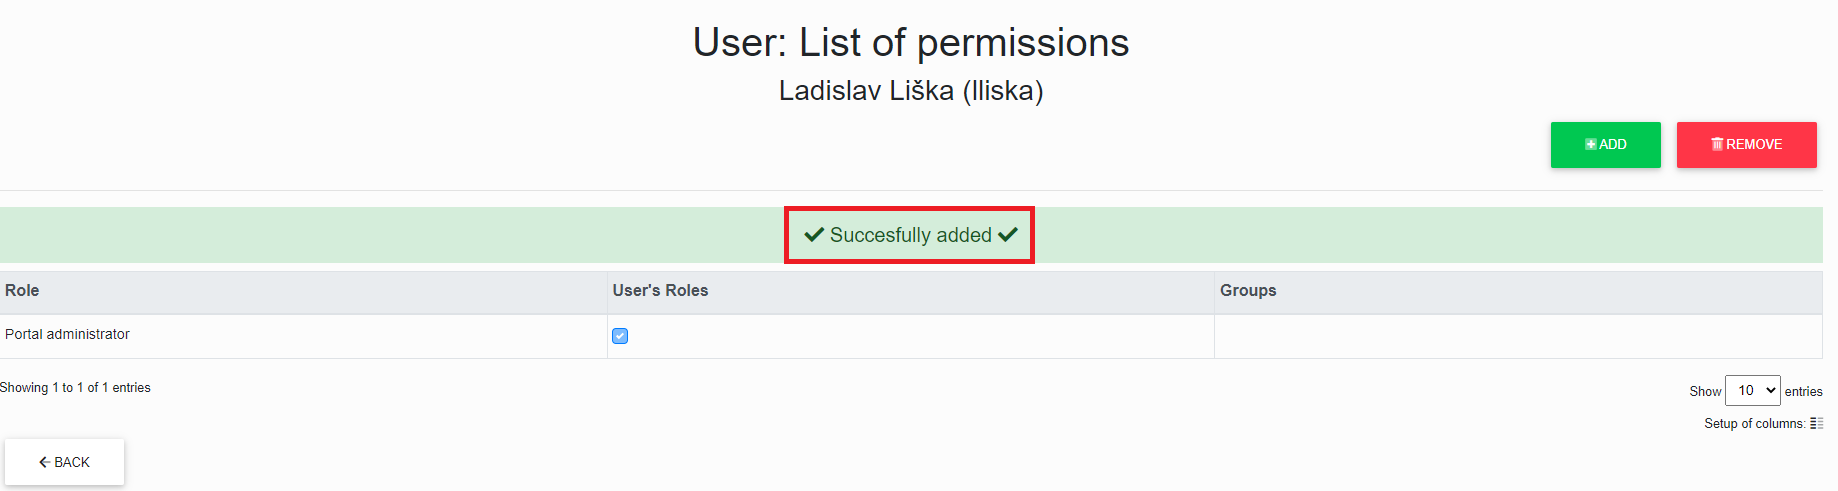
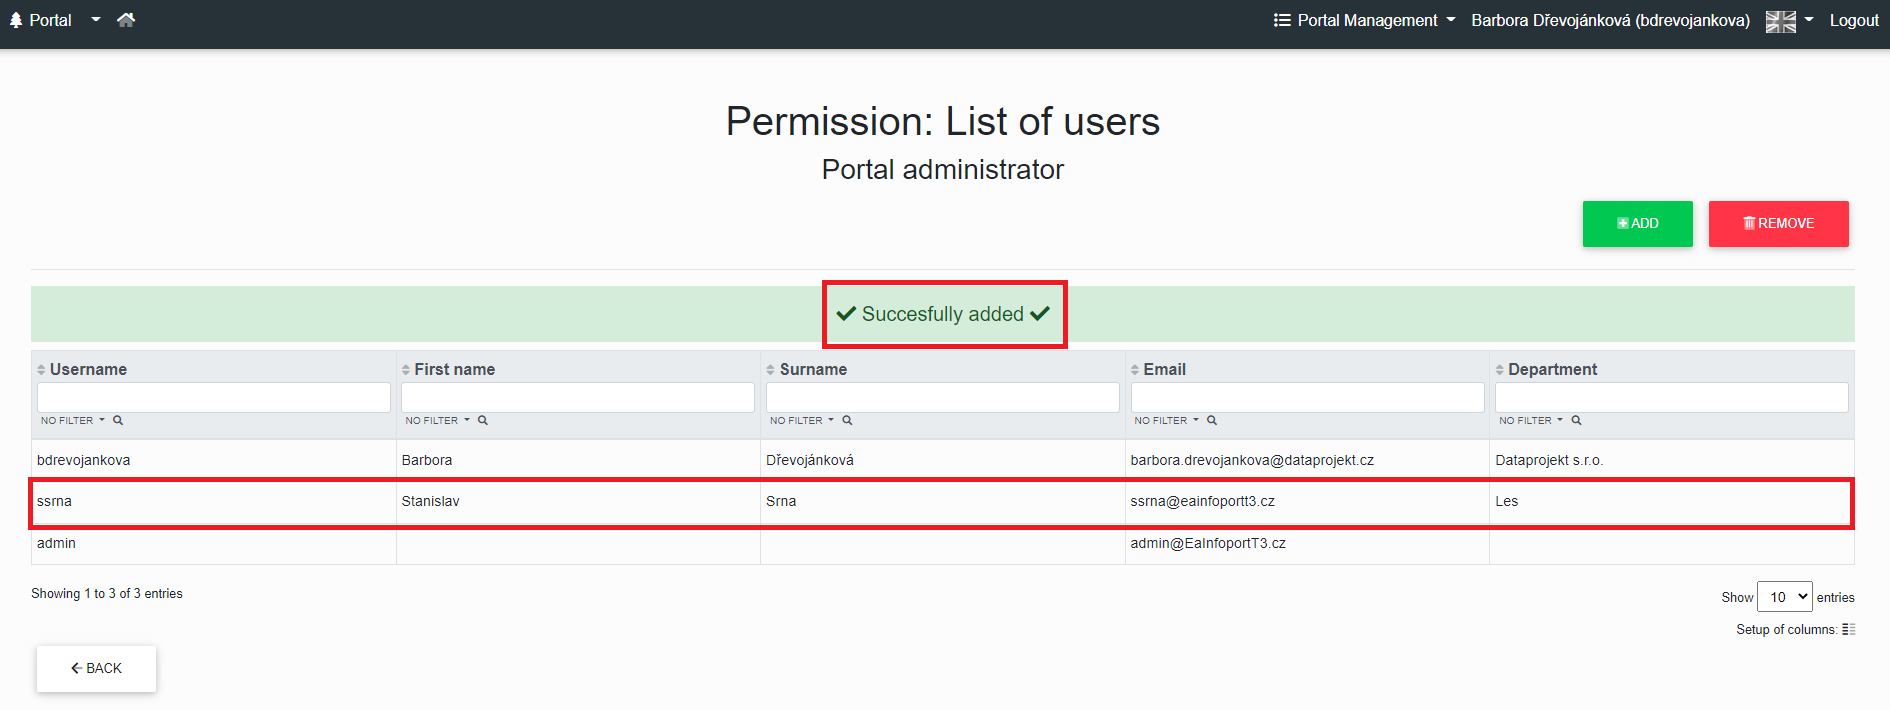
After checking the checkbox, the administrator clicks the "Add" button, then the administrator will see the message "Successfully added".
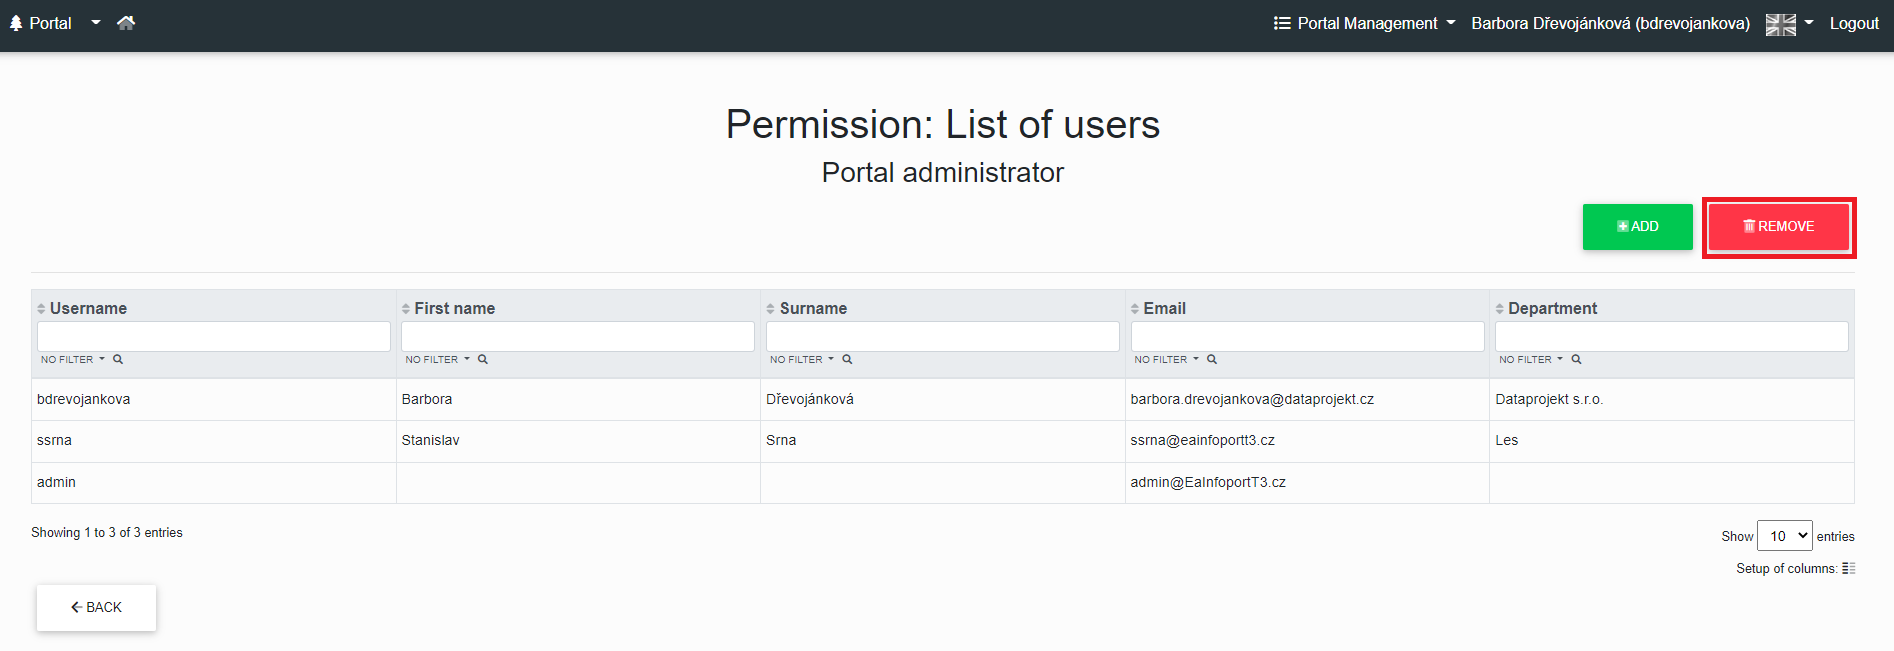
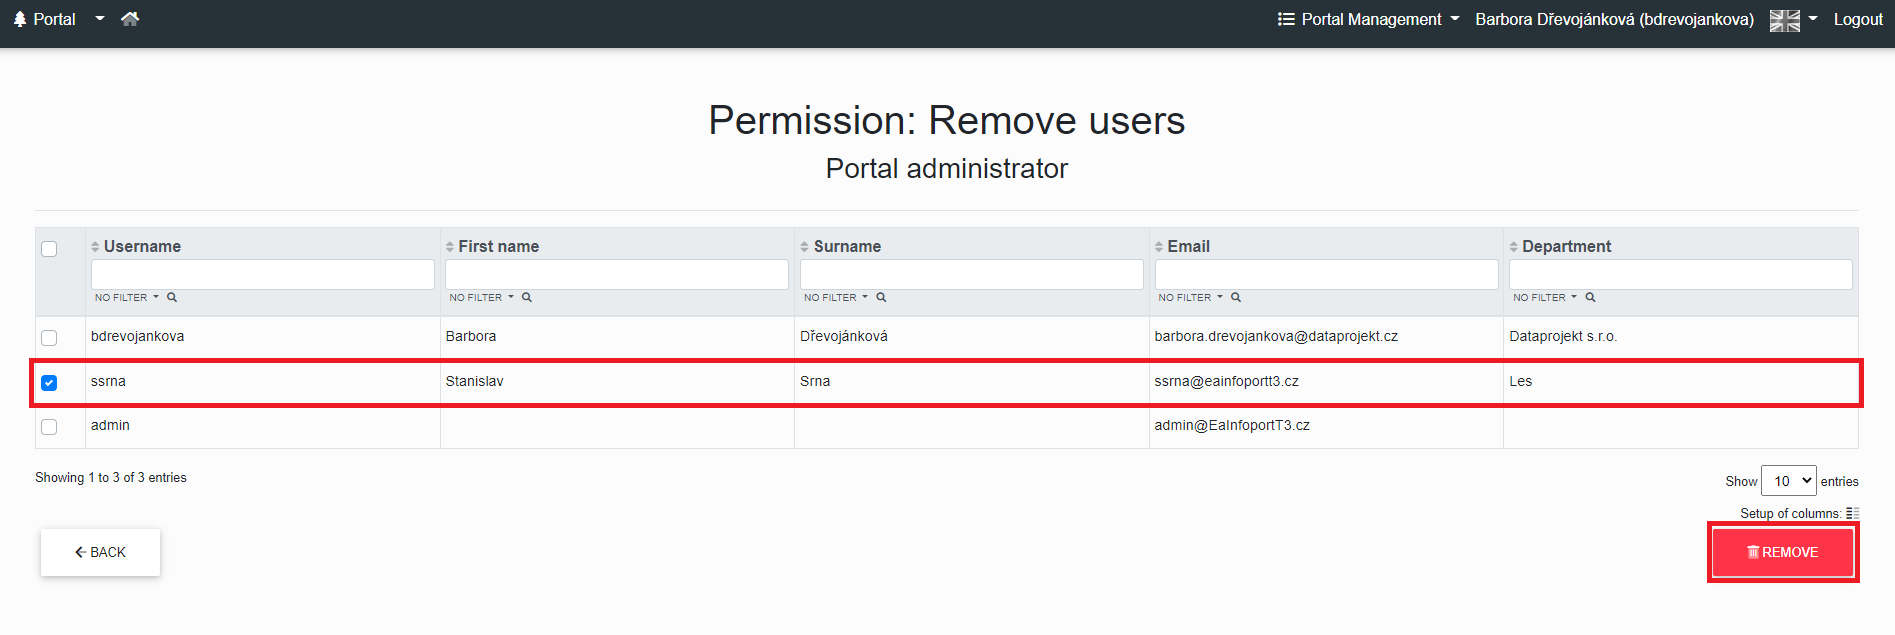
Removing permissions from a user in the portal
The portal administrator can remove a "Portal Administrator" to a user.
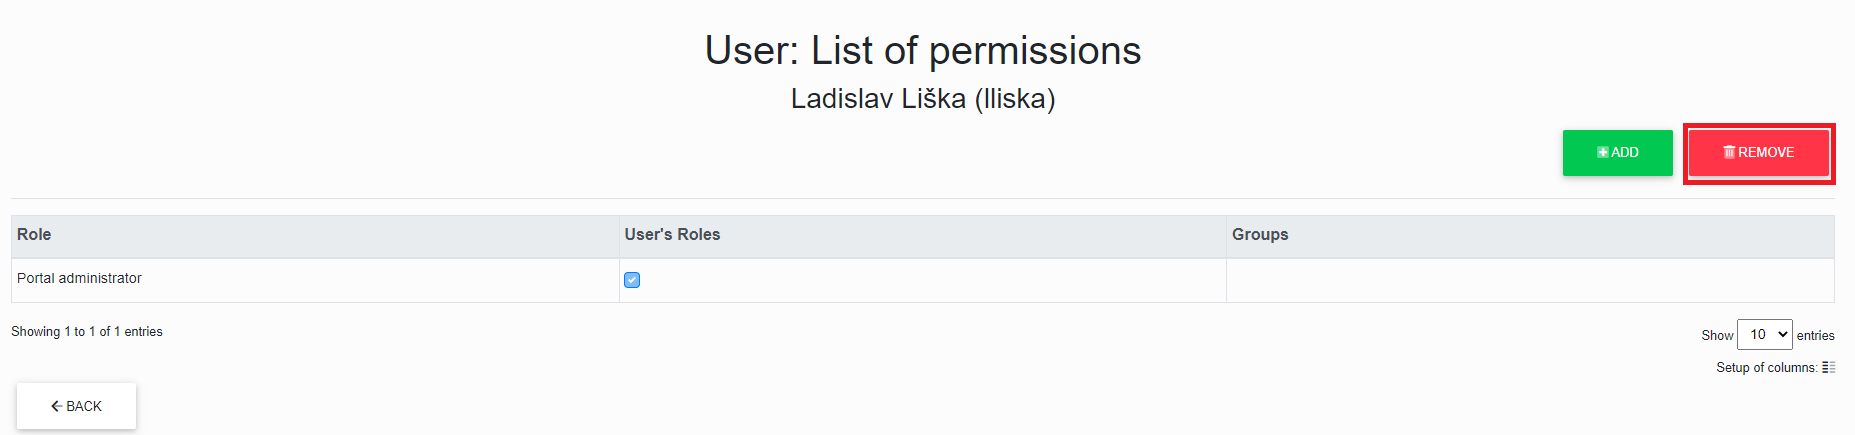
After clicking the "Remove" button, the administrator is redirected to the table of the user to whom he wants to remove the "Portal Administrator" right.
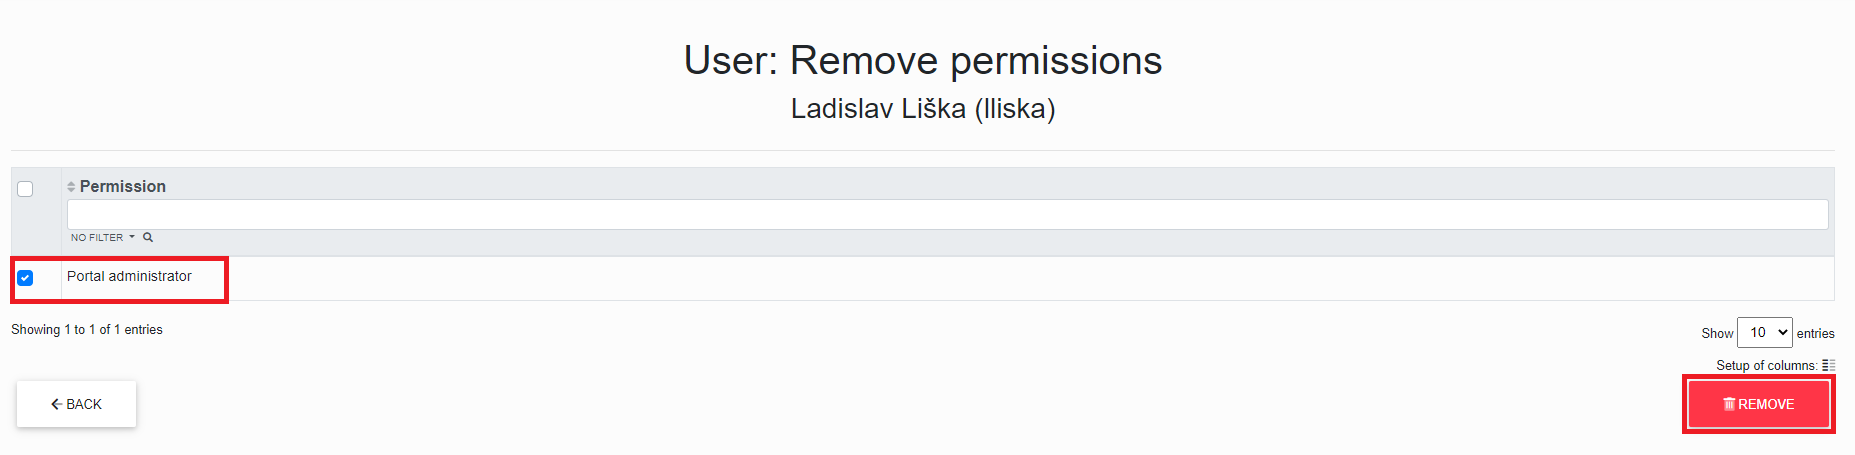
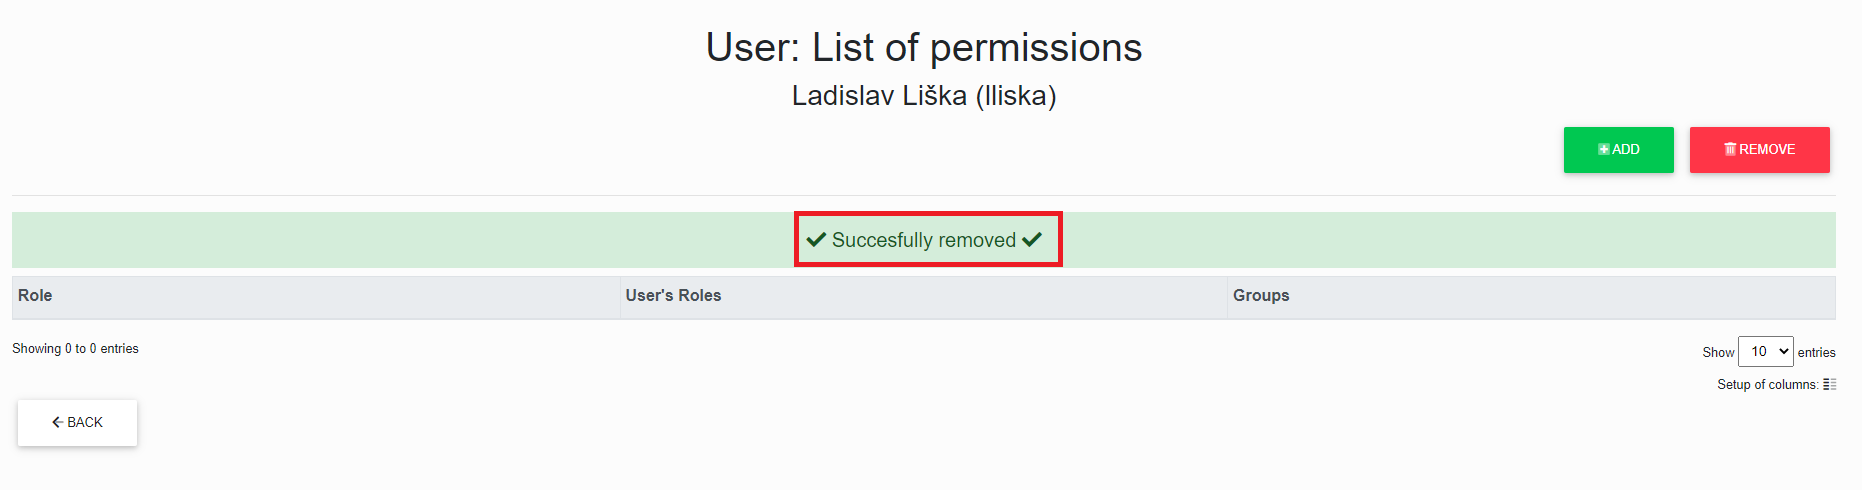
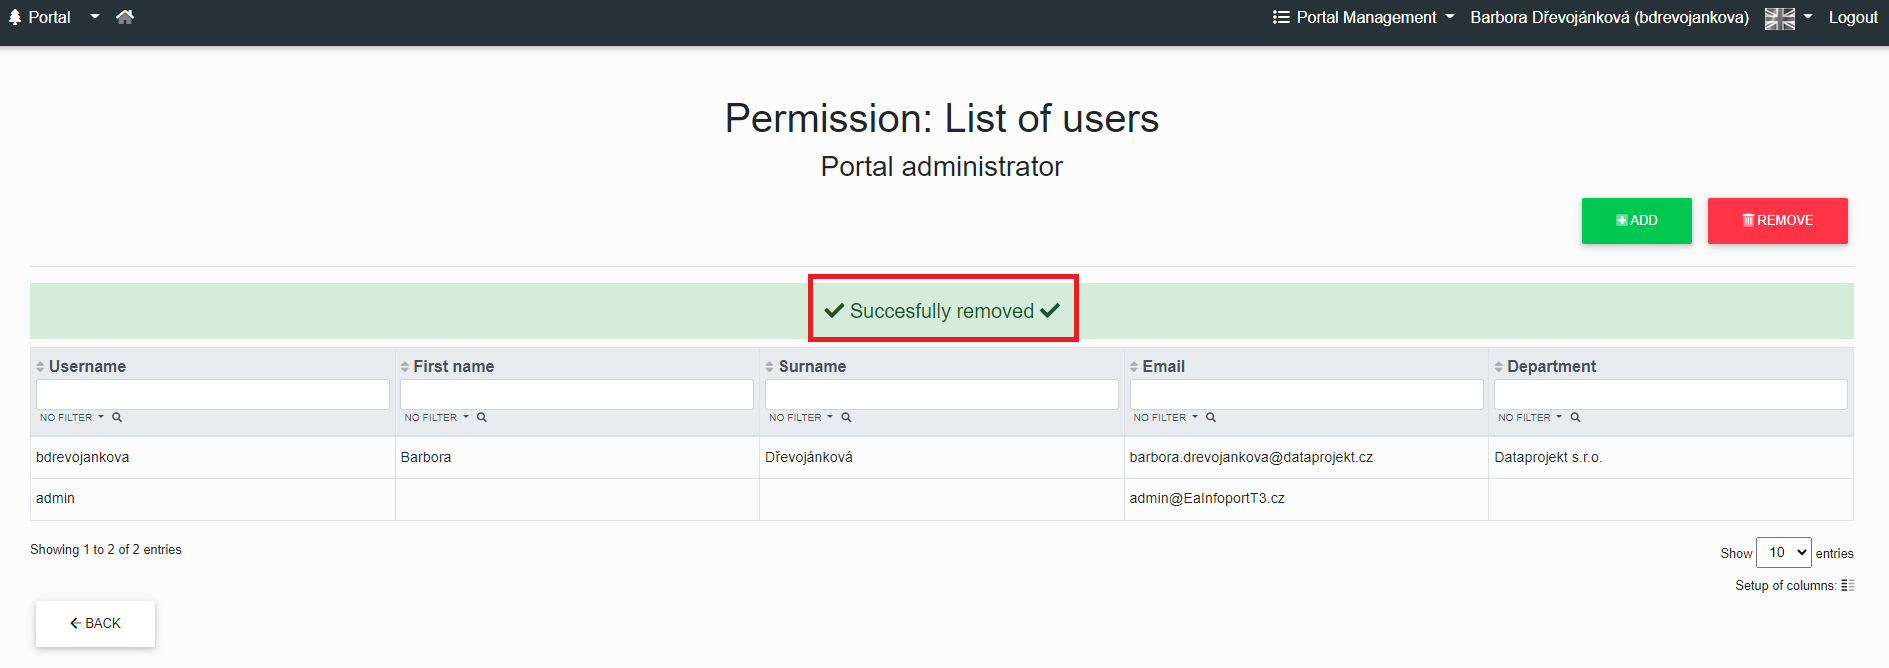
After checking the checkbox, the administrator clicks the "Remove" button, then the administrator will see the message "Successfully removed".
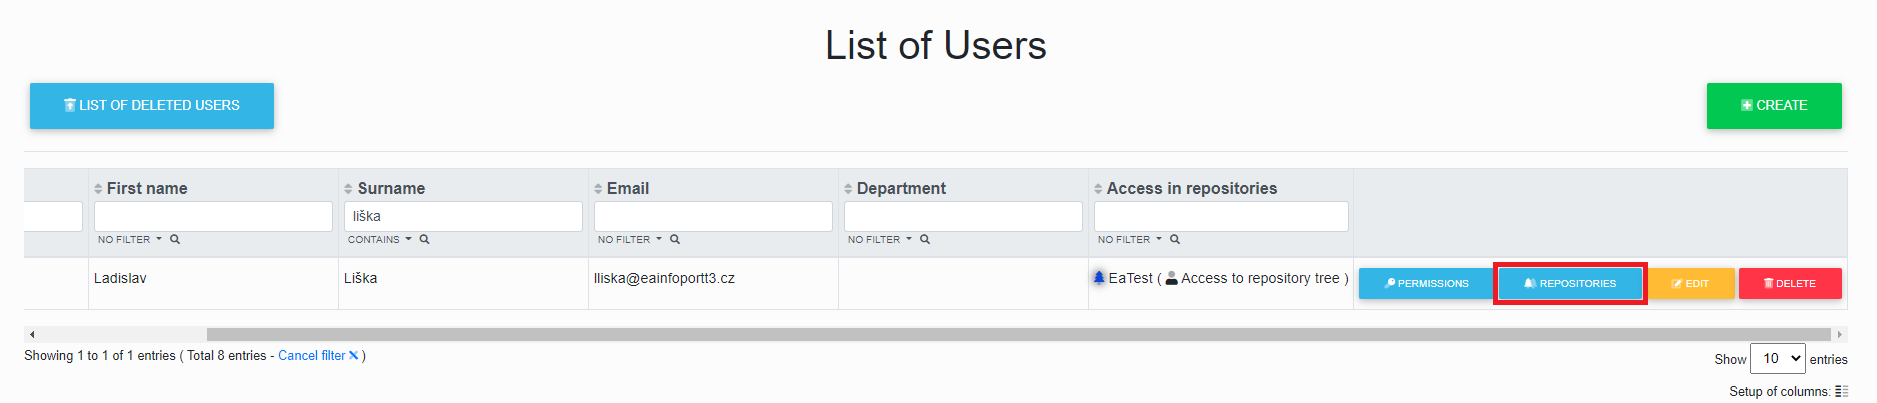
List of Repositories and Repository permissions
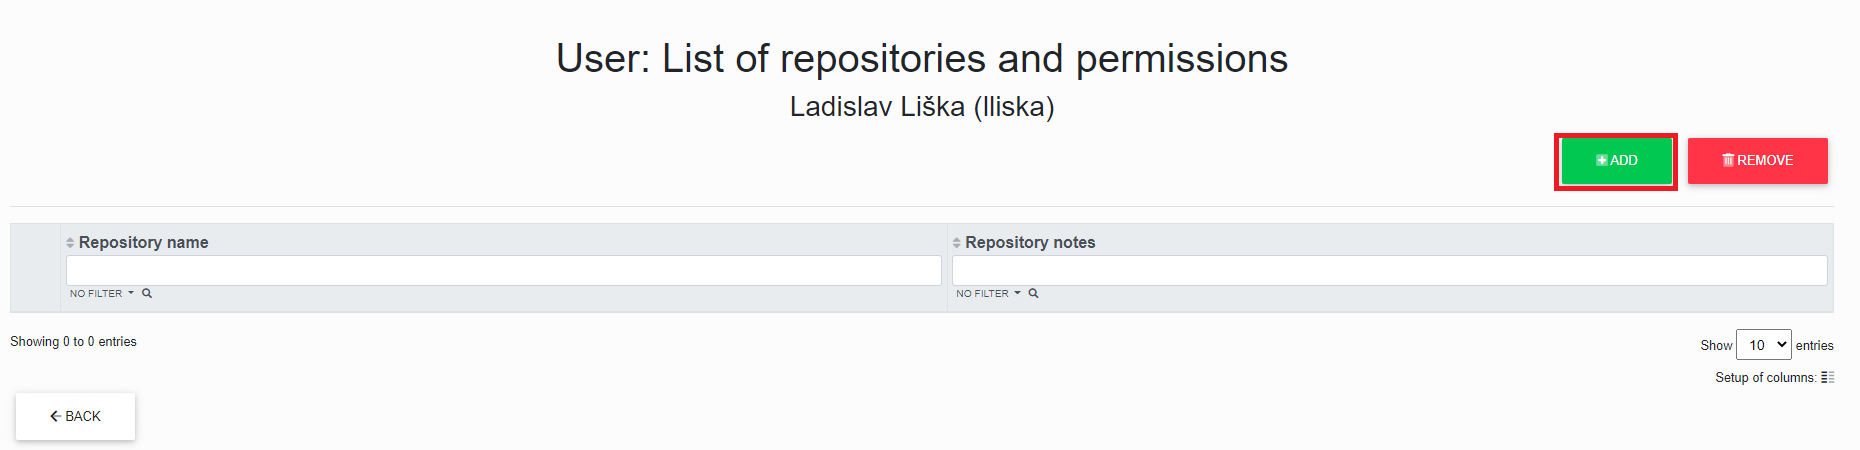
By clicking the "Repositories" button in the User List, the portal administrator can assign and/or remove a user's repository and repository permissions.
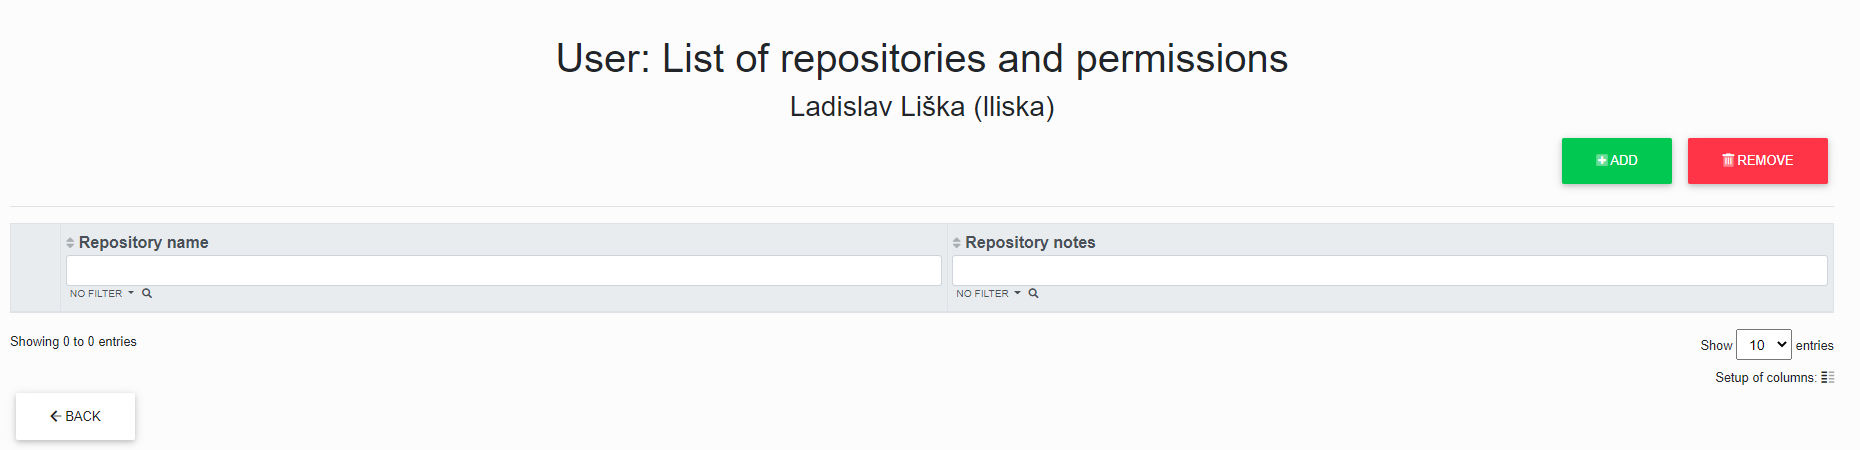
The administrator will be presented with the following dialog where he can add and/or remove a user's repository and repository permissions.
- Assignment Repository and Repository permissions to a user in the portal
- Removing Repositories and Repository permissions from a user in the portal
Assignment Repository and Repository permissions to a user in the portal
The portal administrator can assign repository and repository permissions to a user.
After clicking the "Add" button, the administrator is redirected to the table of the user to whom he wants to add the repository and repository permissions.

After checking the checkbox, the administrator clicks the "Add" button, then the administrator will see the message "Successfully added".
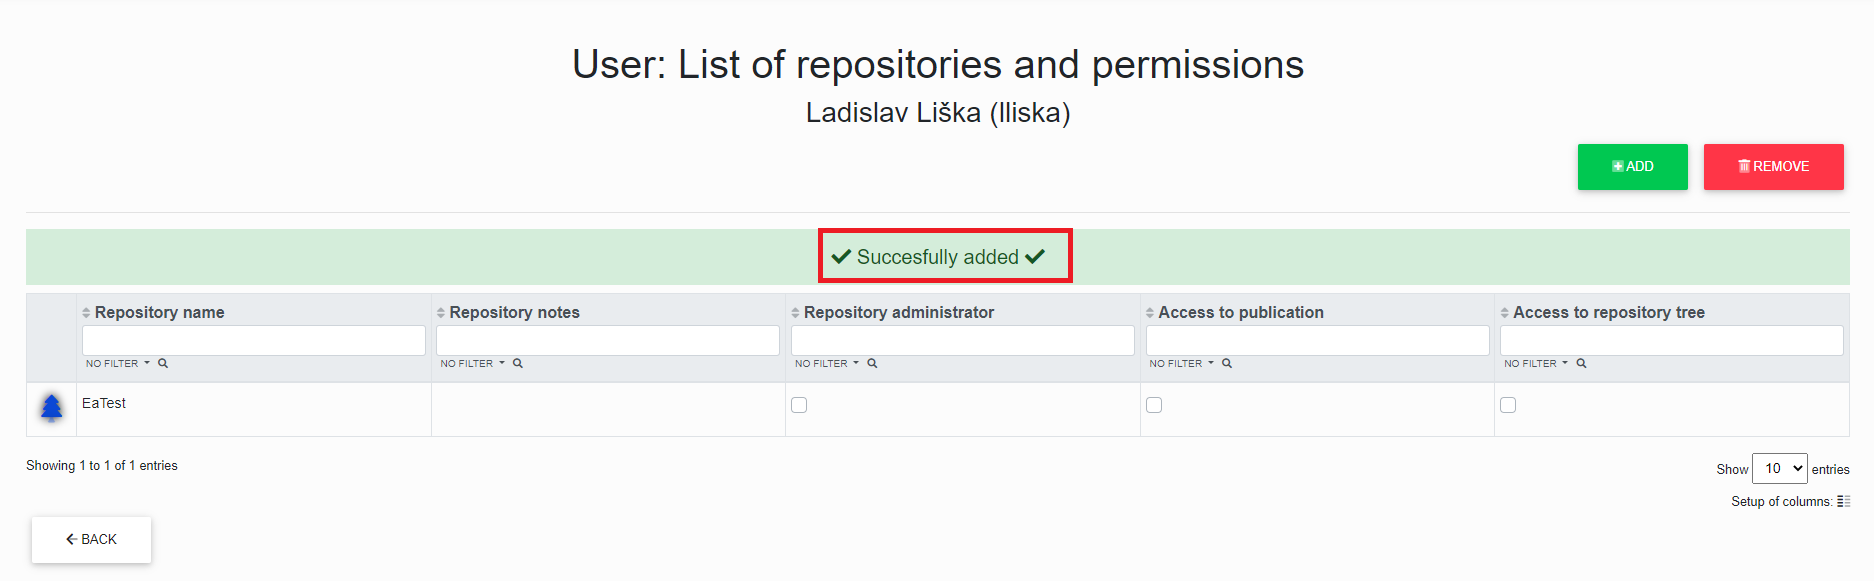
Once a repository is added, the portal administrator can assign the repository permissions "Repository Administrator, Publication Access and Repository Tree Access".
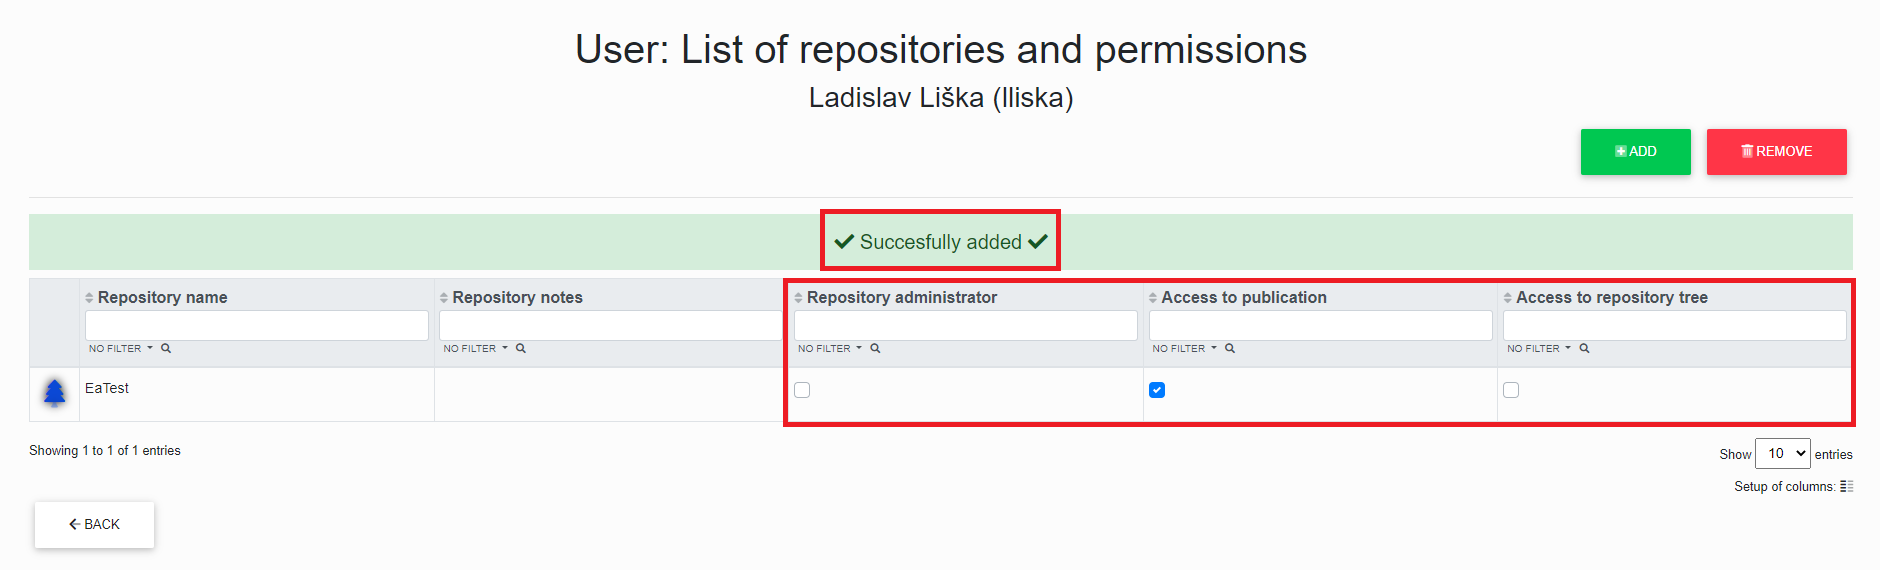
After clicking on the checkbox, the message "Successfully added" is displayed.
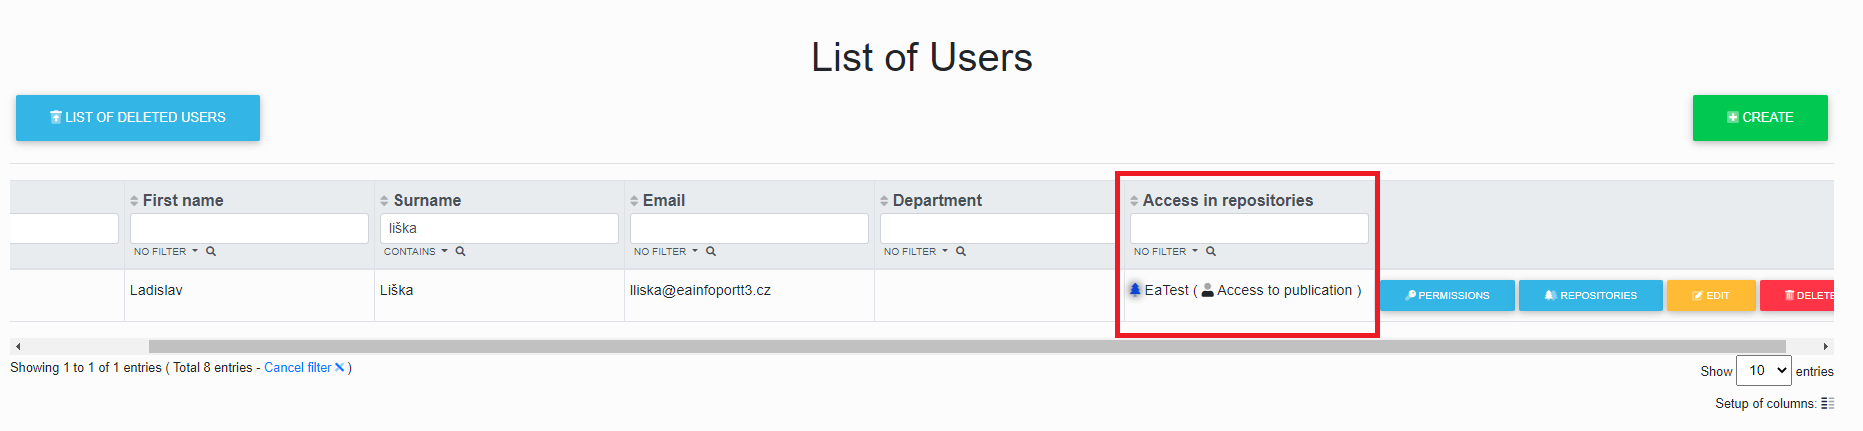
Clicking the "Back" button will display the "User List" with the added repository and the permissions in the repository.
Removing Repositories and Repository permissions from a user in the portal
The portal administrator can removed repository and repository permissions to a user.
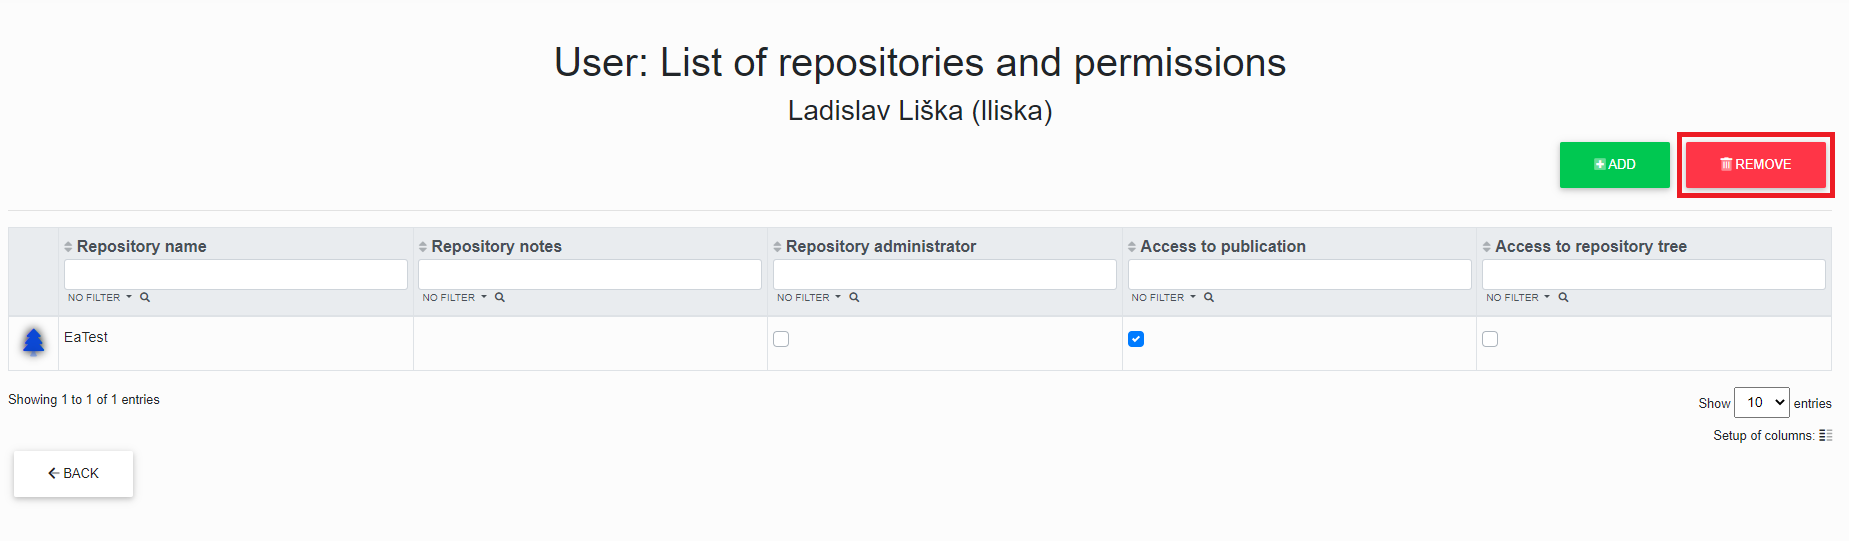
After clicking the "Add" button, the administrator is redirected to the table of the user to whom he wants to add the repository and repository permissions.

After checking the checkbox, the administrator clicks on the "delete" button, after which the administrator receives the message "Successfully removed".
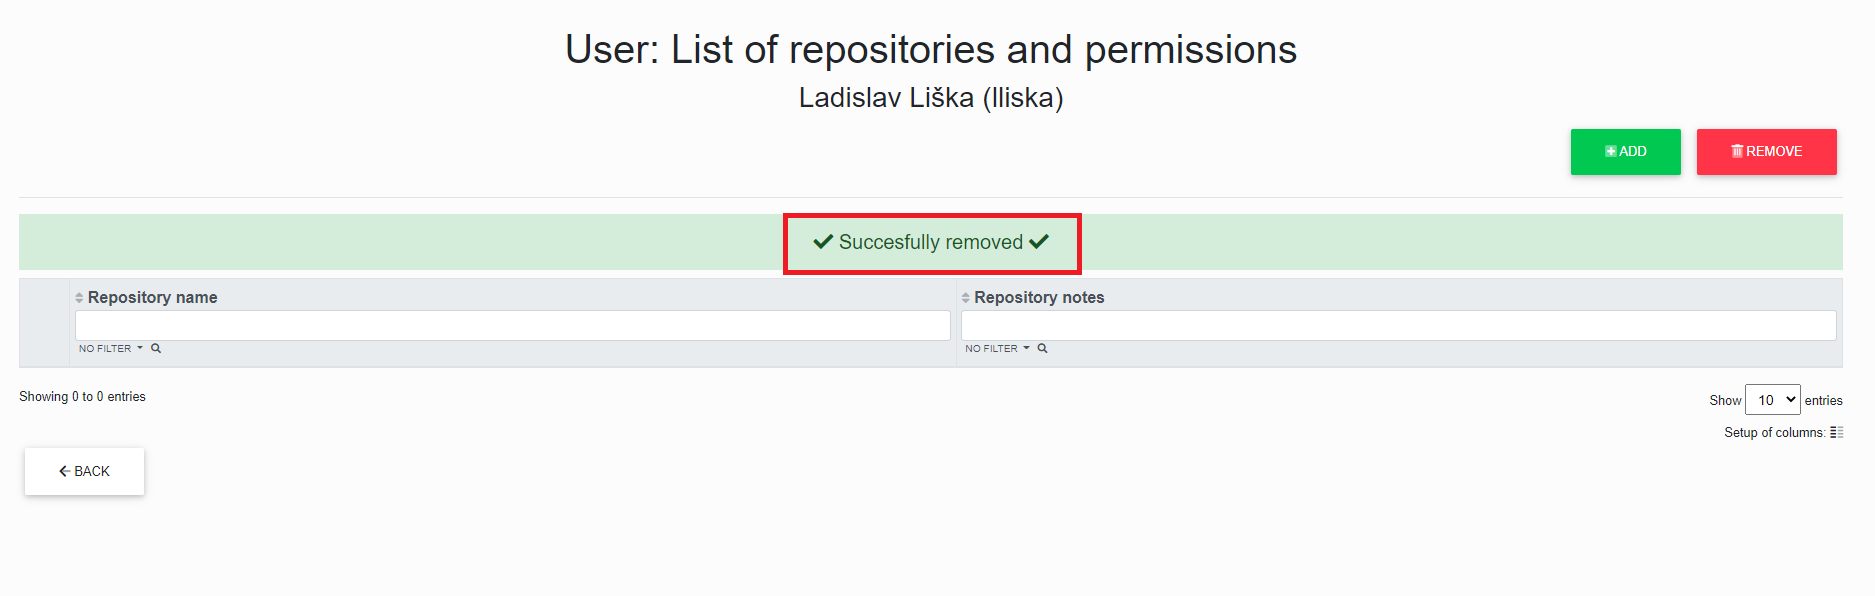
After clicking the checkbox, the portal administrator can remove the repository permissions "Repository Manager, Publication Access and Repository Tree Access".
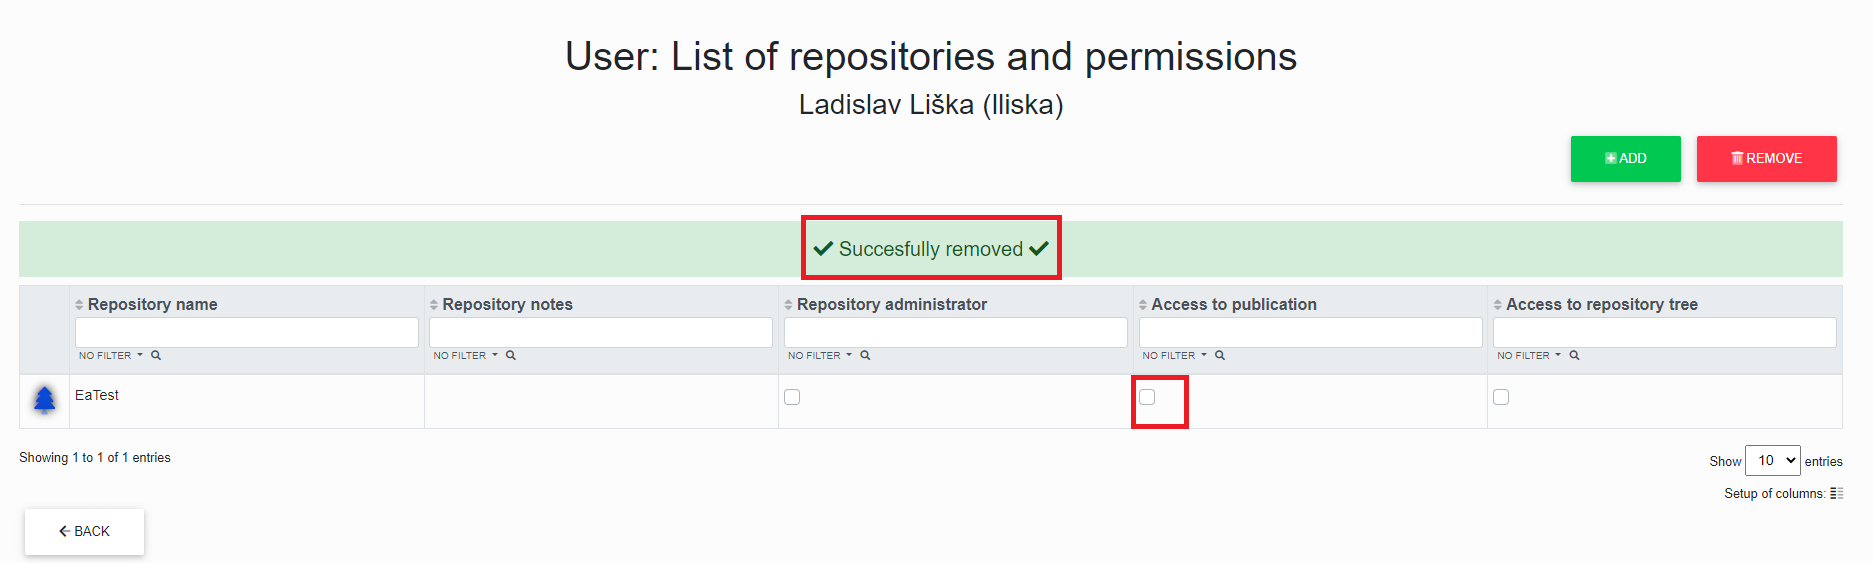
Clicking the "Back" button will display the "User List" with the repository permissions removed.
List of Deleted Users
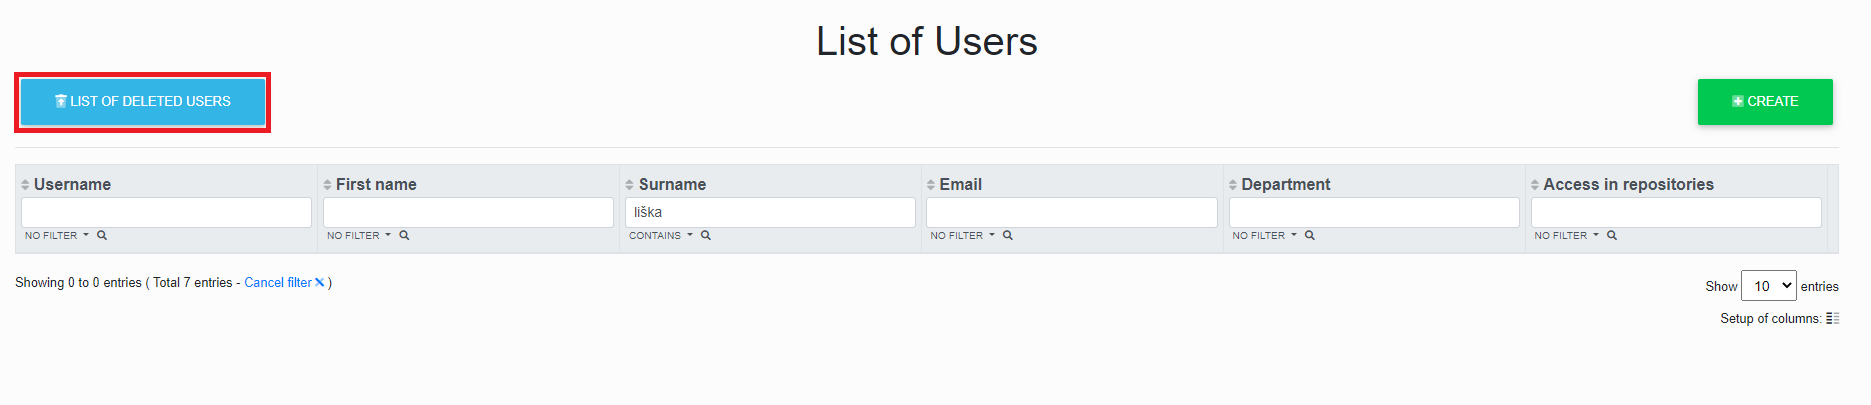
Here is a list of all deleted users.
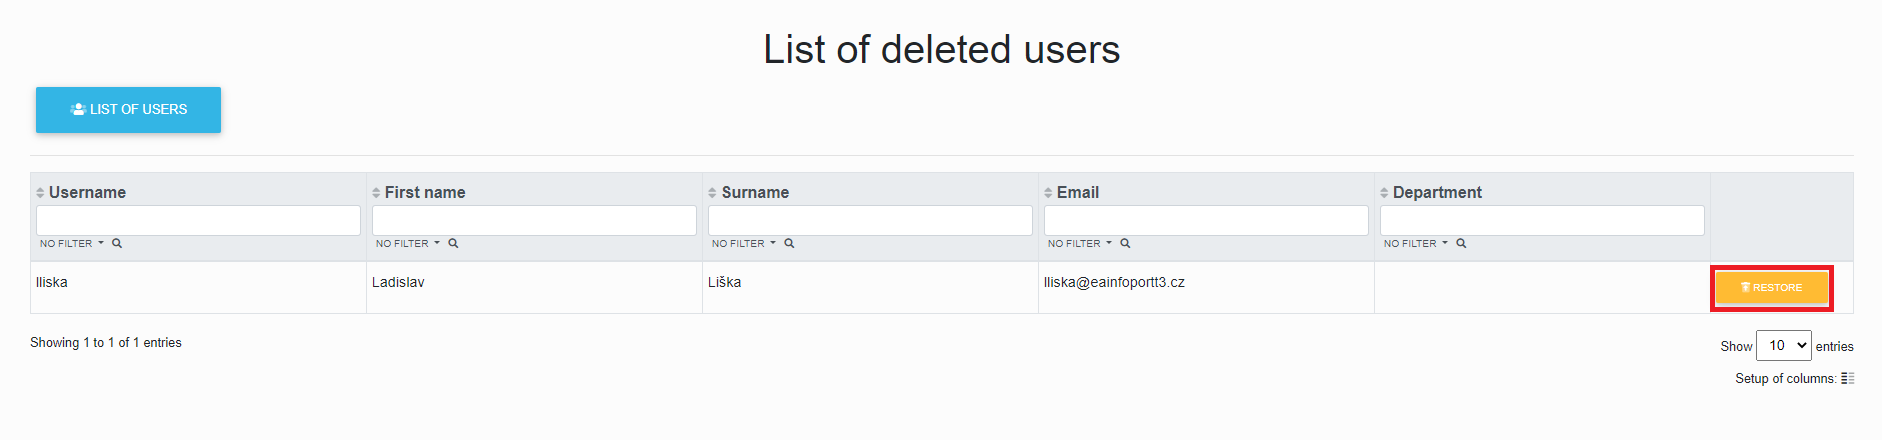
To restore a deleted user, click on the "Restore" button.
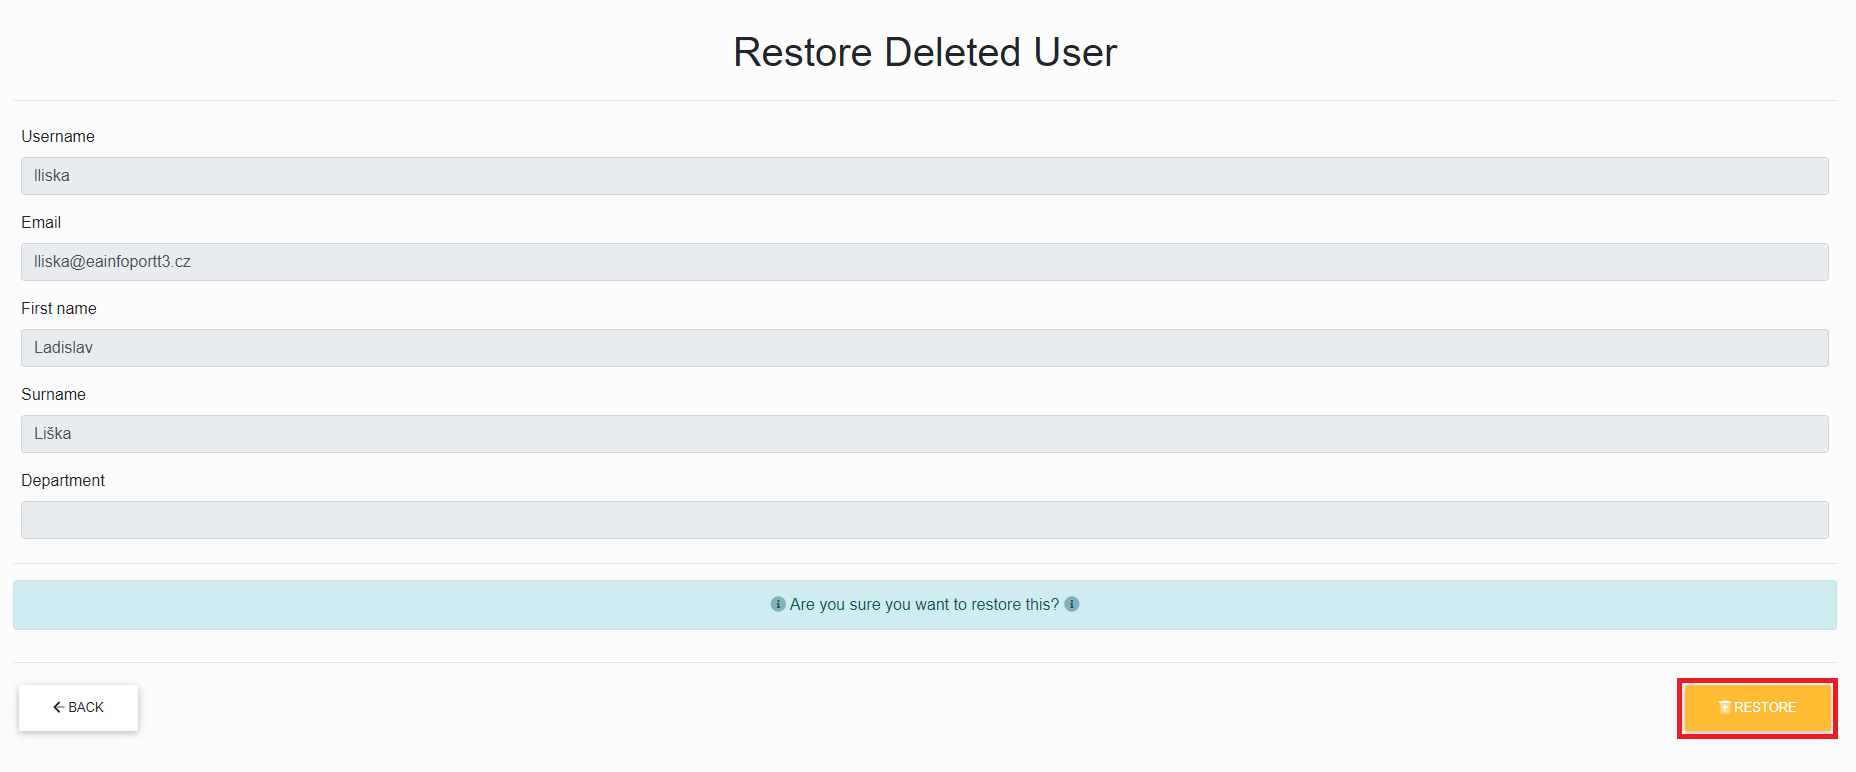
Once you have checked that you are the correct user, just click on the "Refresh" button.
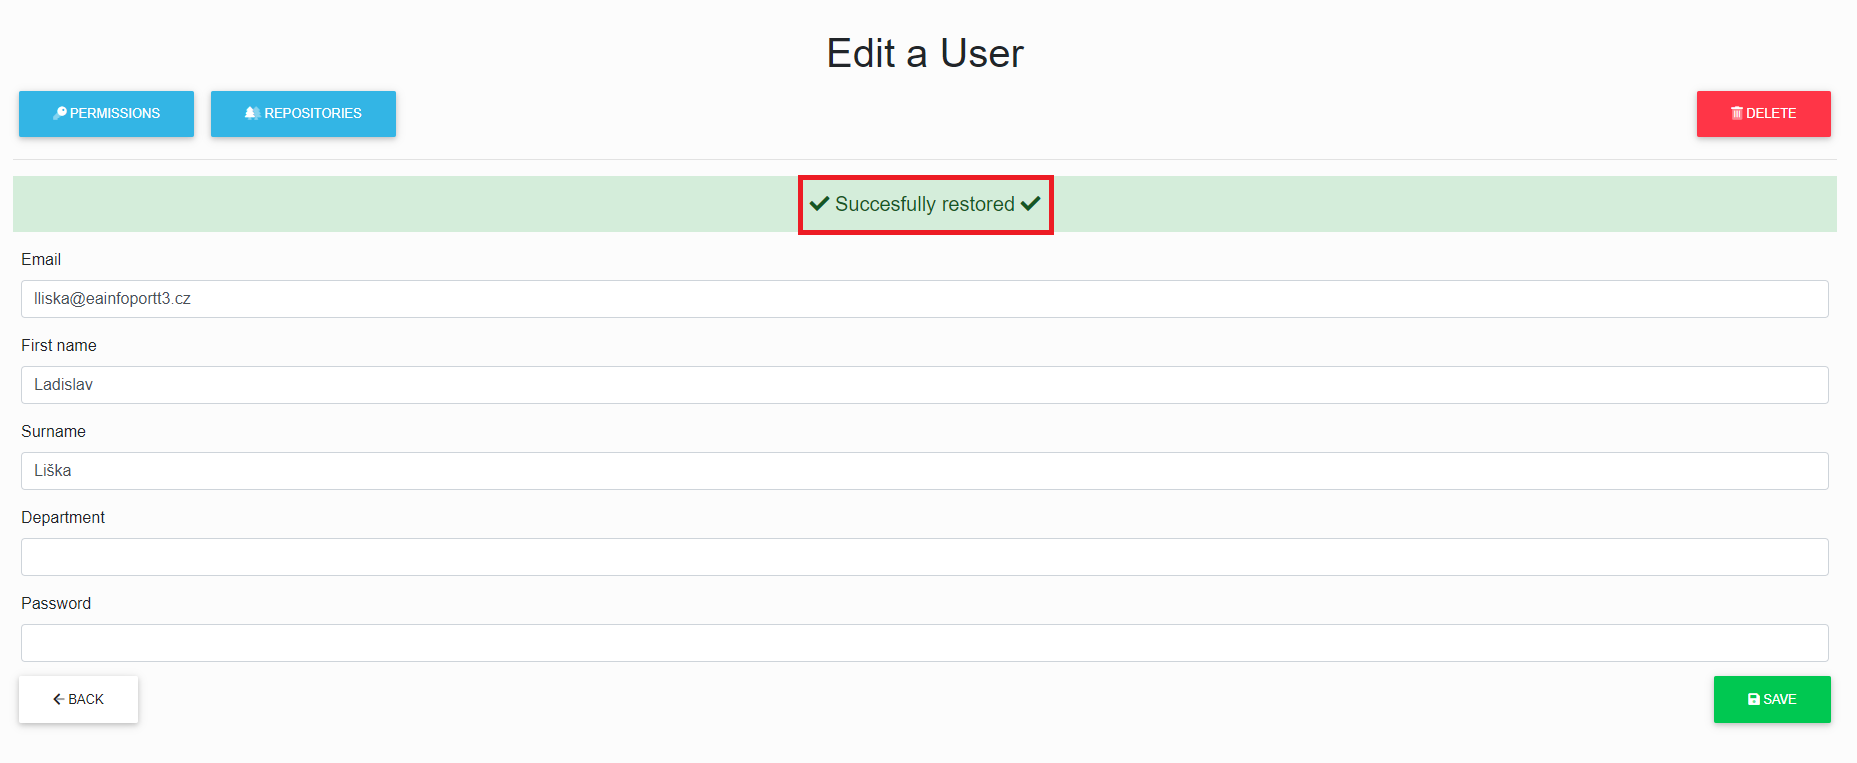
After a successful restore, you can edit the user, assign permissions, and assign repositories.
Permissions Management
If we have selected "Permissions Management", we will be taken to the Permissions list in the portal.
The portal administrator can assigned a portal administrator to a user.
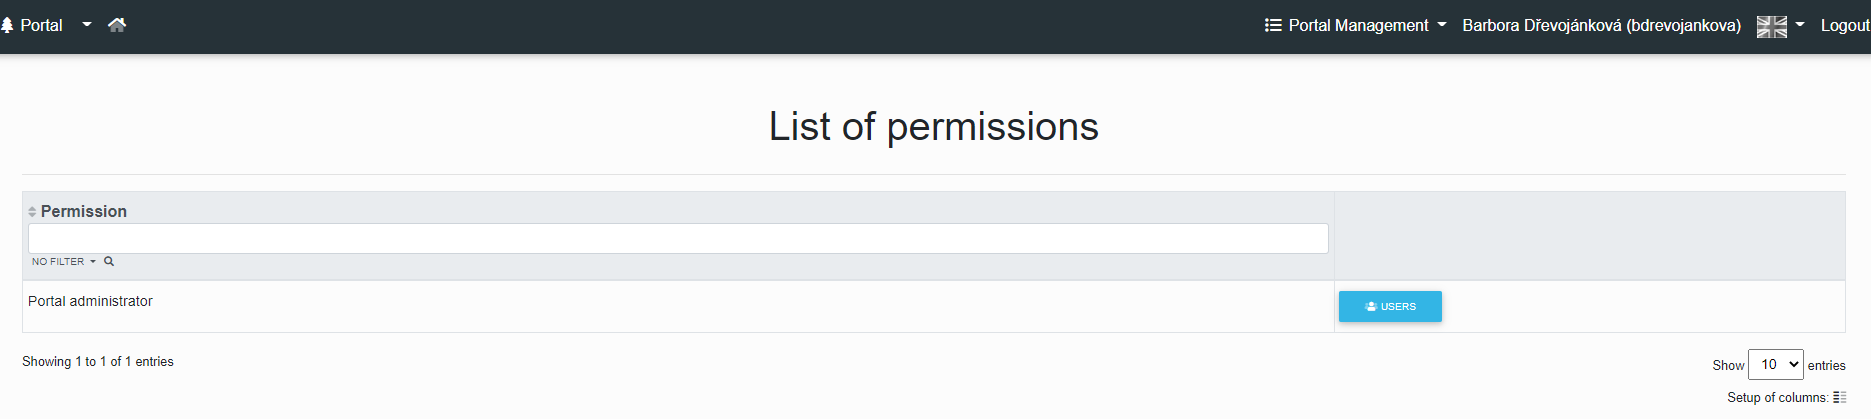
We have reached the User List.
Here we can assigned or remove portal administrator permissions to different users using the "Add" or "Remove" buttons and see a list of users that have the selected permission.

Assigning Portal Permissions to a user
The portal administrator can assigned the Portal Management permission to a user.
After clicking the "Add" button, the administrator is redirected to the user table.
After checking the checkbox for the user, the Portal Administrator clicks on the "Add" button, then the administrator will see the message "Successfully added".
The user is now a Portal Administrator.
Remove Portal Permissions from a user
The portal administrator can remove the Portal Management permission to a user.
After clicking the "Remove" button, the administrator is redirected to the user table.
After checking the checkbox for the user, the Portal Administrator clicks on the "Remove" button, then the administrator will see the message "Successfully removed".
The user is no longer the portal administrator.
Repositories Management
Multiple repositories (databases) can be connected to one instance of the information portal. Therefore, the management of the portal and the management of the individual connected EA repositories is separate. One user can have access to multiple repositories and different rights in each of them. It is easy to switch between repositories.
Each connected EA repository has its own administrators.
Users are registered at the portal level, and rights to repositories are assigned by the portal administrator. EA Repositories are strictly data segregated, and if a user does not have rights to a particular EA Repository, he or she cannot see it (cannot see that it exists).
This functionality is useful, for example, if a company has multiple customers. Who have data in separate EA repositories and need to present it using a single portal instance.
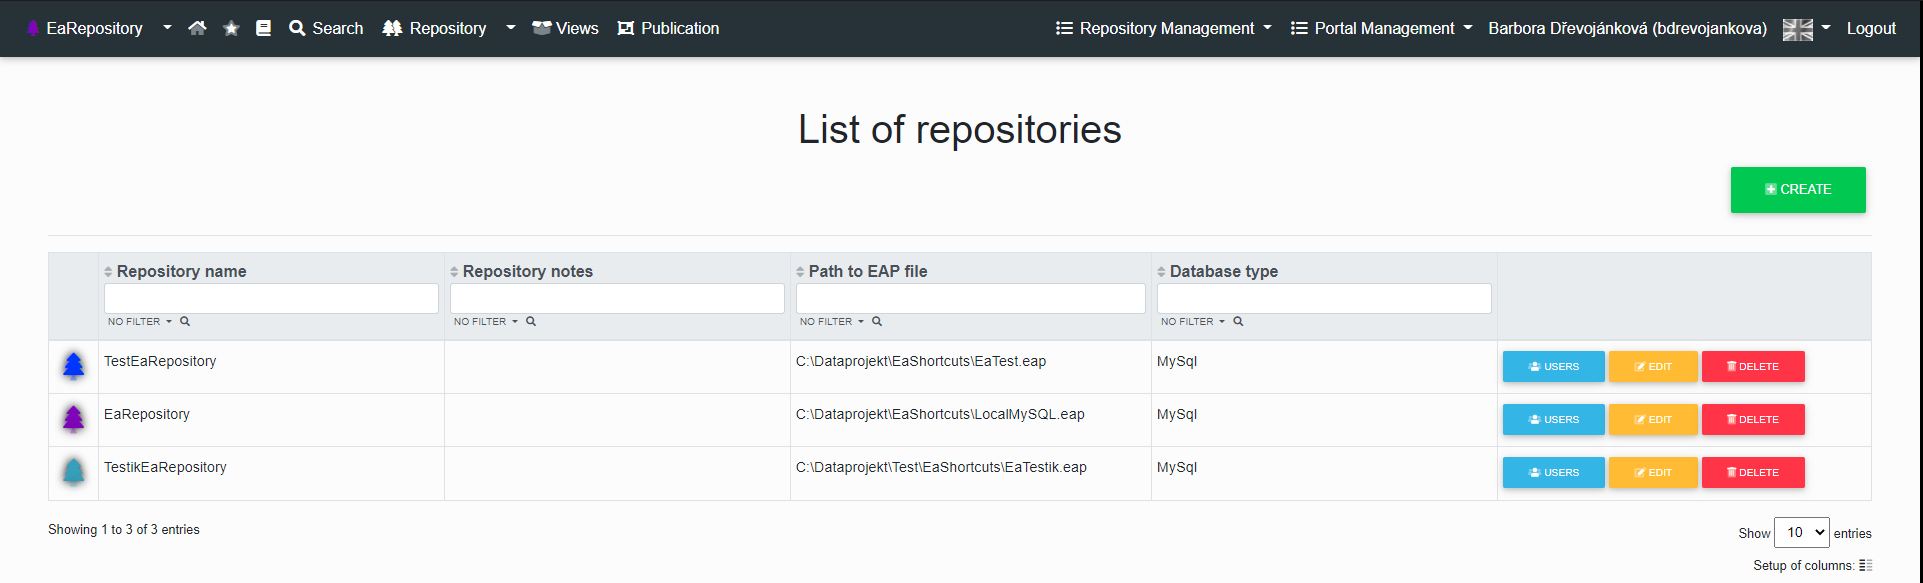
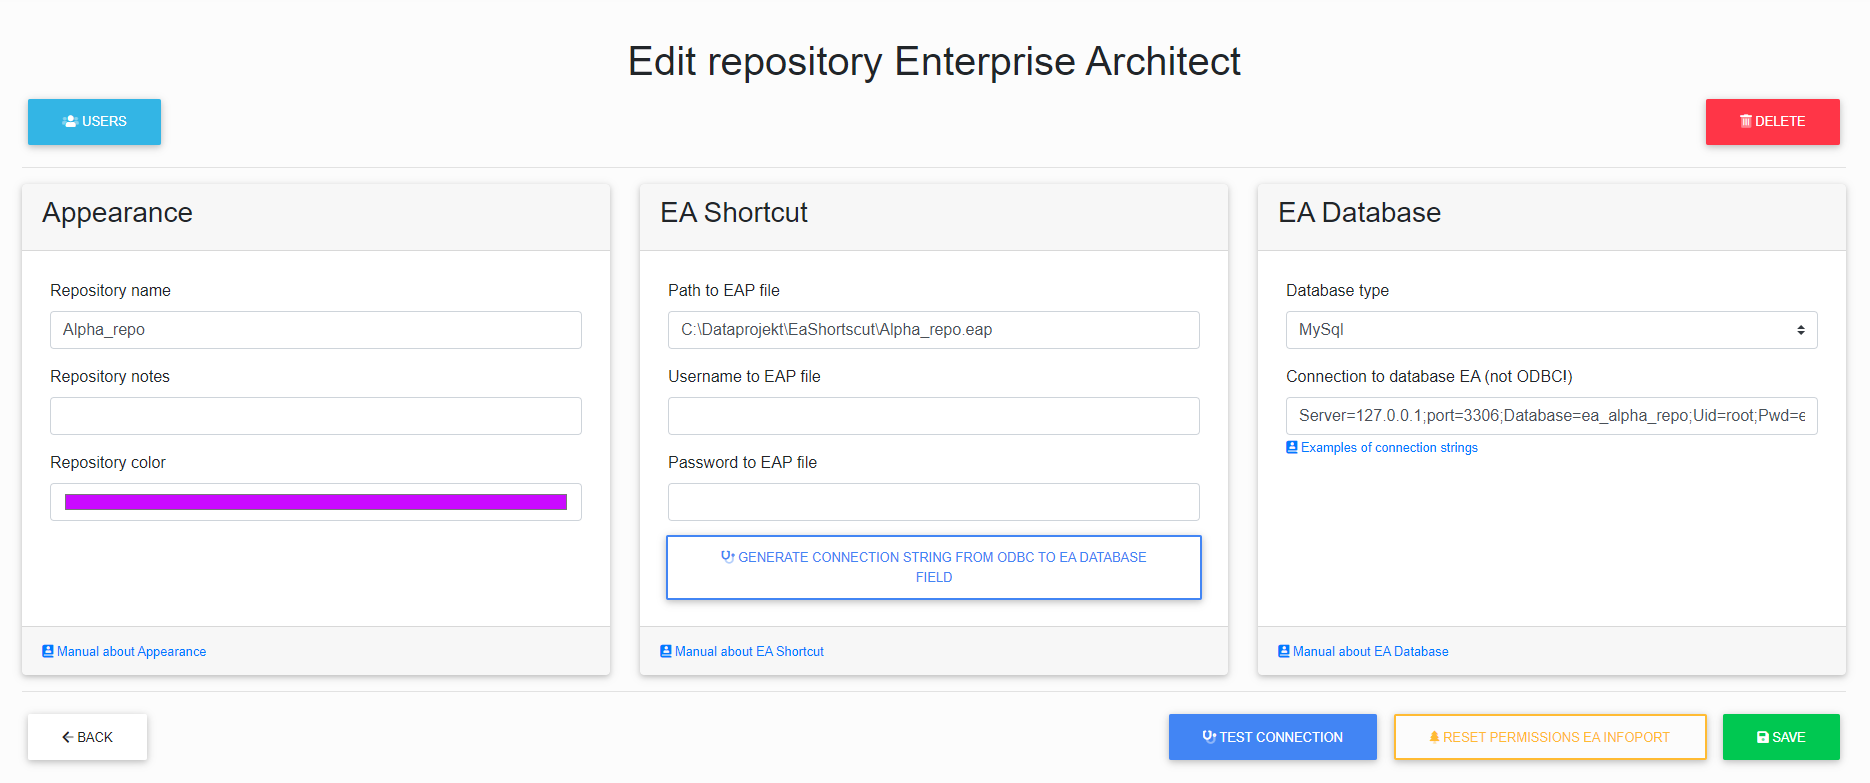
After clicking on "edit" the following page will be displayed Edit repository
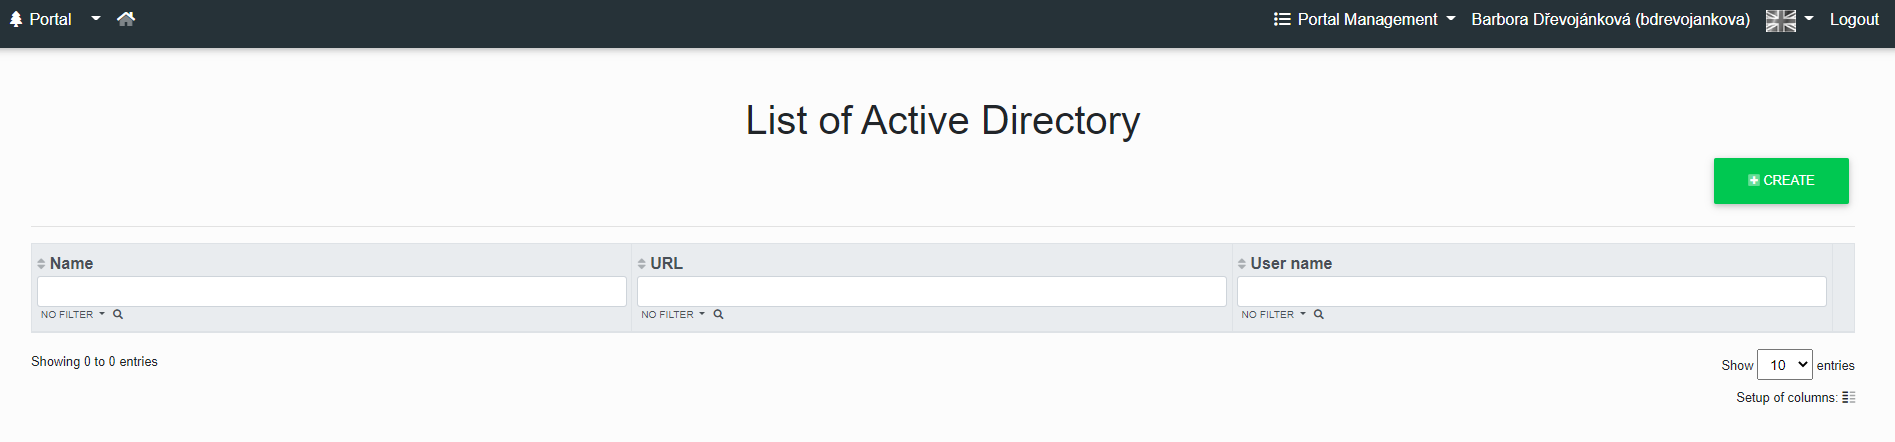
Active Directory Management
Enterprise Architect can be connected to one or more Active Directory servers.
AD automatically imports groups from AD into the Infoportal. The import is done by AD group, where the administrator must define which AD group he wants to import into which Infoport group.
NTLM authentication - if the user is registered in Active Directory and Active Directory is configured, the user does not have to log in to Infoport manually - he is logged in automatically with his windows account. However, he can still log in manually (useful, for example, if another user needs to log in to the InfoPortal on the computer with the logged-in user.
If the user is not found in Active Directory and Infoport has multiple Active Directory servers configured, they are all searched in turn. If the user is not found anywhere, a login dialog is displayed where the user can log in manually (or just as a guest).
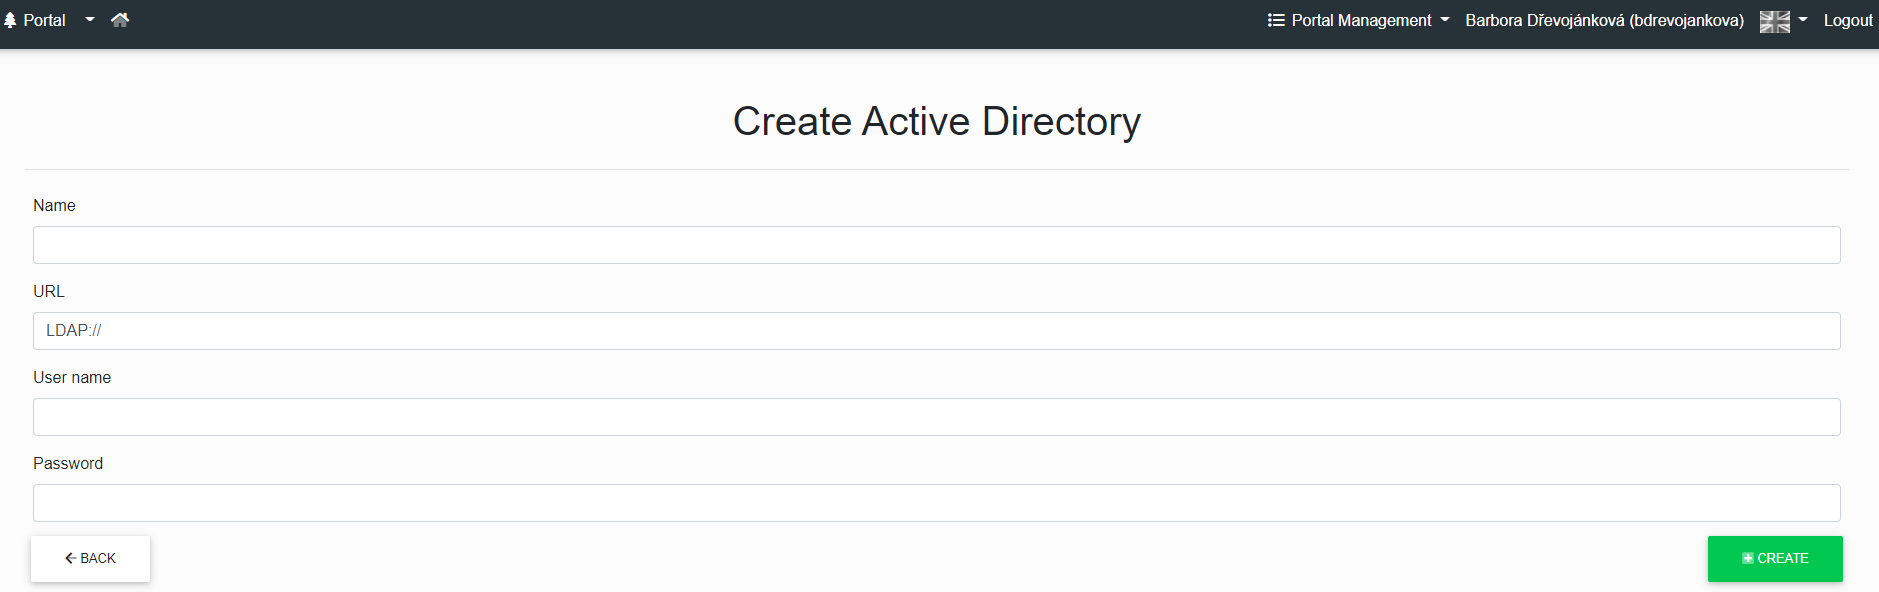
After clicking the "Create" button, the page to create the AD will be displayed. Where you need to fill in the "Name, URL, Username and Password".
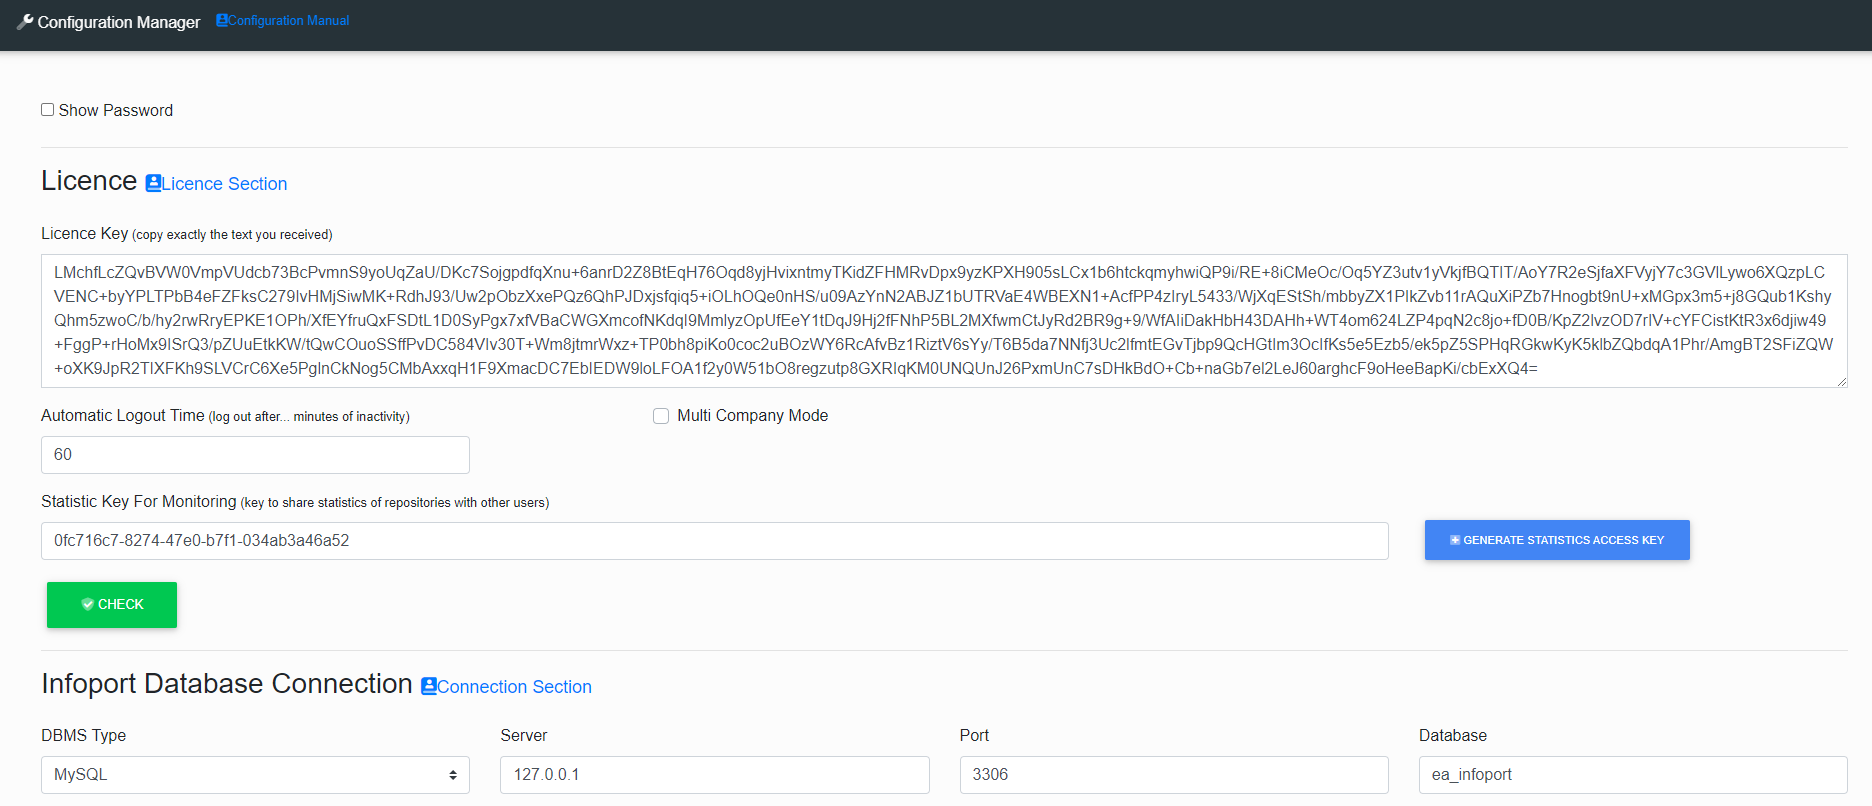
Configuration Manager
See the Configuration Manager section in the Installation Manual
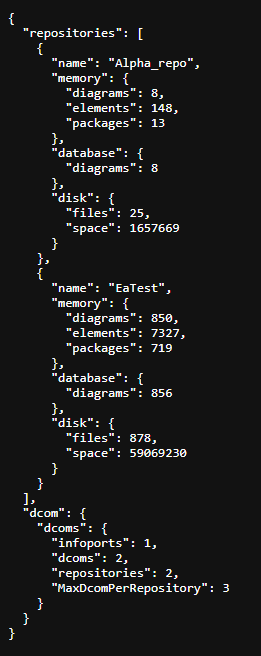
Statistics
If the user has a key, he can start Statistics without being logged in.
Stats shows information about connected repositories and dcoms.
Overview of notification subscriptions
The administrator must set up an e-mail server in Configuration Manager to send notification e-mails to users.
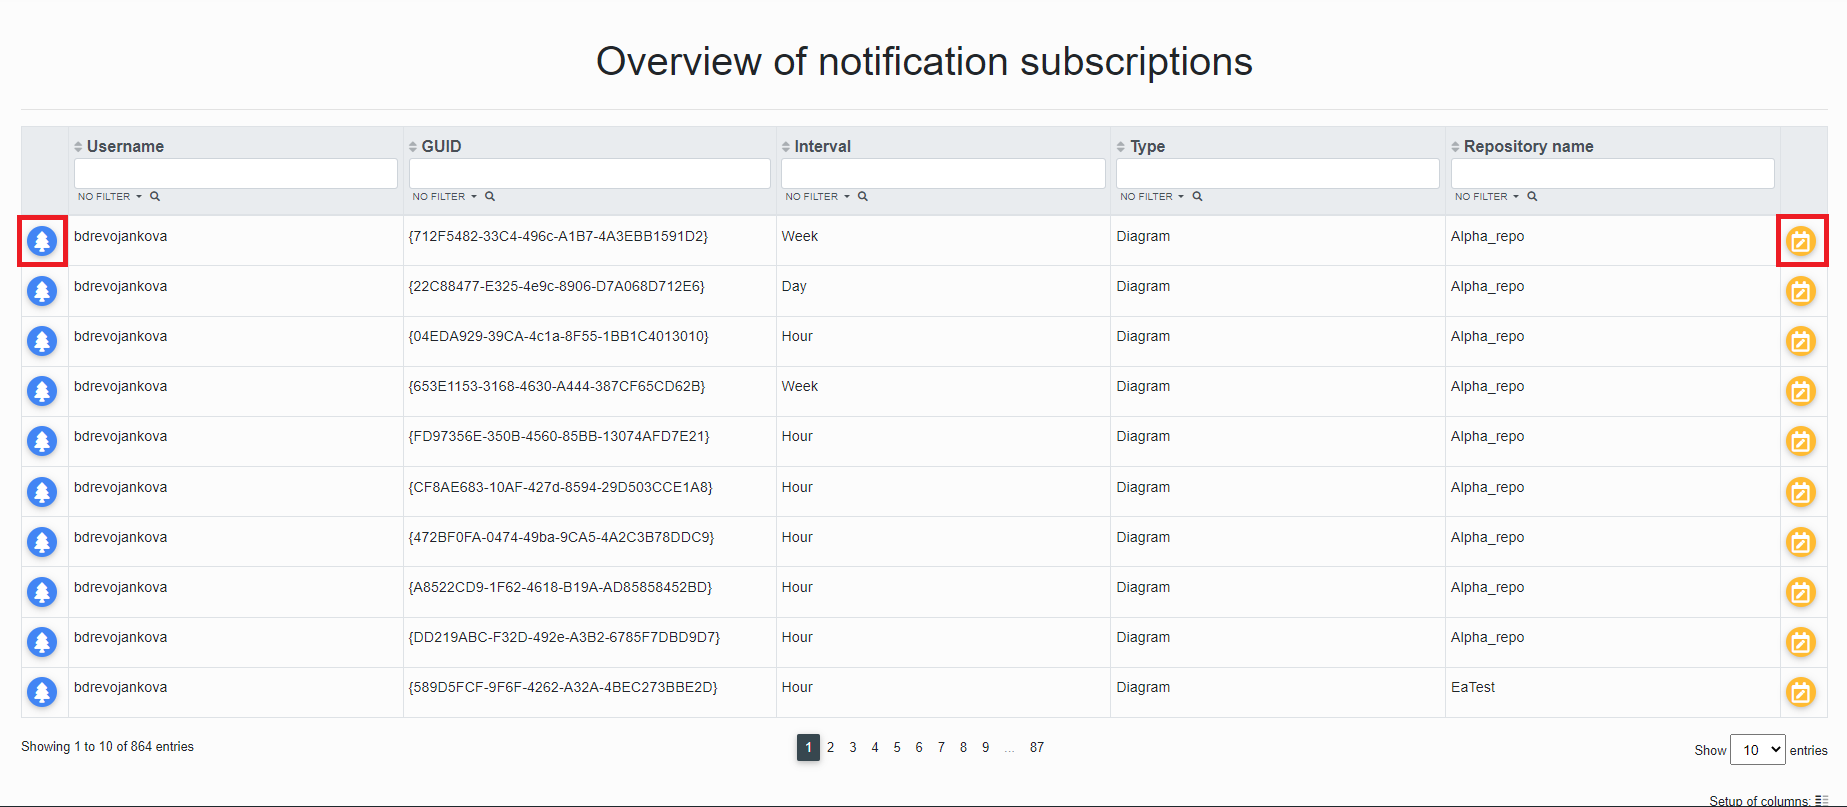
If the notification system is set up, the portal administrator can see all the notifications set up in the repository.
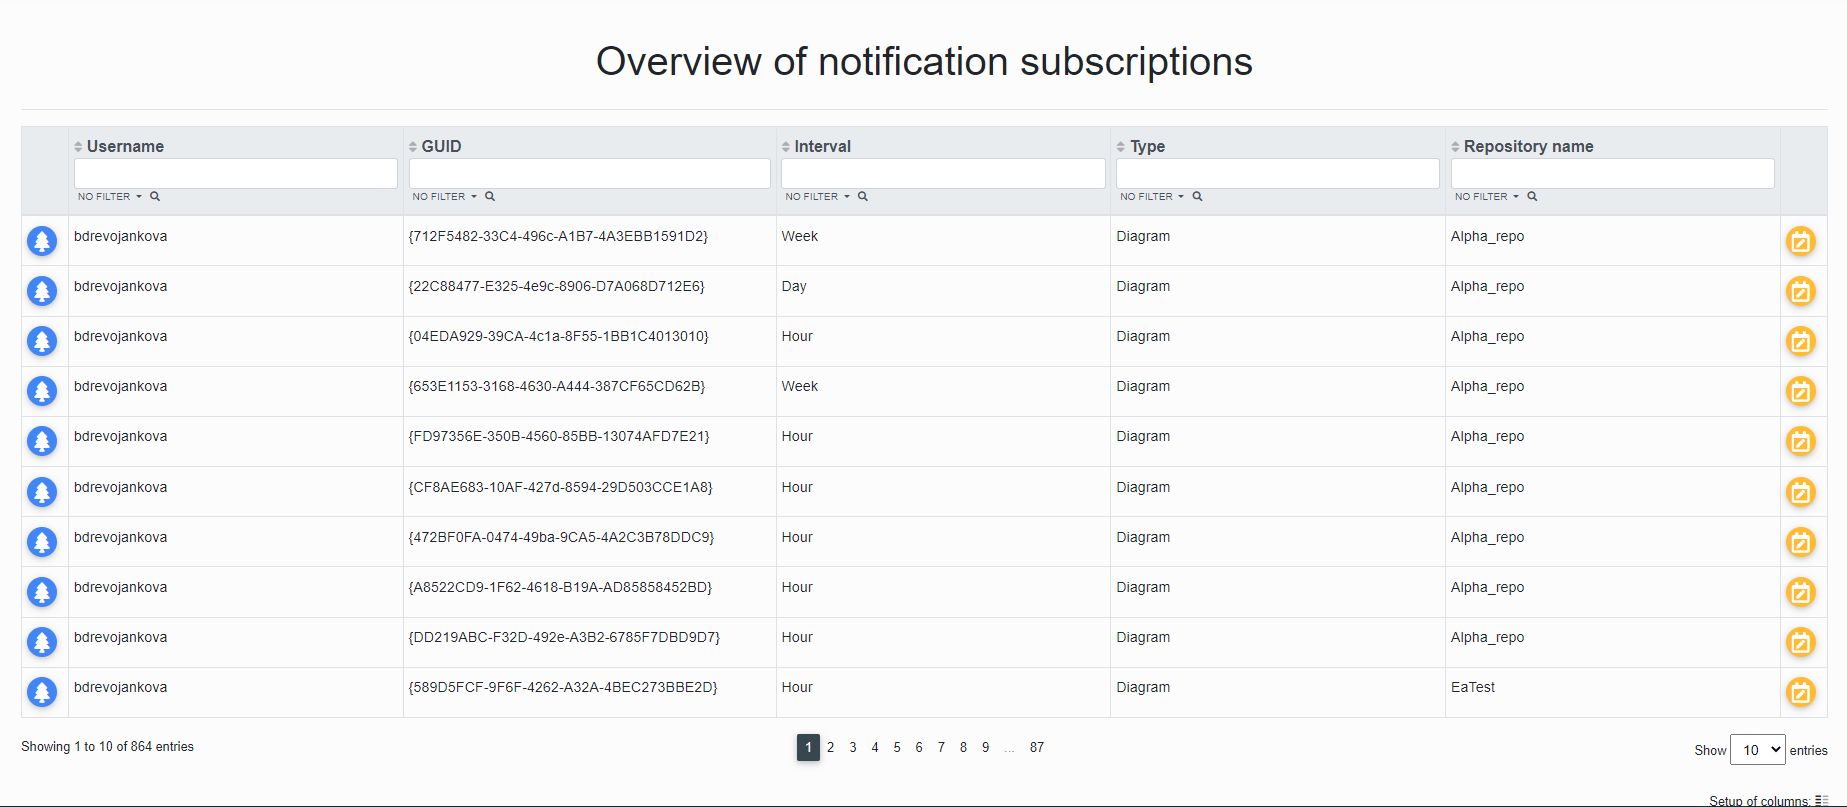
The portal administrator can click on the "Tree" icon or the "ChangeNotificationType" button.
After clicking on the "ChangeNotificationType" button, the portal administrator is redirected to the "Setting the notification interval for diagram subscribers" page where he can check the Name, Type, Login and Email to which the notification is sent.
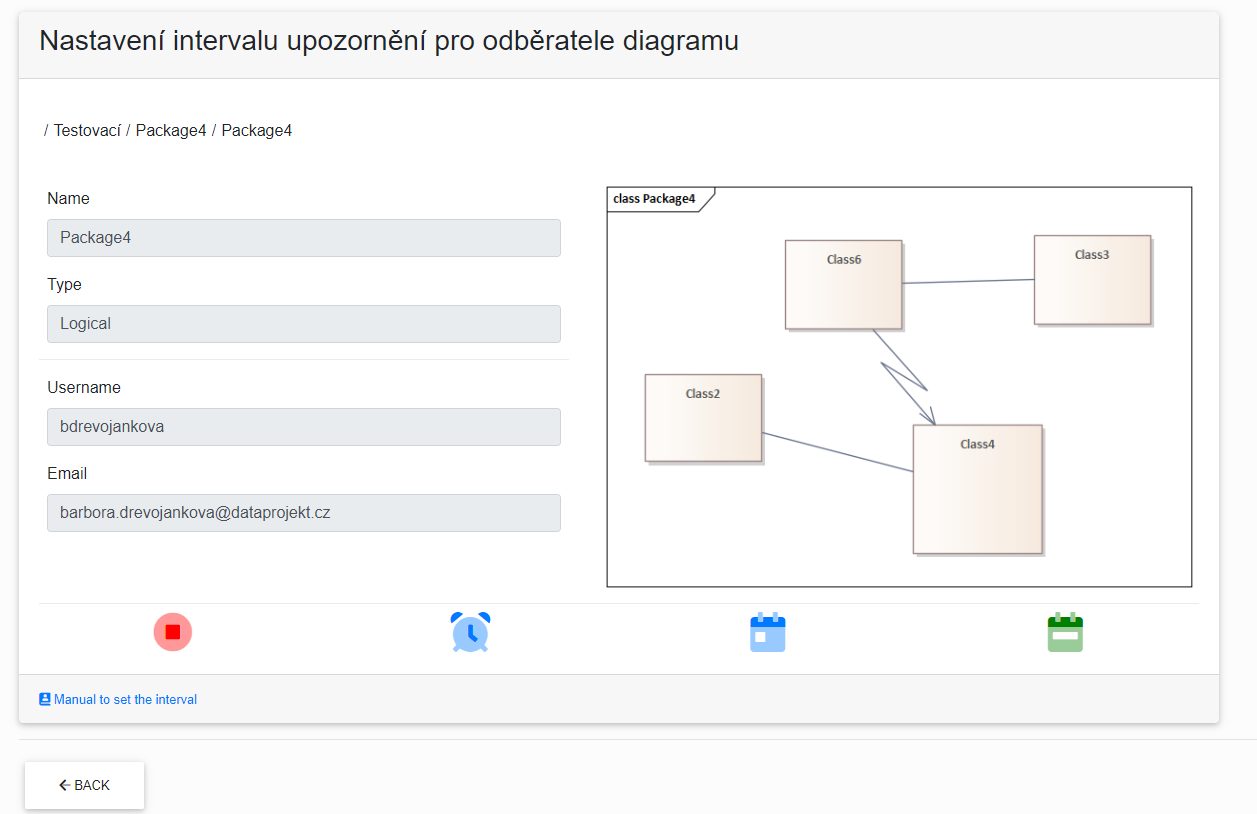
There are three notification services that notify users of changes to the diagram.
By hovering the cursor over the icons, the user can read what type of notification it is.

You can easily change the notification type either on this page, where you just click the blue icon, or go to the diagram on the repository.

The green colour of the icon informs which notification type is on.
If the user wants to cancel the notification, just click the red icon.
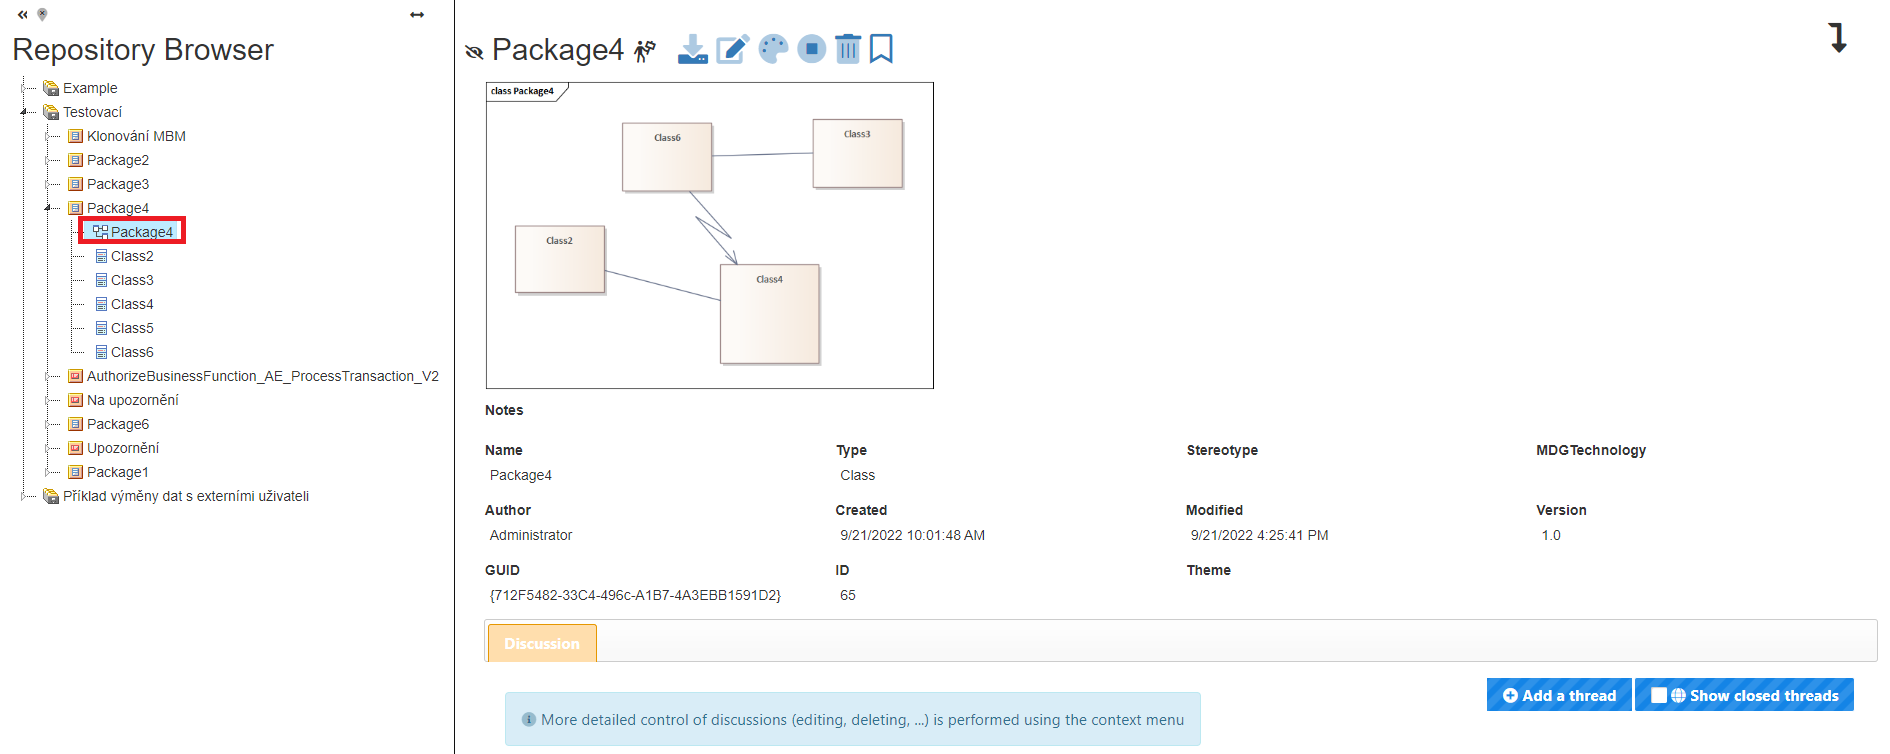
When the user clicks on the "Tree"  icon, he is redirected to the repository of the diagram.
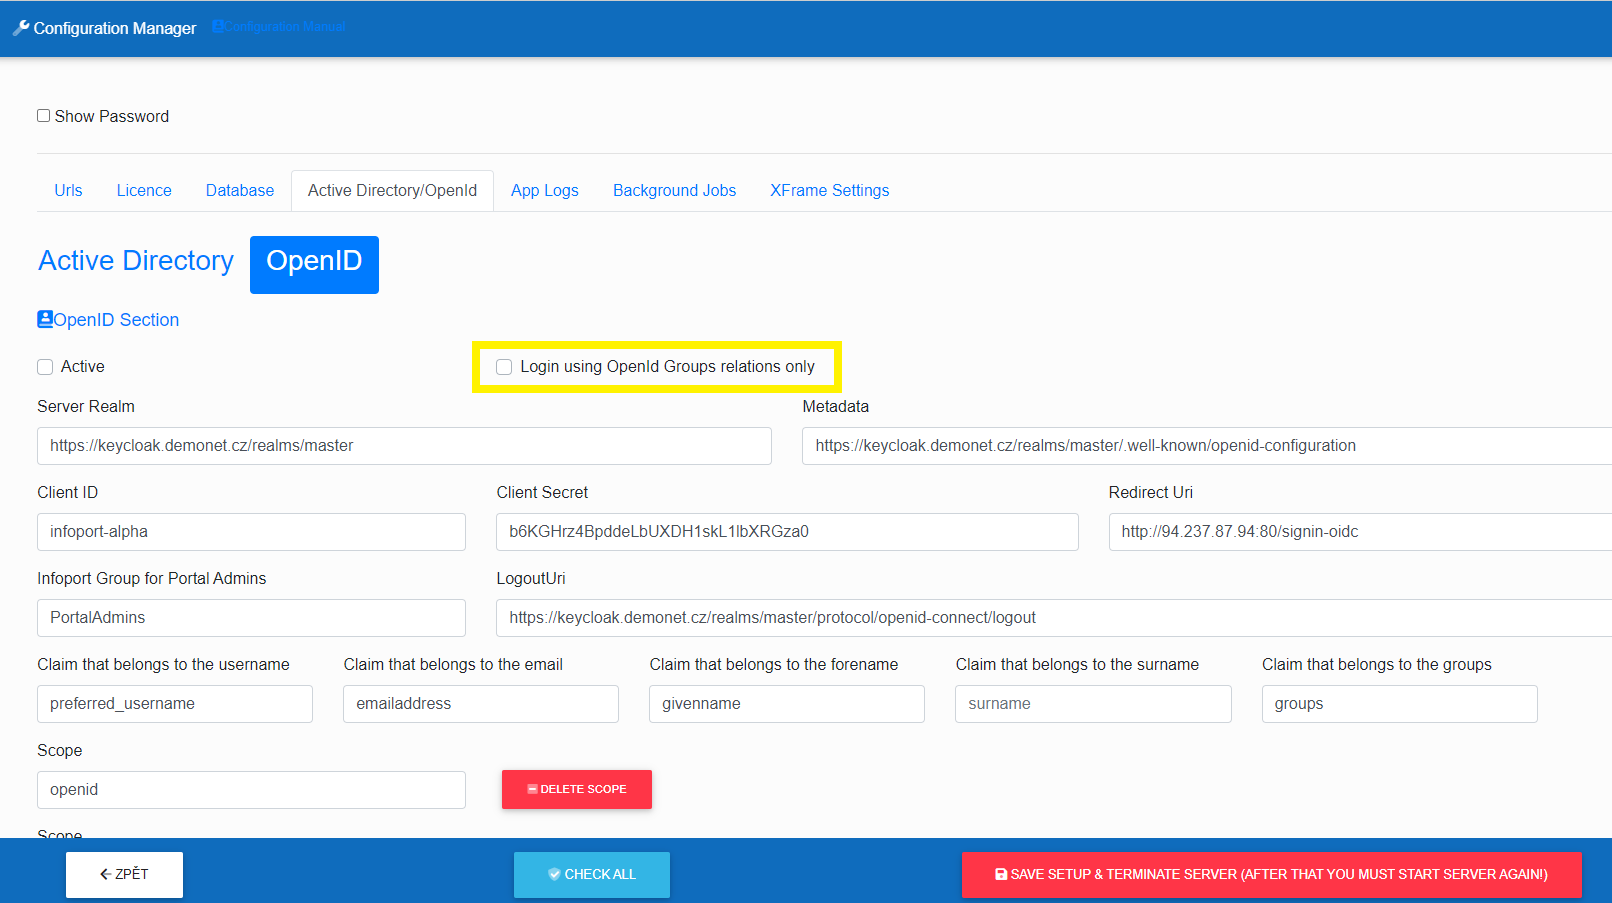
Login of a user who does not have an OpenID group assigned
In Infoport, it is possible to set a ban on the login of a user who does not have an OpenID group assigned.
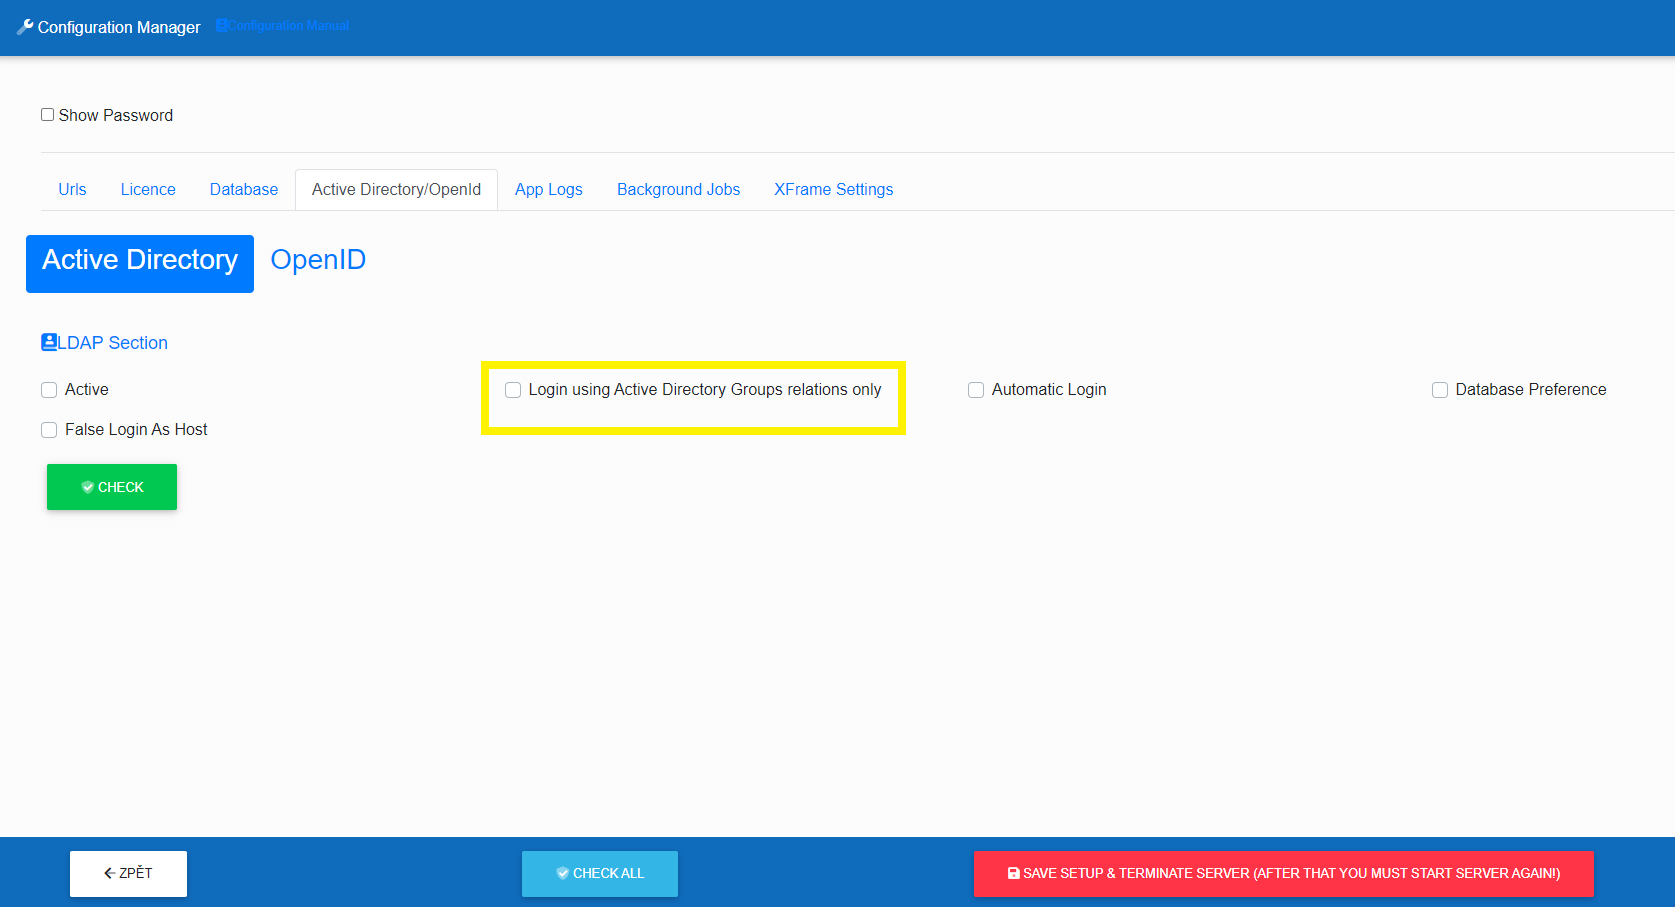
Login of a user who does not have an Active Directory group assigned
In Infoport, it is possible to set a ban on the login of a user who does not have an Active Directory group assigned.