Installation of the Database to Save Enterprise Architect Model
If a database engine is installed on the computer or available on the network, it is possible to skip this chapter.
Here you can learn how to install one of the supported database engines.
The one we’re using is MySql, which is recommended as ideal for the needs of both the Enterprise Architect program and EaInfoport
- Before installing MySQL, it is necessary to ensure that the vcredist_x86.exe helper package in version 2013 is installed on the computer. Search the internet for “Visual C++ Redistributable Packages for Visual Studio 2013”, save the vcredist_x86.exe variant to the disk and run it.
After approval of the licence, the package will be installed. There is no need to restart the computer. Delete the vcredist_x86.exe file - Download the 32-bit web installer for the 5.7.x series from https://downloads.mysql.com/archives/installer/. So currently mysql-installer-web-community-5.7.28.0.msi
Save the file to the local disk (for example, to the C:\EAInfoport folder) - Run the file
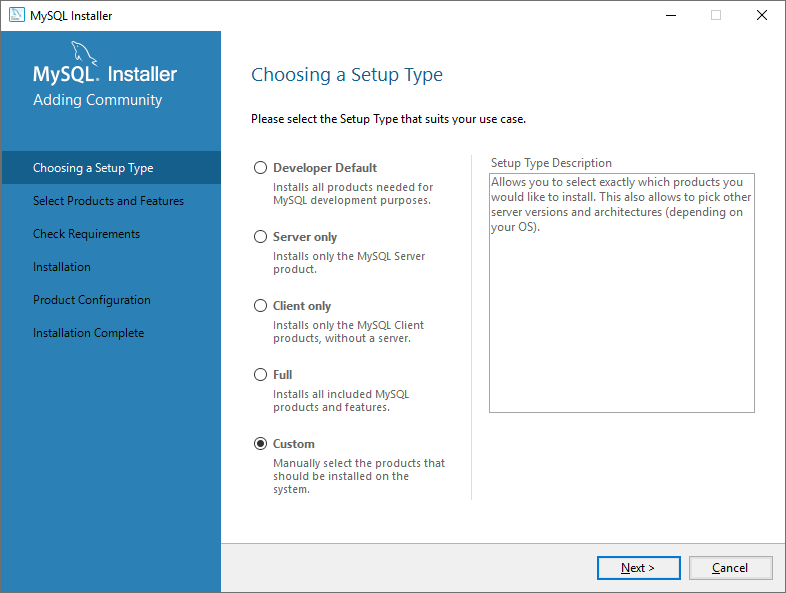
- Select Custom as the installation type

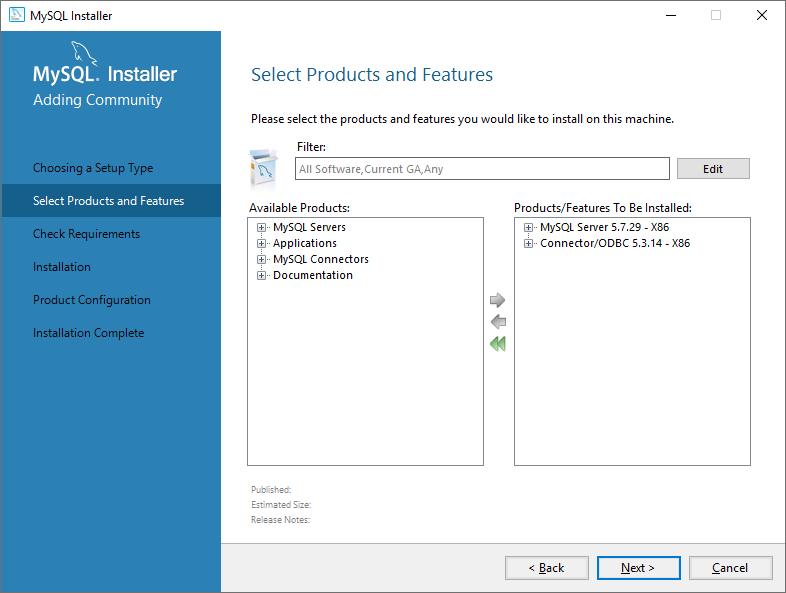
- Select two items to install:
MySQL Server 5.7.x – X86
Connector/ODBC 5.3.x – X86
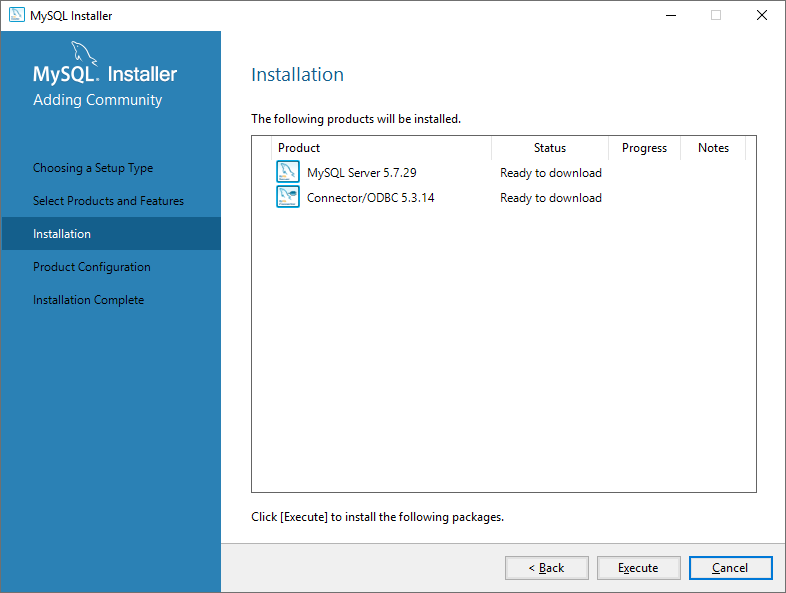
- On the next tab, start the MySQL installation MySQL

- Leave the settings on the other tabs as default.
Only on the tab with the settings of accounts and roles, first fill in the root password (for the database administrator) and then create a user infoport, under which you will log into the database later.
All passwords (mainly the administrator ones) should be secure. For demonstration purposes, we use the phrase P@ssw0rd as a password in the manual. (It will be seen later in the connection definition)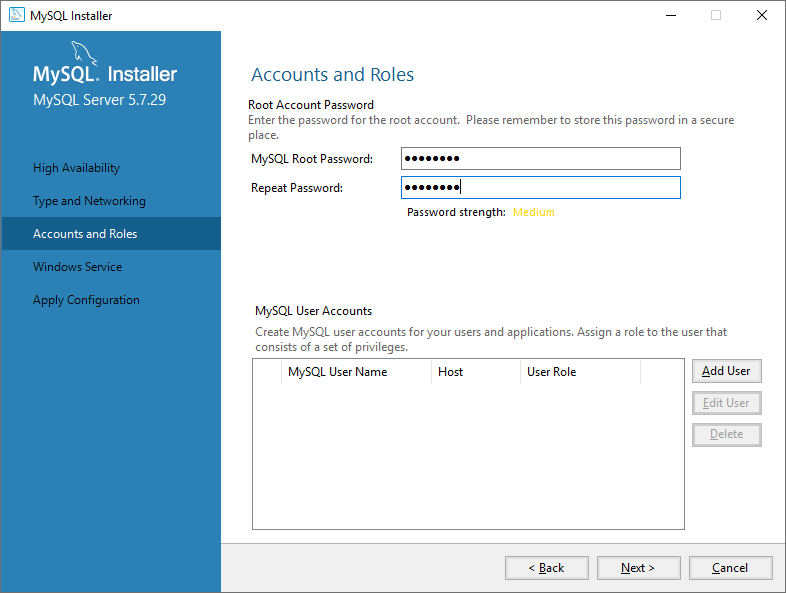

- Delete the mysql-installer-web-community-5.7.28.0.msi installation file from the disk.
This completes the installation of the database and the ODBC driver (but it will still need to be configured – see below)


No Comments